在U盘上运行SharpDevelop
原文地址:
SharpDevelop On a Memory Stick
能够在U盘上运行SharpDevelop已经有好一段时间。而在3.0版中的一个新功能是,通常保存在用户配置目录 (注解:也就是XP上的Documents and Settings,Vista上的Users)的配置可以直接保存在U盘上——这样你就能够一直带着你的设置了。下面是使用该功能的步骤:
下载 SharpDevelop 3.0并进行标准安装。默认的安装位置(在x64机器上)如下:
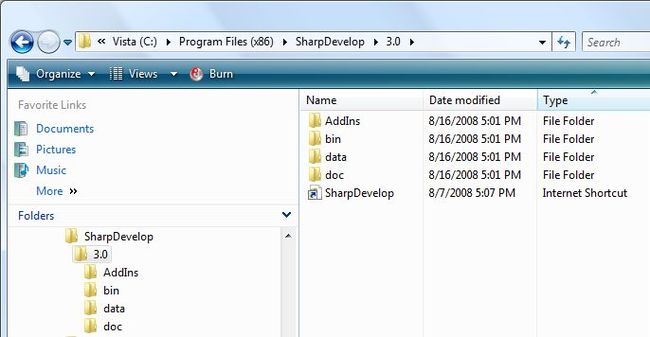
直接把3.0目录复制到U盘上,并打开那里的\bin目录:
在那个目录里,打开SharpDevelop.exe.config,然后找到appSettings的那一节。默认会是这样的:
(注释1:使用这个配置设置来把配置保存到安装目录的相对路径上)
(注释2:使用这个设置来指定保存代码补全缓存的别的路径。这个缓存含有引用的装配件的信息,可以提高SharpDevelop以后的启动加载速度)
(注释3:使用这个设置来禁止代码补全缓存。代码补全仍然可用,但是加载时间会更长,占用内存量也会更多)
注释说明了该做些什么。只要解除settingsPath与domPersistencePath的注释:
保存文件。这样,你、SharpDevelop和你的配置就准备好出发了(^_^)。注意到启动程序后指定的两个目录会出现在目录树中:

能够在U盘上运行SharpDevelop已经有好一段时间。而在3.0版中的一个新功能是,通常保存在用户配置目录 (注解:也就是XP上的Documents and Settings,Vista上的Users)的配置可以直接保存在U盘上——这样你就能够一直带着你的设置了。下面是使用该功能的步骤:
下载 SharpDevelop 3.0并进行标准安装。默认的安装位置(在x64机器上)如下:
直接把3.0目录复制到U盘上,并打开那里的\bin目录:
在那个目录里,打开SharpDevelop.exe.config,然后找到appSettings的那一节。默认会是这样的:
<appSettings>
  <!-- Use this configuration setting to store settings in a directory relative to the location
       of SharpDevelop.exe instead of the user's profile directory. -->
  <!-- <add key="settingsPath" value="..\Settings" /> -->

  <!-- Use this setting to specify a different path for the code completion cache.
        The cache contains information about referenced assemblies to speed up loading
        the information on future SharpDevelop starts. -->
  <!-- <add key="domPersistencePath" value="..\DomCache" /> -->

  <!-- Use this setting to disable the code completion cache. Code completion will still be
       available, but take longer to load and use more RAM. -->
  <!-- <add key="domPersistencePath" value="none" /> -->
</appSettings>
(注释1:使用这个配置设置来把配置保存到安装目录的相对路径上)
(注释2:使用这个设置来指定保存代码补全缓存的别的路径。这个缓存含有引用的装配件的信息,可以提高SharpDevelop以后的启动加载速度)
(注释3:使用这个设置来禁止代码补全缓存。代码补全仍然可用,但是加载时间会更长,占用内存量也会更多)
注释说明了该做些什么。只要解除settingsPath与domPersistencePath的注释:
<add key="settingsPath" value="..\Settings" />
<add key="domPersistencePath" value="..\DomCache" />
保存文件。这样,你、SharpDevelop和你的配置就准备好出发了(^_^)。注意到启动程序后指定的两个目录会出现在目录树中: