完成显示并发表评论功能
编写博客详细内容的页面,该页显示博客的所有评论,并可以添加新的评论!
创建显示评论的action
为了显示博文的详细页面,需要在Application.java中增加新的action的方法,这个action叫做show()
    /**
     * 显示详细的博文评论
     */
    public static void show(Long id) {
    	Post post = Post.findById(id);
    	render(post);
    }
这个action将使用模板进行显示。
添加show()对应的模板
增加yabe\app\views\Application\show.html
#{extends 'main.html' /}
#{set title:'Home' /}

<!--  调用前面已经编写好的display模板进行显示 -->
#{display post:post, as:'full' /}
为详细页面添加链接
修改yabe\app\views\tags\display.html
设置具体的链接路径,通过@{...}进行路径的设置
	<h2 class="post-title">
		<!-- 设置标题的超链接,将跳转到博文的详细页面 -->
		<a href="@{Application.show(_post.id}}">${_post.title}</a>
	</h2>
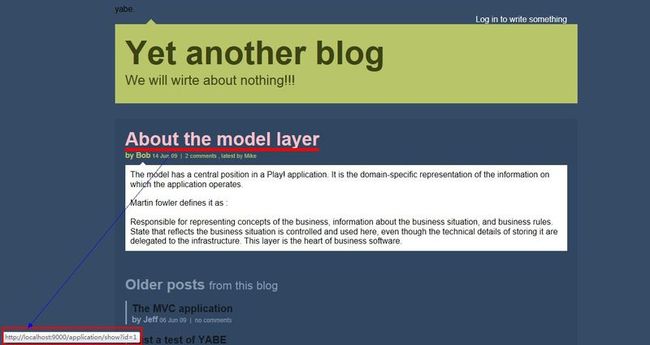
刷新页面,标题已经可以链接到某个URL了!
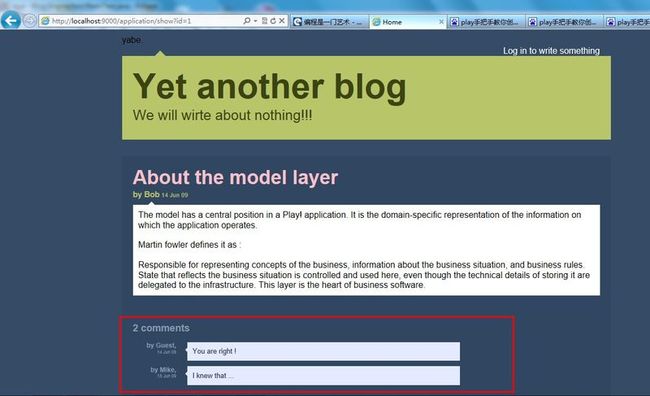
http://localhost:9000/application/show?id=1
点击About the model layer,显示详细评论
添加返回主页面的链接
修改yabe\app\views\main.html,加入返回主页的链接
        	<div id="title">
        		<span class="about">About this blog</span>
        		<!-- 设置返回主页的链接 -->
        		<h1><a href="@{Application.index()}">${blogTitle}</a></h1>
        		<h2>${blogBaseLine}</h2>
        	</div>
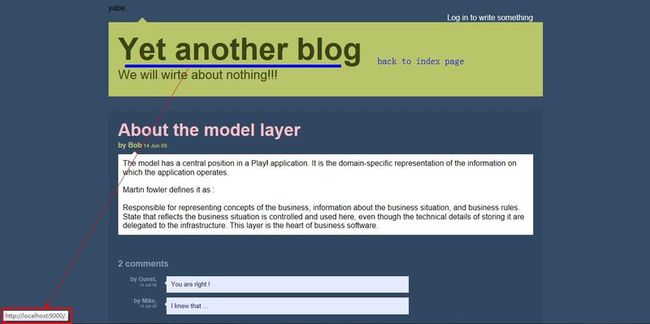
点击Yet another blog即可返回主页
现在,就可以实现主页和详细页面的导航了!
指定更好的(RESTful风格)的URL
把http://localhost:9000/application/show?id=1这种格式的URL替换为:
http://localhost:9000/post?id=1这样风格的URL!
前面所看到的URL如/application/show?id=1 ,play使用默认的路由对其进行解析
在yabe\conf\routes中,有这样一句
# Catch all
*       /{controller}/{action}                  {controller}.{action}
作为默认的路由解析配置,所以/application/show?id=1 将执行Application控制器的show()方法,并传入参数id=1,进行方法的调用!
可以配置route文件,指定更友好的路由方式
在第一个路由之后添加下面这条路由
# restful style route
GET     /post/{id}		            	Application.show
/post/{id}表示:id参数将从路径中获取
如/application/show?id=1 将显示为/post/1
添加分页功能
为了实现用户在博文之间导航(上一篇、下一篇)的功能,需要扩展Post类
修改yabe\app\models\Post.java
	/**
	 * 前一篇博文
	 */
	public Post previous() {
		return Post.find("postedAt < ? order by postedAt desc", postedAt).first();
	}

	/**
	 * 后一篇博文
	 */
	public Post next() {
		return Post.find("postedAt > ? order by postedAt asc", postedAt).first();
	}
接下来,在show.html中添加链接(在#{display /} 之前)
#{extends 'main.html' /}
#{set title:'Home' /}

<!-- 导航:上一篇,下一篇 -->
<ul id="pagination">
	<!-- 前一篇 -->
	#{if post.previous()}
		<li id="previous">
			<a href="@{Application.show(post.previous().id)}"> ${post.previous().title} </a>
		</li>
	#{/if}

	<!-- 下一篇 -->
	#{if post.next()}
		<li id="next">
			<a href="@{Application.show(post.next().id)}"> ${post.next().title} </a>
		</li>
	#{/if}
</ul>


<!--  调用display模板显示 -->
#{display post:post, as:'full' /}
添加评论的Form
首先,在Application.java中增加添加评论的action
    /**
     * 添加评论
     */
    public static void postComment(Long postId, String author, String content) {
    	Post post = Post.findById(postId);
    	//保存评论信息
    	post.addComment(author, content);
    	//重新显示该篇博文即其评论
    	show(postId);
    }
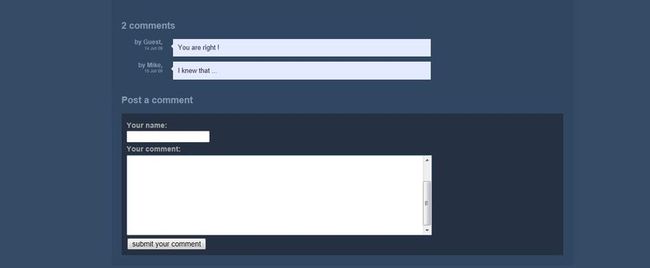
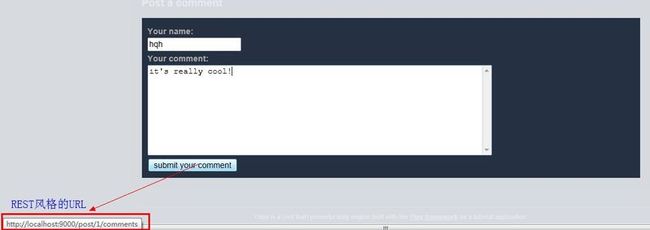
接着,在show.html模板中编写"窗体代码",即打开一个Form表单,用户可以添加评论
在之#{display /}后,加入如下内容
<!-- 显示一个表单,用户可以添加评论 -->
<h3>Post a comment</h3>
#{form @Application.postComment(post.id)}
	<p>
		<label for="author">Your name:</label>
		<input type="text" name="author" id="author"/>
	</p>
	<p>
		<label for="content">Your comment:</label>
		<textarea name="content" id="content"></textarea>
	</p>
	<p>
		<input type="submit" value="submit your comment"/>
	</p>
#{/form}
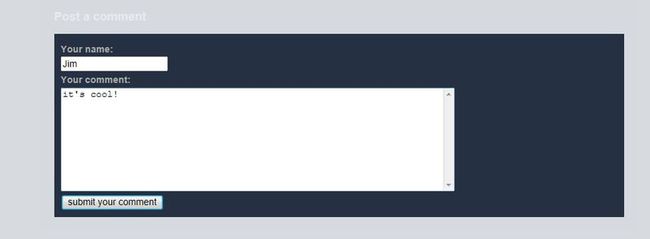
刷新页面
加入表单验证功能
为窗体提供验证功能,这里对表单的所有字段进行非空验证
Play提供的验证机制让我们很容易对HTTP参数里填充的值进行验证
修改Application.java控制器中的postComment action
为其添加@Required注解,并编写错误检测代码
    /**
     * 添加评论
     * 使用@Required注解,检测author和content参数不能为空
     */
    public static void postComment(Long postId, @Required String author, @Required String content) {
    	Post post = Post.findById(postId);
    	//错误检测
    	if(validation.hasErrors()) {
               //将post对象重新传入模板中,否则新打开的show.html中的post为null!!!
    		render("Application/show.html",post);
    	}
    	//保存评论信息
    	post.addComment(author, content);
    	//重新显示该篇博文即其评论
    	show(postId);
    }
当出现错误时,将跳转到show.html模板中显示错误信息
编辑show.html,以便发生错误时能够显示错误信息
在form表单代码中,添加显示错误的代码
<!-- 显示一个表单,用户可以添加评论 -->
<h3>Post a comment</h3>
#{form @Application.postComment(post.id)}

	<!-- 在这里显示提交评论时出现的错误 -->
	#{ifErrors}
		<p class="error">All fields are required!</p>
	#{/ifErrors}

	<p>
		<label for="author">Your name:</label>
		<input type="text" name="author" id="author"/>
	</p>
	<p>
		<label for="content">Your comment:</label>
		<textarea name="content" id="content"></textarea>
	</p>
	<p>
		<input type="submit" value="submit your comment"/>
	</p>
#{/form}
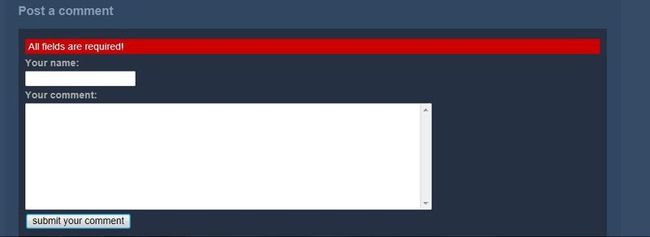
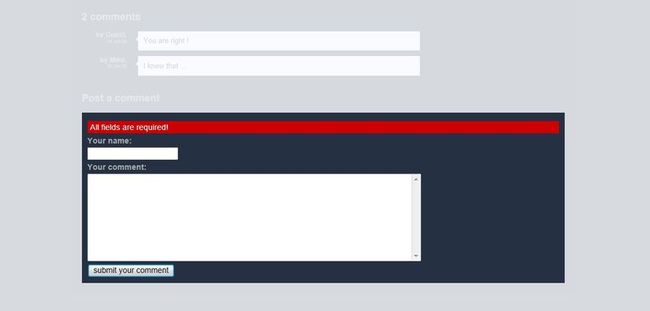
提交一个空的评论,页面提示错误信息
注意:该页面中需要使用了post对象填充input组件。
所以在出现错误时,必须将post对象一起传入到模板中!
添加更炫的UI交互
使用jQuery的相关js支持
jquery-1.6.4.min.js
jquery.tools-1.2.5.toolbox.expose.min.js
在yabe\app\views\main.html中引入以上两个js文件
 <script src="@{'/public/javascripts/jquery-1.6.4.min.js'}" type="text/javascript"></script>
 <script src="@{'/public/javascripts/jquery.tools-1.2.5.toolbox.expose.min.js'}" type="text/javascript"></script>
