netbeans安装netbeans-xdebug(win7 、xampp)
1:打开php.ini文件。../xampp/php/php.ini
2:在文件末尾有一个:[XDebug]
3:这里是配置和启用xdebug的位置
4.[XDebug] 下面的配置项前面有一个;号。分号 表示注释
5:删除所有分号,启用xdubug
6.在netbeans 编辑器中新建一个index.php.内容如下:
<!DOCTYPE HTML PUBLIC "-//W3C//DTD HTML 4.01 Transitional//EN">
<html>
<head>
<meta http-equiv="Content-Type" content="text/html; charset=UTF-8">
<title></title>
</head>
<body>
<?php
// put your code here
phpinfo();
?>
</body>
</html>
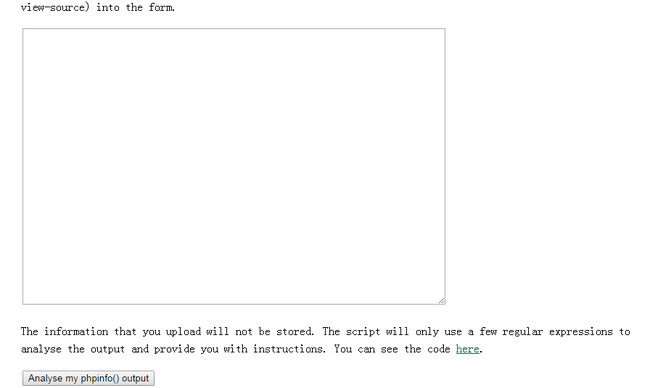
运行index.php文件,ctral+a选中页面全部信息 复制下来 粘贴到 http://xdebug.org/wizard.php
粘贴完成后 点击 analyse my phpinfo() output 按钮
7:更具提示下载相应版本的xdebug
8:下载完成后将:php_xdebug-2.2.5-5.5-vc11.dll复制到 C:\xampp\php\ext目录下面;
9:php.ini文件中de[XDebug]标签后面加上一行(取消前面的分号):
zend_extension = "C:\xampp\php\ext\php_xdebug-2.2.5-5.5-vc11.dll"
到此步已安装完成:重启服务器,运行index.php出现如下情况则安装成功:
开始配置:
在php.ini中的[XDebug]标签后面编辑已下代码:
zend_extension = "C:\xampp\php\ext\php_xdebug-2.2.5-5.5-vc11.dll"
xdebug.auto_trace =1
xdebug.collect_params=1
xdebug.collect_return=1
xdebug.trace_output_dir = "C:\xampp\tmp"
xdebug.profiler_enable = 1
xdebug.profiler_output_dir = "C:\xampp\tmp"
;zend_extension = "C:\xampp\php\ext\php_xdebug.dll"
xdebug.profiler_append = 1
xdebug.profiler_enable_trigger = 1
xdebug.profiler_output_name = "cachegrind.out.%t-%s"
xdebug.remote_enable = 1
xdebug.remote_handler = "dbgp"
xdebug.remote_host = "127.0.0.1"
保存 重启服务器。
打开php项目 设置断点 开始调试;菜单栏出现已下图标则配置成功。就可以开始调试了。


