Cacti安装
官网:www.cacti.net
rrdtool页面操作,只需要操作几项就可以实现rrdtool负责的语法
周期性执行能够取得数据的命令,并将取回的数据保存至rrd文件当中
利用rrdtool绘图并展示
支持导入导出各种模板
提供三种模板:
图形模板:定义图是怎么绘制的,以及展示的
数据模板:定义如何获取数据的,怎么保存等
主机模板:归好类的图形模板和数据模板,可以直接应用到一类主机上,省的我们一个个的定义
catic是一个php开发的网页程序
要让catic运行起来,需要依赖LAMP或者LNMP
编译安装LAMP或者LNMP的话需要开启--enable-sockets
网页程序只有浏览器打开的时候才运行,强大的内置的用户管理权限
支持插件机制
thold:报警机制的插件
catic取得数据方法:
SNMP
使用脚本
ssh机制
保存数据:
使用数据模块定义取下来的数据怎么保存,定义cacti从其他主机上取下来的数据保存下来的格式
展示数据:
使用图形模板提供快速的套到一个主机上,让主机知道从哪些rrd文件中获得什么聚合函数得到的数据,并通过什么样的方式去展示
cacti保存数据需要mysql
安装cacti首先前提是服务器已经安装LAMP或者LNMP,然后安装SNMP的管理端和客户端和RRDTool软件,
首先安装LAMP
root@Wiker ~]# yuminstall httpd php php-mbstring php-mysql mysql mysql-server -y
[root@Wiker ~]#/etc/init.d/mysqld start
Initializing MySQLdatabase: WARNING: The host'Wiker.example.com' could not be looked up with resolveip.
This probably meansthat your libc libraries are not 100 % compatible
with this binaryMySQL version. The MySQL daemon, mysqld, should work
normally with theexception that host name resolving will not work.
This means that youshould use IP addresses instead of hostnames
when specifying MySQLprivileges !
Installing MySQLsystem tables...
OK
Filling helptables...
OK
To start mysqld atboot time you have to copy
support-files/mysql.serverto the right place for your system
PLEASE REMEMBER TOSET A PASSWORD FOR THE MySQL root USER !
To do so, start theserver, then issue the following commands:
/usr/bin/mysqladmin-u root password 'new-password'
/usr/bin/mysqladmin-u root -h Wiker.example.com password 'new-password'
Alternatively you canrun:
[root@Wiker ~]#chkconfig mysqld on
安装SNMP和RRDTool软件
[root@node1 cacti]# yum install net-snmp(客户端,如果SNMP管理端也要监控的话也需要安装这个) net-snmp-utils(管理端) rrdtool -y
[root@node1 cacti]# vim /etc/snmp/snmpd.conf #让SNMP监控这个0网段
com2secnotConfigUser 19.168.0.0/24 public
com2secnotConfigUser 127.0.0.1 public
[root@node1 cacti]#service snmpd start
Starting snmpd: [ OK ]
[root@node1 cacti]#chkconfig snmpd on
然后把在cacti网站上下的版本上传到服务器上
[root@node1 ~]# ll cacti-0.8.8b.tar.gz #最新的版本,0.8.8版本很多bug,而且这之前的版本都不集成插件,如果要使用的话,需要自己手动安装插件框架;0.8.8版本以后自带插件
-rw-r--r--. 1 rootroot 2272130 Feb 21 23:03 cacti-0.8.8b.tar.gz
我们使用apache的虚拟主机来定义cacti的域名
[root@node1 conf]#vim httpd.conf
#DocumentRoot "/var/www/html" #注释掉主服务器配置,启用虚拟服务器配置
<Virtualhost*:80>
ServerName cacti.example.com
DocumentRoot /cacti
<Directory "/cacti">
Options Indexes
AllowOverride none
</Directory>
ErrorLog "logs/cacti_error.log"
CustomLog "logs/cacti_access.log"common
</Virtualhost>
[root@node1 conf]#mkdir /cacti
[root@node1 conf]#service httpd restart
Stopping httpd: [ OK ]
Starting httpd: [ OK ]
解压cacti到/cacti目录下
[root@node1 ~]# tar-zxvf cacti-0.8.8b.tar.gz -C /cacti/^C
[root@node1 ~]# cd/cacti/
[root@node1 cacti]#ls
cacti-0.8.8b
[root@node1 cacti]#ln -s cacti-0.8.8b/ cacti
[root@node1 cacti]#ls
cacti cacti-0.8.8b
[root@node1 cacti]#service httpd restart
Stopping httpd: [ OK ]
Starting httpd: [ OK ]
[root@node1 cacti]#cd cacti
[root@node1 cacti]#ls
about.php data_input.php graph_settings.php graph_xport.php LICENSE README templates_export.php
auth_changepassword.php data_queries.php graphs_items.php host.php log resource(模板资源) templates_import.php
auth_login.php data_sources.php graphs_new.php host_templates.php logout.php rra tree.php
cacti.sql(里面包含了所有创建cacti表所用到的所有语句) data_templates.php graphs.php images(图片)plugins(插件) rra.php user_admin.php
cdef.php docs graph_templates_inputs.php include(配置文件目录) plugins.php scripts(脚本) utilities.php
cli gprint_presets.php graph_templates_items.php index.php poller_commands.php script_server.php
cmd.php graph_image.php graph_templates.php install(安装目录) poller_export.php script_server.pl
color.php graph.php graph_view.php lib(库) poller.php
cacti需要mysql数据库,使用mysql保存各种表等数据
因为cacti.sql是创建cacti表所用到的所有sql语句,但是没有创建数据库的语句,
所以需要我们首先先创建好一个数据库
[root@node1 cacti]# mysqladmin createcactidb #创建一个名字叫cactidb的数据库,这里管理员没有密码,所以没输入密码,如果你的mysql数据库有密码的话需要使用 -u user -p passwd来创建,下面对于mysql来说使用的都是空密码
把cacti.sql里面的语句都导入到数据库cactidb里面
[root@node1 cacti]#mysql cactidb < cacti.sql
给cacti创建一个访问数据库的用户,并让其生效;不要使用数据库管理员的账号和密码来访问数据库
[root@node1 cacti]#mysql -e "GRANT ALL ON cactidb.* TO cactiuser@localhost IDENTIFIED BY'cacti'"
[root@node1 cacti]#mysqladmin flush-privileges
测试下:
[root@node1 cacti]#mysql -u cactiuser -p
Enter password:
Welcome to the MySQLmonitor. Commands end with ; or \g.
Your MySQL connectionid is 7
Server version:5.1.52 Source distribution
Copyright (c) 2000,2010, Oracle and/or its affiliates. All rights reserved.
This software comeswith ABSOLUTELY NO WARRANTY. This is free software,
and you are welcometo modify and redistribute it under the GPL v2 license
Type 'help;' or '\h'for help. Type '\c' to clear the current input statement.
mysql> showdatabases
-> ;
+--------------------+
| Database |
+--------------------+
| information_schema|
| cactidb |
| test |
+--------------------+
3 rows in set (0.01sec)
配置cacti使用什么账号去连接数据库
[root@node1 cacti]#cd include/
[root@node1 include]#ls
auth.php config.php global_constants.php global.php jscalendar main.css top_graph_header.php treeview
bottom_footer.php global_arrays.php global_form.php global_settings.php layout.js plugins.php top_header.php zoom.js
[root@node1 include]#vim config.php
$database_type ="mysql";
$database_default= "cactidb";
$database_hostname ="localhost";
$database_username= "cactiuser";
$database_password= "cacti";
$database_port ="3306";
$database_ssl =false;
/*
Edit this to point to the default URL ofyour Cacti install
ex: if your cacti install as at http://serverip/cacti/ this
would be set to /cacti/
*/
//$url_path ="/cacti/";
$url_path = "/"; #这样设置以后,使用域名就可以打开cacti管理界面,默认是域名/cacti才可以打开
cacti需要周期性的获取数据,所以需要创建计划任务,而且要创建执行这个计划任务的属主
[root@node1 include]#useradd cactiuser
[root@node1 include]#chown cactiuser:cactiuser /cacti/cacti/rra /cacti/cacti/log -R
[root@node1 include]#ll
drwxr-xr-x. 2cactiuser cactiuser 4096 Apr 4 2012log
drwxr-xr-x. 2cactiuser cactiuser 4096 Apr 4 2012rra
然后安装cacti
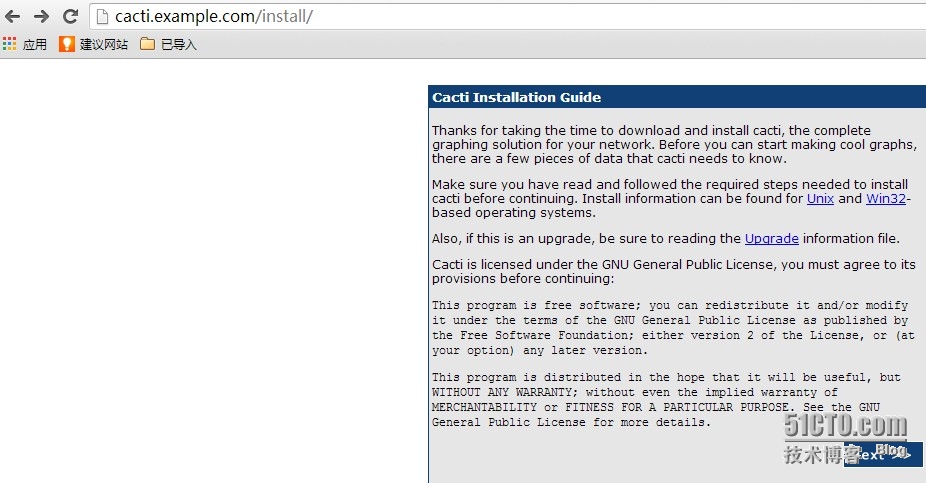
在浏览器里面输入http://cacti.example.com,第一次输入的话,会出现安装cacti的界面,然后点Next
选择New Install
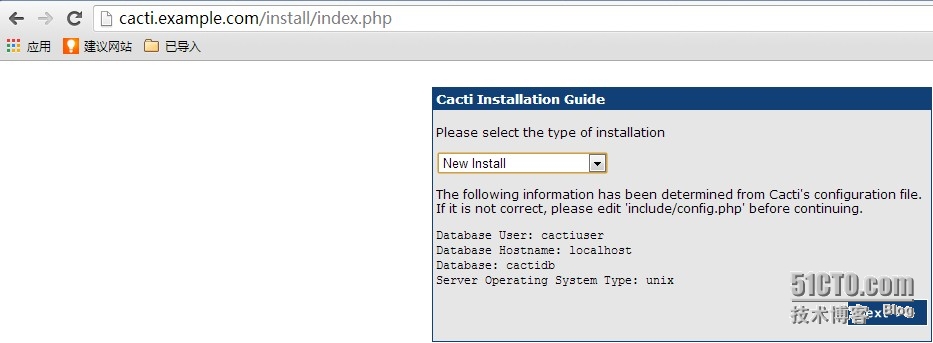
然后就会出现cacti安装界面的配置信息,可以核对下是否跟自己的信息匹配

确认无误的话,就点Finish就完成了安装,到了登录界面
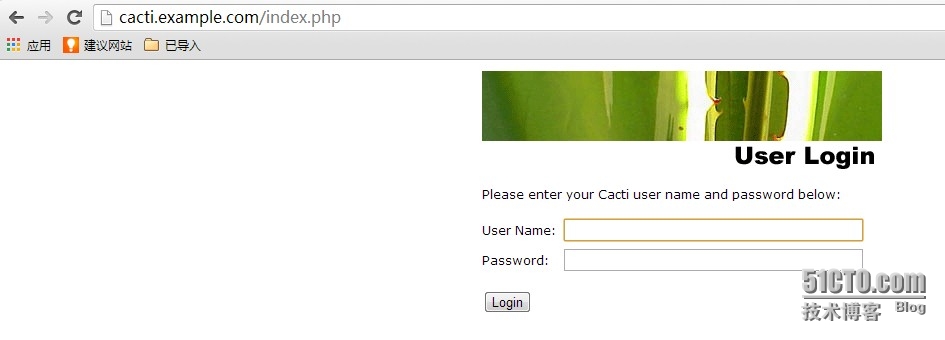
使用默认账号和密码登录进去admin admin,他会提示让你更改密码

然后输入新的密码cacti,点保存,就进入了cacti管理界面
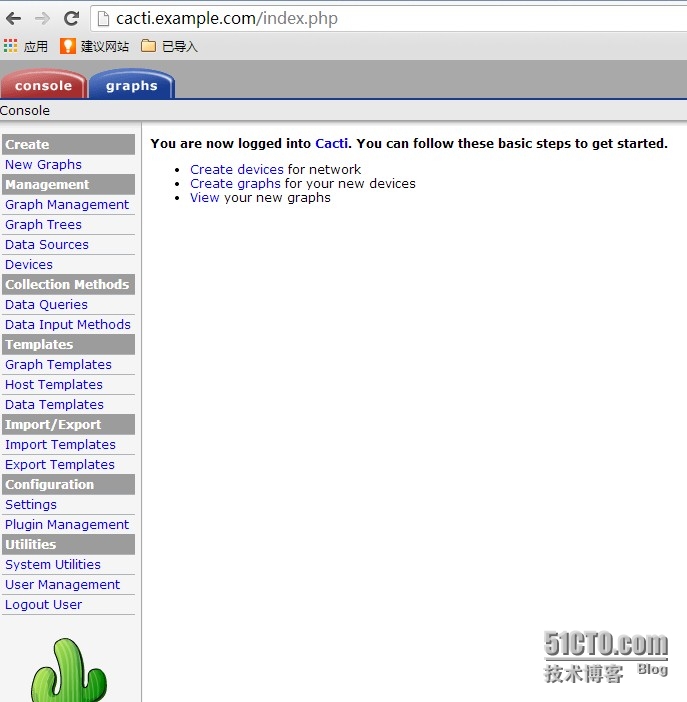
定义poller.php计划任务:
[root@node1 ~]# echo'*/5 * * * * /usr/bin/php /cacti/cacti/poller.php &>/dev/null' >/var/spool/cron/cactiuser
更改php的时区
[root@node1 ~]# vim /etc/php.ini #此处不修改的话,执行poller.php脚本会报时区错误,一定要保证系统时区和php的时区一样
date.timezone = Asia/Shanghai
[root@node1 ~]#service httpd restart
Stopping httpd: [ OK ]
Starting httpd: [ OK ]
然后测试下poller.php脚本执行
[root@node1 ~]# su -cactiuser
[cactiuser@node1 ~]$php /cacti/cacti/poller.php
通过日志我们可以查看到脚本的执行情况
[cactiuser@node1 ~]$cat /cacti/cacti/log/cacti.log
02/22/2014 03:25:03AM - SYSTEM STATS: Time:1.0811 Method:cmd.php Processes:1 Threads:N/A Hosts:2HostsPerProcess:2 DataSources:5 RRDsProcessed:5
02/22/2014 03:30:02AM - SYSTEM STATS: Time:0.4668 Method:cmd.php Processes:1 Threads:N/A Hosts:2HostsPerProcess:2 DataSources:5 RRDsProcessed:5
02/22/2014 12:05:01PM - POLLER: Poller[0] WARNING: Cron is out of sync with the PollerInterval! The Poller Interval is '300'seconds, with a maximum of a '300' second Cron, but 30900 seconds have passedsince the last poll!
02/22/2014 12:05:02PM - SYSTEM STATS: Time:0.4463 Method:cmd.php Processes:1 Threads:N/A Hosts:2HostsPerProcess:2 DataSources:5 RRDsProcessed:5
本地Devices设置
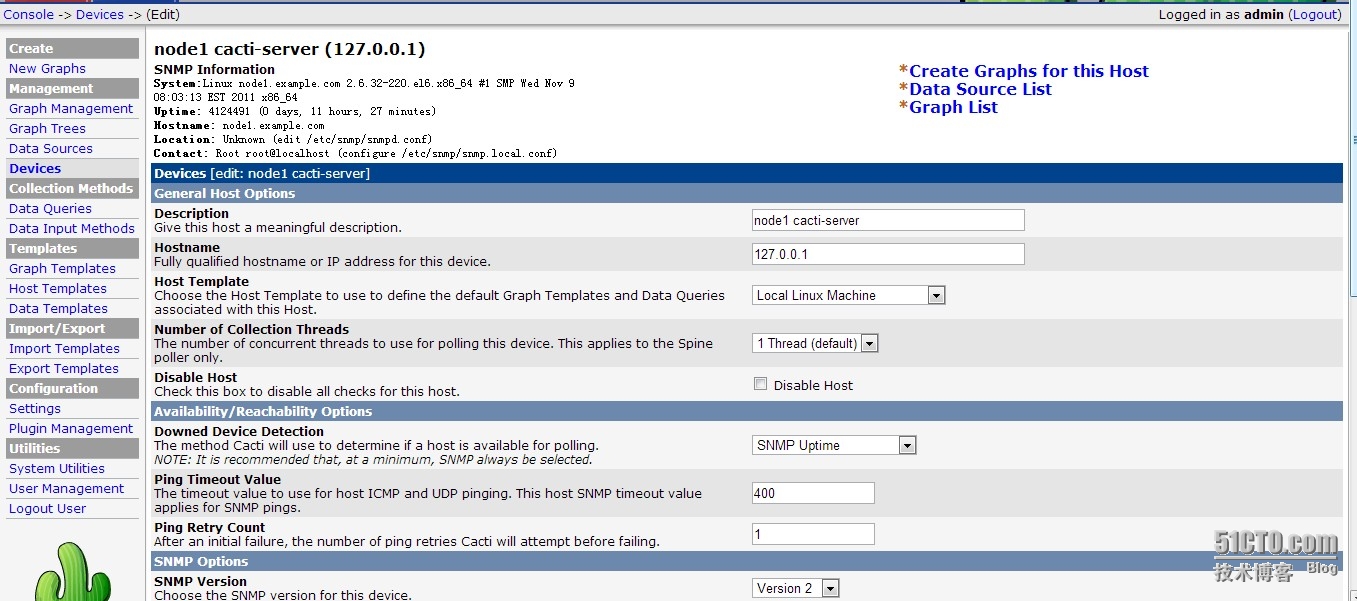
添加Graph Template,选中列表中的Template,然后点右边Add就增加都里面去了
