Docker创建本地仓库
Docker是时下相当火热的技术,关于docker的介绍此处就不多说,本文主要介绍下如何在centos6.6环境下配置docker的本地仓库,对于想在局域网内大规模运用docker来说,频繁的从官网仓库下载镜像文件,无论从管理还是在效率上都无法接受。
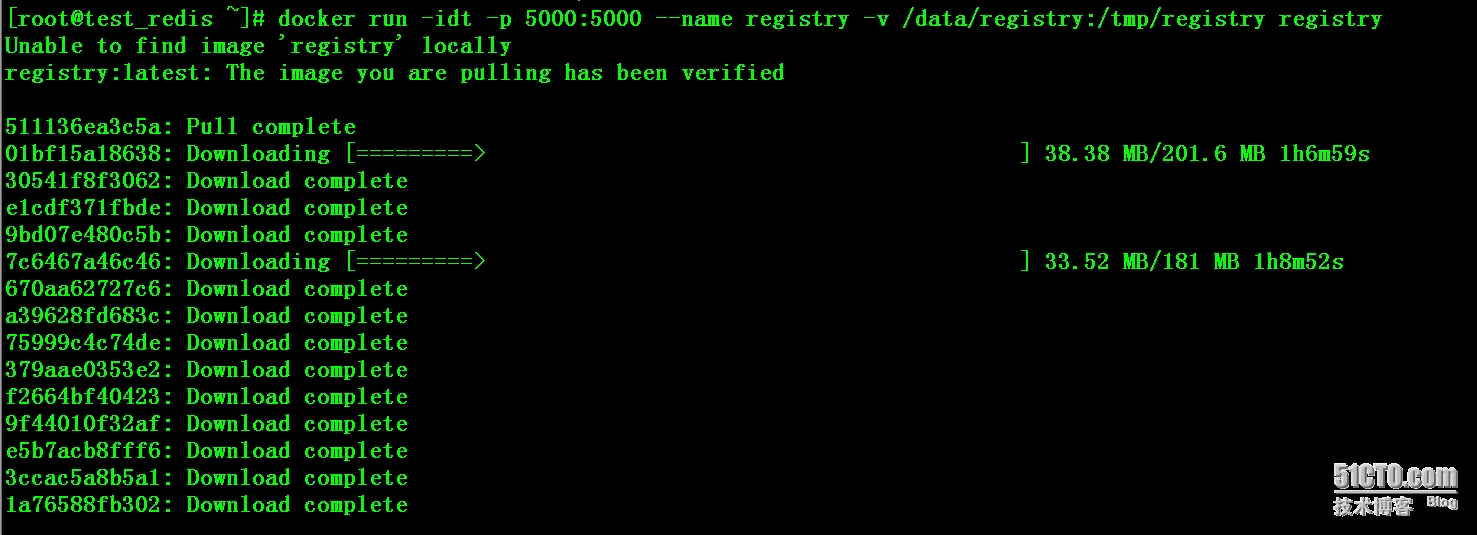
一:以容器的方式运行registry服务
初次运行,本地不存在registry的image,会自动从官方网站上下载一份,速度较慢
# docker run -idt -p 5000:5000 --name registry -v /data/registry:/tmp/registry registry
二:配置Nginx, 需要配置用户验证和https支持
# /usr/local/nginx/sbin/nginx -V

# cat /usr/local/nginx/conf/extra/docker.conf
# For versions of Nginx > 1.3.9 that include chunked transfer encoding support
# Replace with appropriate values where necessary

upstream docker-registry {
 server 127.0.0.1:5000;
}

server {
 listen  443;
 server_name  registry.fjhb.cn;
 ssl on;
 ssl_certificate     /etc/ssl/certs/nginx.crt;
 ssl_certificate_key /etc/ssl/private/nginx.key;
 proxy_set_header Host       $http_host;   # required for Docker client sake
 proxy_set_header X-Real-IP  $remote_addr; # pass on real client IP
 client_max_body_size 0; # disable any limits to avoid HTTP 413 for large image uploads
 # required to avoid HTTP 411: see Issue #1486 (https://github.com/dotcloud/docker/issues/1486)
 chunked_transfer_encoding on;

 location / {
     # let Nginx know about our auth file
     auth_basic              "Restricted";
     auth_basic_user_file    docker-registry.htpasswd;

     proxy_pass http://docker-registry;
 }
 location /_ping {
     auth_basic off;
     proxy_pass http://docker-registry;
 }
 location /v1/_ping {
     auth_basic off;
     proxy_pass http://docker-registry;
 }
}
三:配置ssl证书和密码文件
1:生成根密钥
# cd /etc/pki/CA/
# touch ./{serial,index.txt}
# echo "00" > serial
# openssl  genrsa -out private/cakey.pem 2048
2:生成根证书
# openssl req -new -x509 -key private/cakey.pem -days 3650 -out cacert.pem

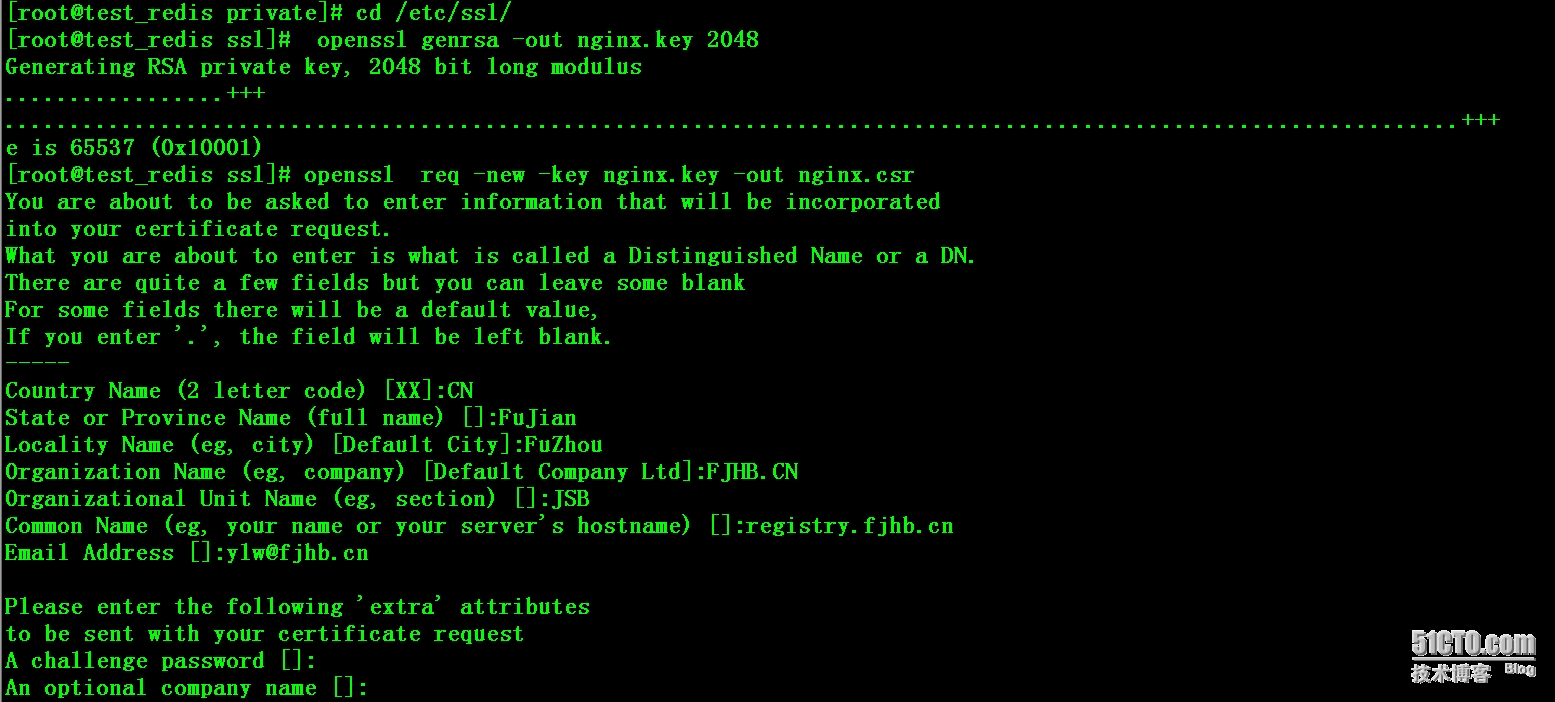
3:生成nginx的key和nginx.csr证书请求文件
# cd /etc/ssl/
# openssl genrsa -out nginx.key 2048
# openssl  req -new -key nginx.key -out nginx.csr
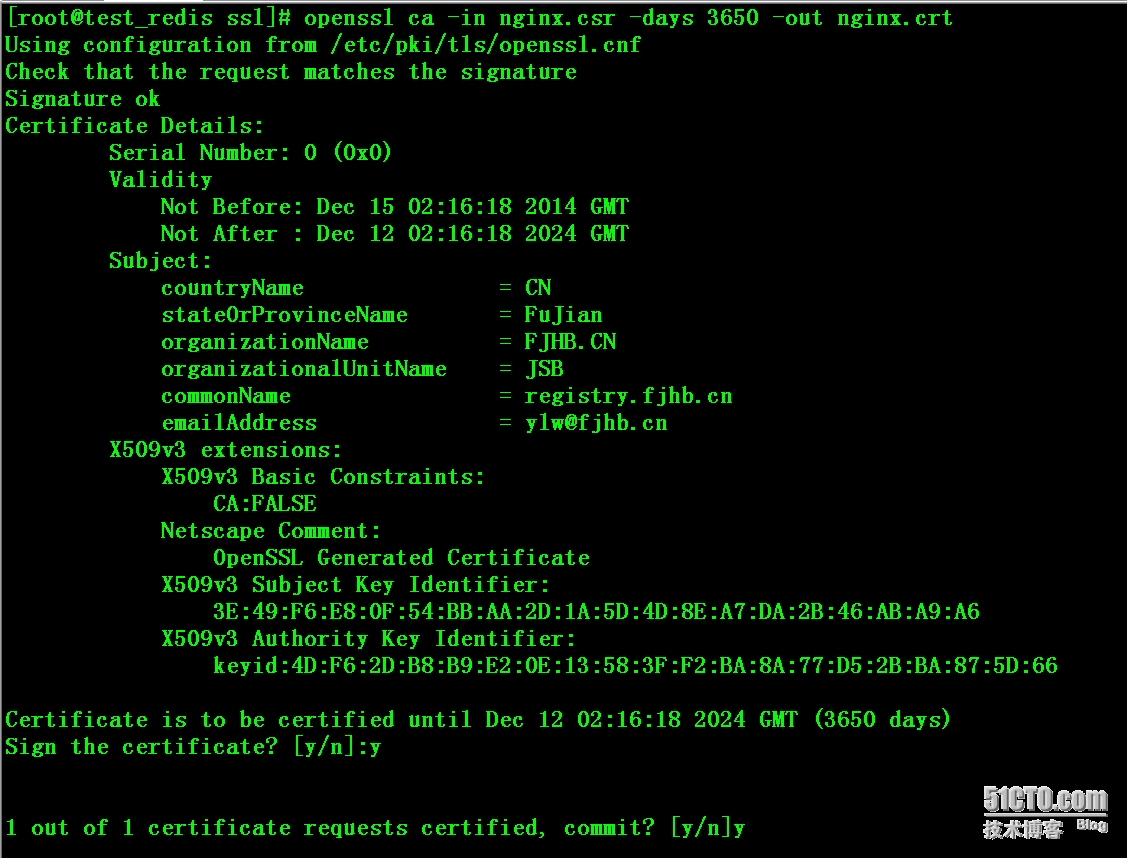
4:私有CA根据请求来签发证书
# openssl ca -in nginx.csr -days 3650 -out nginx.crt
# cp /etc/pki/tls/certs/ca-bundle.crt{,.bak}
# cat /etc/pki/CA/cacert.pem >> /etc/pki/tls/certs/ca-bundle.crt  #因为是自签的证书,此步骤的意义在于让系统接受该证书
5:复制生成的证书文件到相应位置
# cp nginx.crt  certs/
# cp nginx.key  private/
6:使用htpasswd工具创建密码文件
# yum -y install httpd-tools
# htpasswd -c /usr/local/nginx/conf/docker-registry.htpasswd yang
New password:
Re-type new password:
Adding password for user yang

# htpasswd /usr/local/nginx/conf/docker-registry.htpasswd lin
New password:
Re-type new password:
Adding password for user lin
四:启动nginx
# /usr/local/nginx/sbin/nginx  -t
# /usr/local/nginx/sbin/nginx
# netstat -ntpl |grep nginx

五:测试
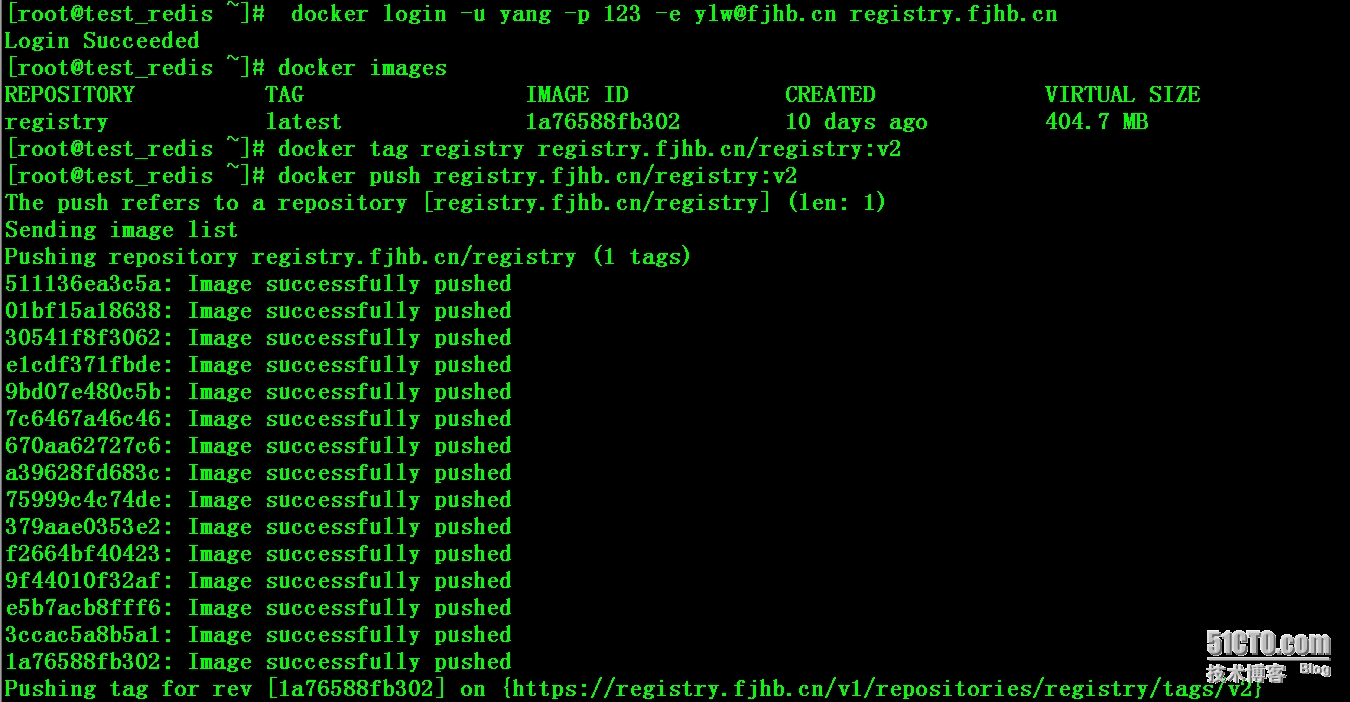
1:本地测试push
# docker login -u yang -p 123 -e [email protected] registry.fjhb.cn
# docker images
# docker tag registry registry.fjhb.cn/registry:v2
# docker push registry.fjhb.cn/registry:v2
2:其他客户端测试pull和push
# tail -1 /etc/hosts
192.168.1.12    registry.fjhb.cn
# scp /etc/pki/CA/cacert.pem [email protected]:/root
# cp /etc/pki/tls/certs/ca-bundle.crt{,.bak}
# cat cacert.pem >> /etc/pki/tls/certs/ca-bundle.crt

# curl -u yang:123  https://registry.fjhb.cn/v1/search
# service docker restart
# docker  login -u yang -p 123 -e [email protected] https://registry.fjhb.cn
Login Succeeded

# docker  images
# docker tag centos6 registry.fjhb.cn/centos6
# docker push registry.fjhb.cn/centos6

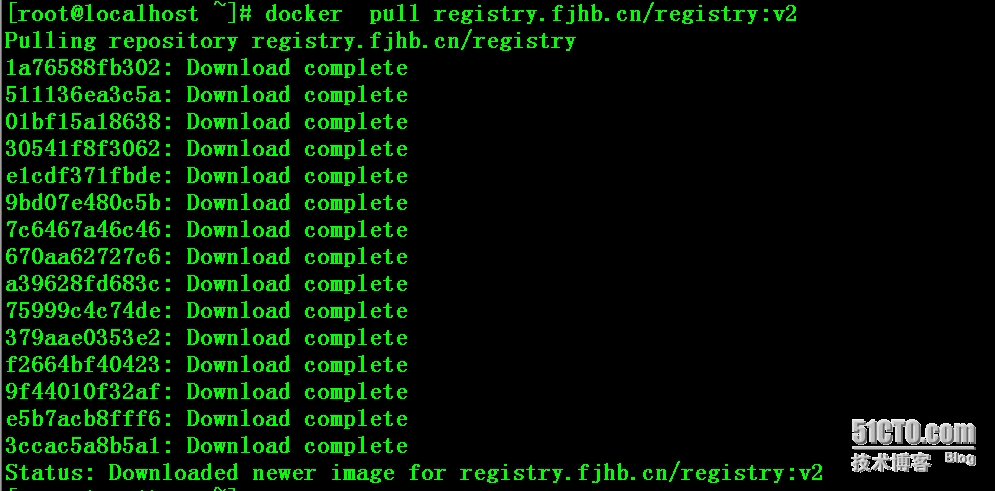
# docker pull registry.fjhb.cn/registry:v2
异常处理:
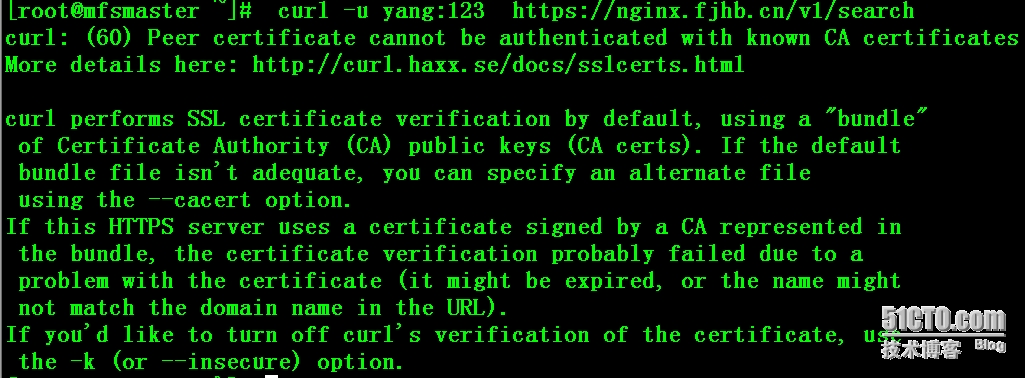
# scp  /etc/pki/CA/cacert.pem [email protected]:/root
# cat cacert.pem >> /etc/ssl/certs/ca-bundle.crt
参考:
http://blog.94it.net/post/openssl-ca.html
http://segmentfault.com/blog/seanlook/1190000000801162
本文出自 “斩月” 博客,谢绝转载!