Linux下cobbler服务器部署
1 需求分析
为企业部署无盘批量安装操作系统Cobbler。
2 实施规划
2.1 Cobbler简介
Cobbler是一个快速网络安装linux的服务,而且在经过调整也可以支持网络安装windows。该工具使用python开发,小巧轻便(才15k行python代码),使用简单的命令即可完成PXE网络安装环境的配置,同时还可以管理DHCP、DNS、以及yum仓库、构造系统ISO镜像。
Cobbler支持命令行管理,web界面管理,还提供了API接口,可以方便二次开发使用。
Cobbler客户端Koan支持虚拟机安装和操作系统重新安装,使重装系统更便捷。
2.2 Cobbler服务器的规划
DHCP、tftp、http三个服务集于一台服务器安装即可。
2.3 Cobbler服务器前期准备
操作系统版本:RedHat EL 6.4桌面安装
暂停防火墙:service iptables stop;service iptables save;
停止selinux;
下载cobbler的安装包;
配置YUM源;
3 实施步骤
3.1 配置Cobbler服务器
3.1.1基础环境配置
关闭防火墙
chkconfig iptables off;chkconfig ip6tables off;service iptablesstop;service ip6tables stop;
关闭selinux
sed -i '/SELINUX/s/enforcing/disabled/' /etc/selinux/config
需要重启服务器才生效
配置rhel6.4的CD �CROM YUM源
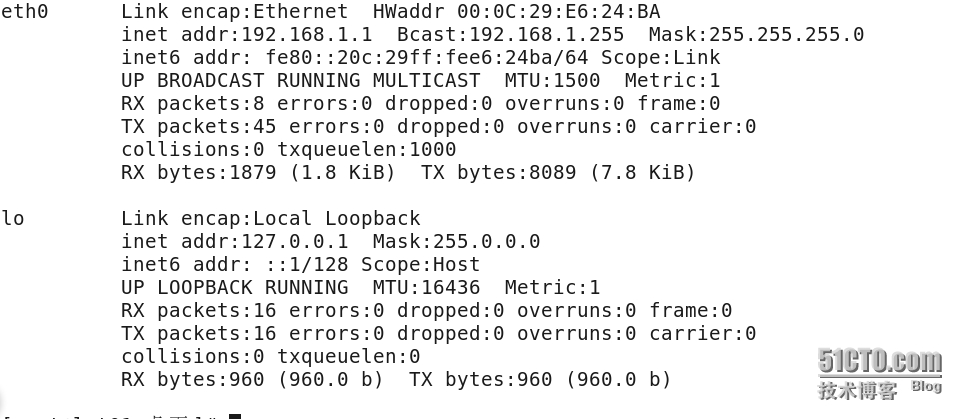
配置服务器IP为静态地址
3.1.2 安装及配置DHCP服务
1)安装DHCP服务
yum install �Cy dhcp;
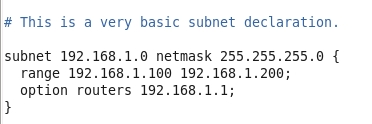
2)拷贝配置文件范例,并覆盖
cp/usr/share/doc/dhcp-4.1.1/dhcpd.conf.sample /etc/dhcp/dhcpd.conf
并将此段修改如下图:
3)配置DHCP服务
① 设置成开机启动及启动DHCP服务
chkconfig dhcpd on
3.1.3 安装及配置TFTP服务
1)安装TFTP服务
yum install �Cy tftp-server;
2)使tftp-server生效
sed -i '/disable/c\\tdisable\t\t\t= no' /etc/xinetd.d/tftp;
3)设置成开机启动及启动服务
chkconfig xinetdon;
3.1.4 配置rsync
1)使rsync生效
sed -i '/disable/c\\tdisable\t\t\t= no' /etc/xinetd.d/rsync;
3.1.5 配置http服务
1)启动http服务
service httpd restart;
如未安装http服务,可执行以下命令安装
yuminstall �Cy httpd;
3.1.6 安装kickstart图形配置界面
yum install�Cy system-config kickstart;
3.1.7 安装Cobbler
1)创建挂载目录
mkdir /mnt/rhel6 /mnt/rhel7 /mnt/opensuse13.1 /mnt/ubuntu13.4;
2)挂载相应的盘到对应挂载目录
3)安装必要的依赖及Cobbler
yum install�Cy mod_wsgi createrepo python-cheetah;
rpm �Civhpython-yaml-3.09-3.el6.rf.x86_64.rpm cobbler-2.6.3-1.el6.noarch.rpmdebmirror-2.14-2.el6.noarch.rpmperl-LockFile-Simple-0.207-2.el6.noarch.rpm;
相关依赖包
① 以下依赖包可通过光盘YUM源解决
mod_wsgi |
createrepo |
python-cheetah |
② 需要下载以下RPM安装包
python-yaml-3.09-3.el6.rf.x86_64.rpm |
debmirror-2.14-2.el6.noarch.rpm(ubuntu类的系统需要此RPM包) |
perl-LockFile-Simple-0.207-2.el6.noarch.rpm |
3.1.8 配置Cobbler
1)设置cobbler登陆服务器地址
sed -i's/server: 127.0.0.1/server: 192.168.1.1/g' /etc/cobbler/settings;
2)ks脚本关闭pxe,防止重复安装
sed -i's/pxe_just_once: 0/pxe_just_once: 1/g' /etc/cobbler/settings;
3)配置TFPT地址
sed -i's/next_server: 127.0.0.1/next_server: 192.168.1.1/g' /etc/cobbler/settings;
4)设置cobbler管理DHCP
sed -i's/manage_dhcp: 0/manage_dhcp: 1/g' /etc/cobbler/settings;
5)设置root默认密码,现在设置为:canway
opensslpasswd -1 -salt 'random-phrase-here' 'canway';
得到加密后的密码:
$1$random-p$Puiv5Y5wf4WevPMPtkfTJ0
6)修改/etc/cobbler/setting中的default_password_crypted的值为上一步得到的加密密码
7)设置debmirror
sed -i -e 's|@dists=.*|#@dists=|' /etc/debmirror.conf;
sed -i -e 's|@arches=.*|#@arches=|' /etc/debmirror.conf;
8)检查并启动相关服务
chkconfig xinetd on;
chkconfig httpd on;
chkconfig dhcpd on;
chkconfig cobblerd on;
service dhcpd restart;
service xinetd restart;
service httpd restart;
service cobblerd restart;
9)联网下载启动菜单
cobbler get-loader;

如果出现以下错误信息:
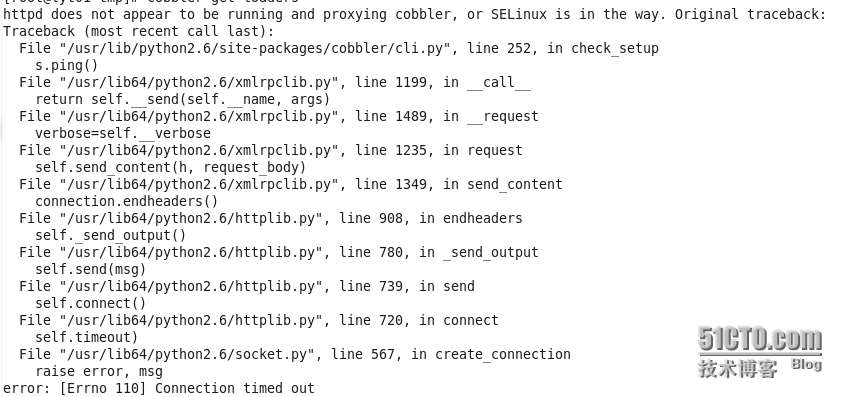
请检查:
1、httpd服务是否开启,或重启httpd服务
2、配置了/etc/cobbler/setting是否重启了cobblerd服务
3、/etc/cobbler/setting配置的本机IP是否能上网
10)检查cobbler是否配置正确
cobbler check;

11)同步cobbler设置
cobbler sync;
3.1.9 cobbler导入系统安装包
1)创建光盘挂载点
mkdir /mnt/rhel6 /mnt/rhel7 /mnt/opensuse13.1 /mnt/ubuntu13.4;
2)挂载光盘
mount /dev/sr0 /mnt/opensuse13.1;
mount /dev/sr1 /mnt/rhel6;
mount /dev/sr2 /mnt/ubuntu13.4;
mount /dev/sr3 /mnt/rhel7;
3)导入安装文件进cobbler
cobbler import --path=/mnt/rhel6 --name=rhel6;
cobbler import --path=/mnt/rhel7 --name=rhel7;
cobbler import --path=/mnt/ubuntu13.4--name=ubuntu13.4;
cobbler import --path=/mnt/opensuse13.1--name=opensuse13.1;
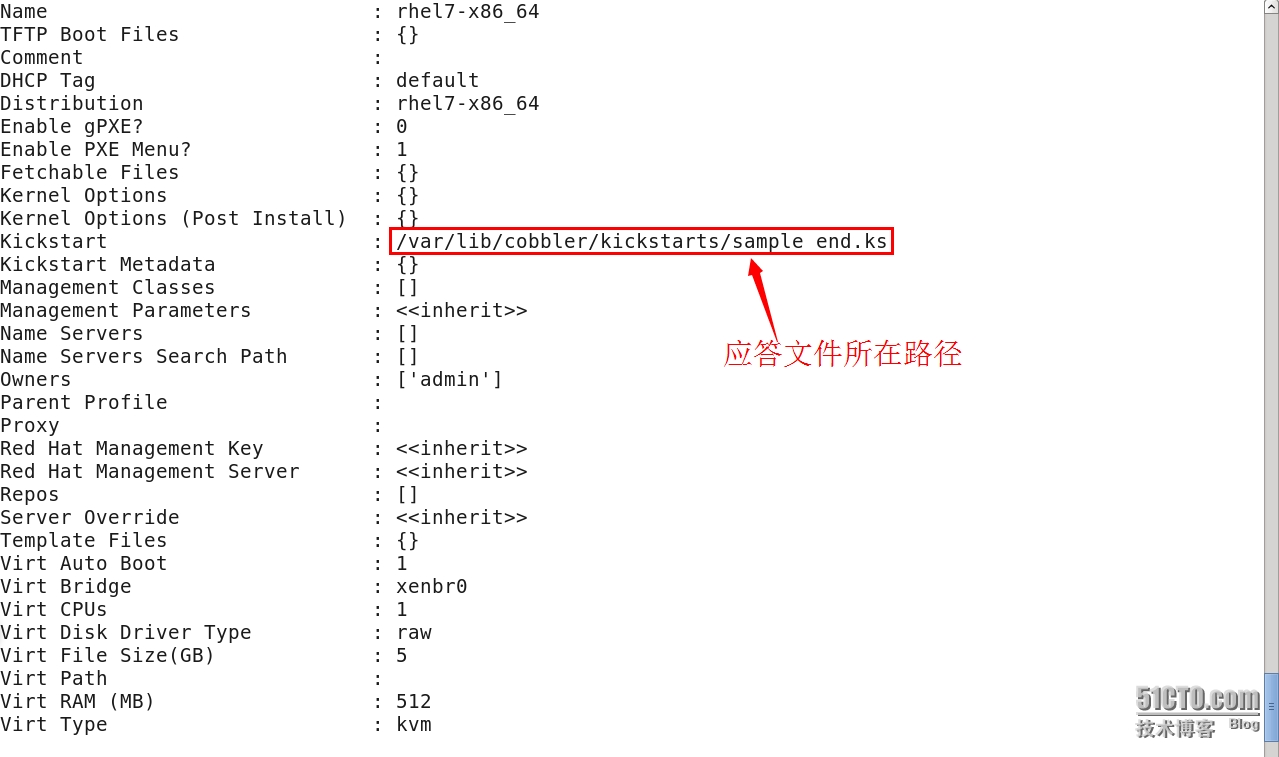
4)罗列及报告已经导入的系统
cobbler list;
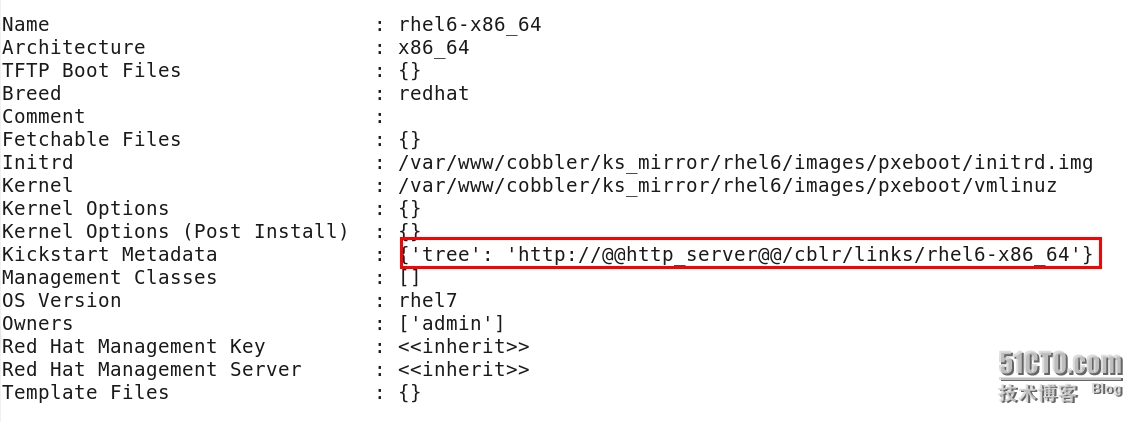
cobblerreport;
3.1.10 修改应答文件
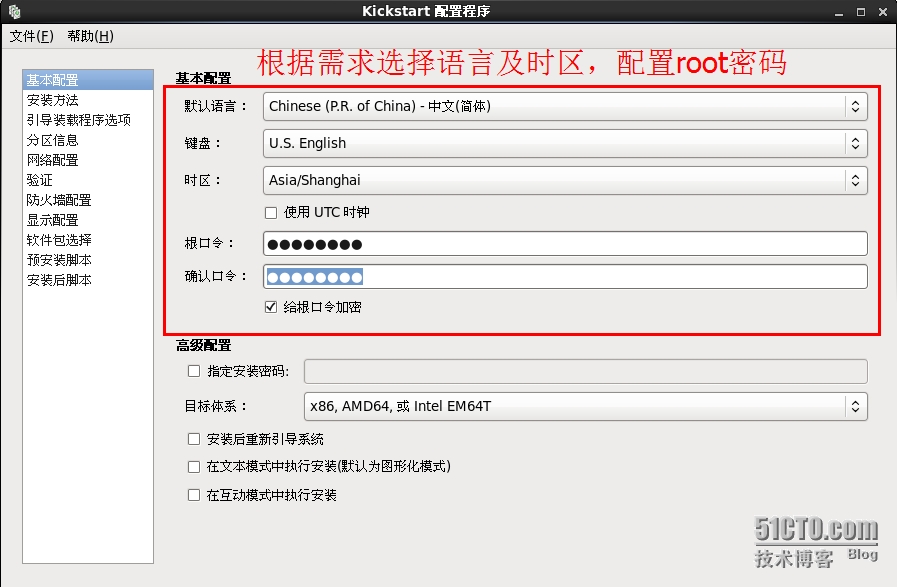
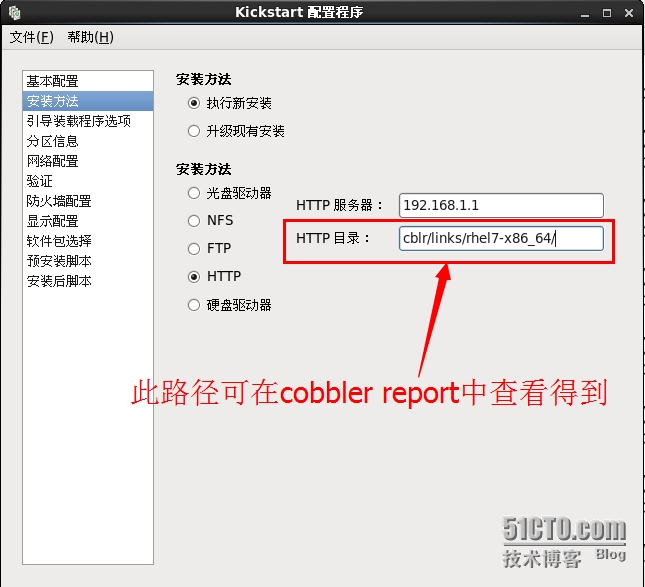
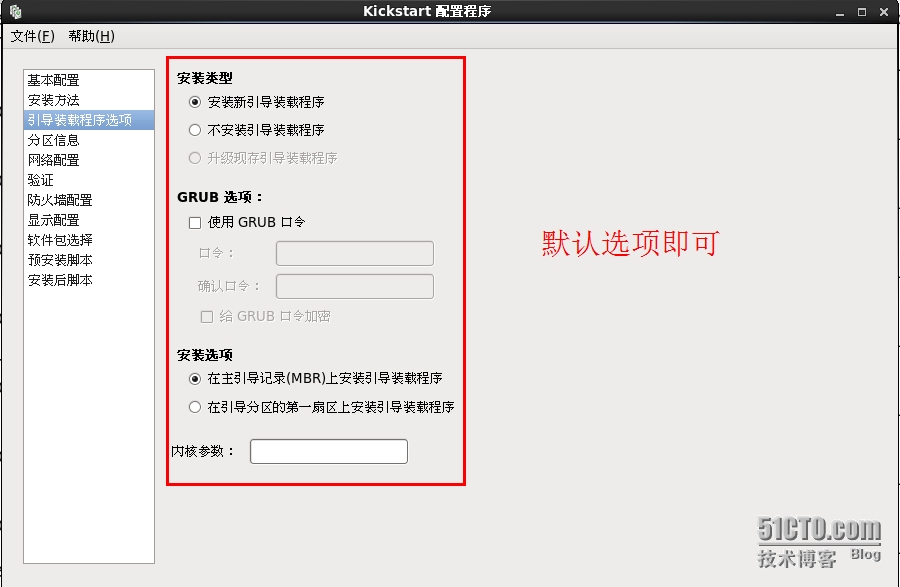
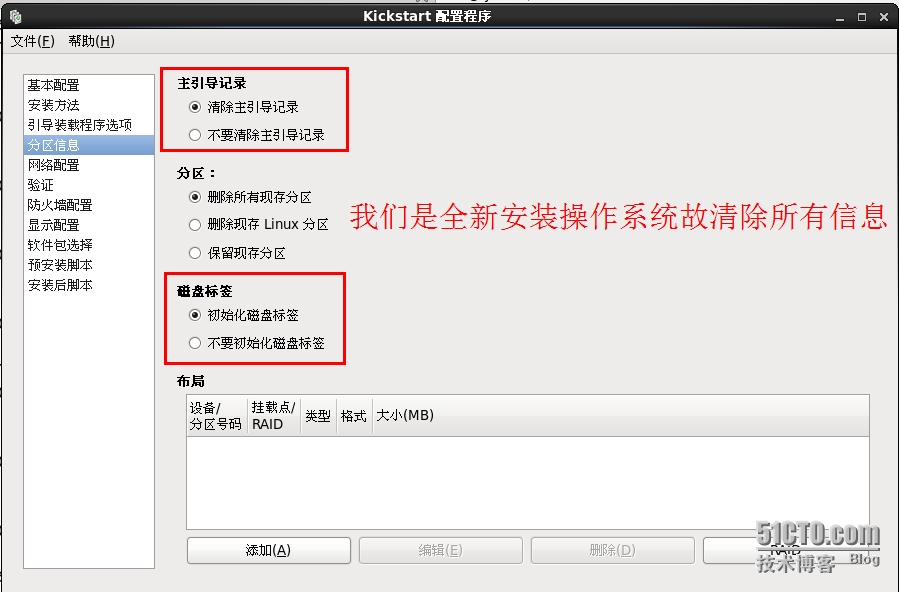
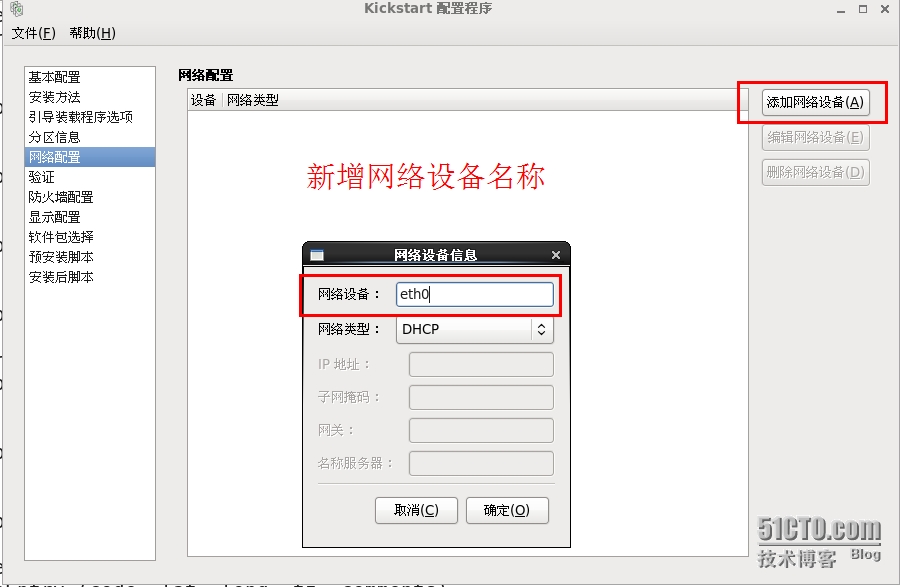
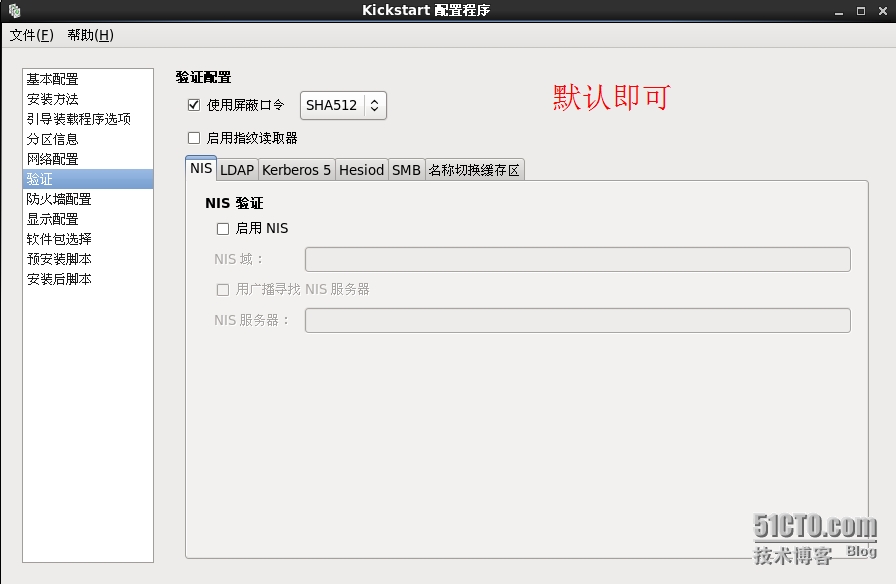
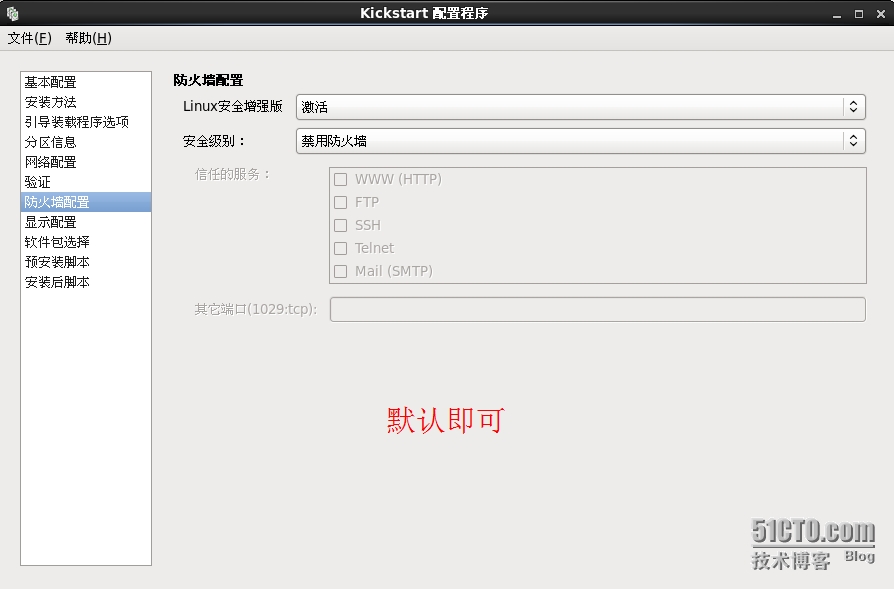
1)生成应答文件
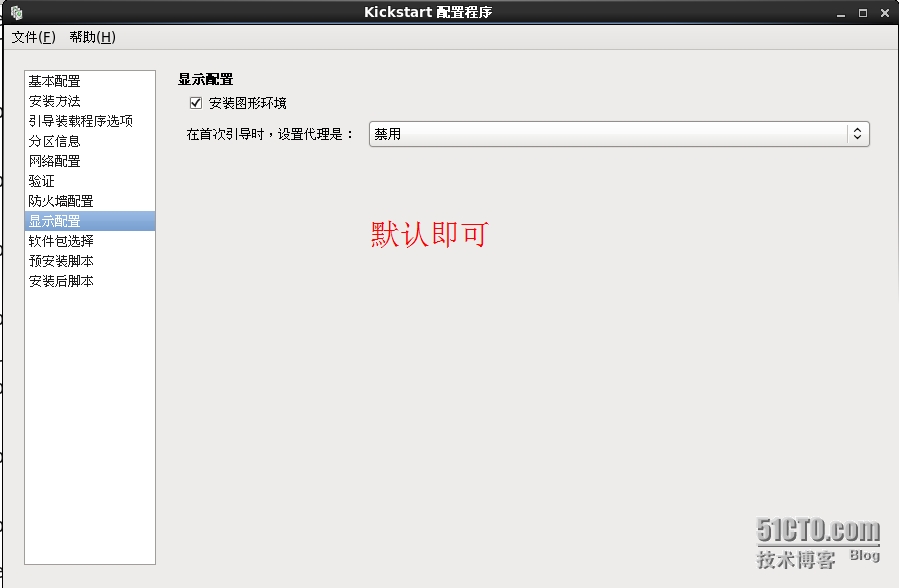
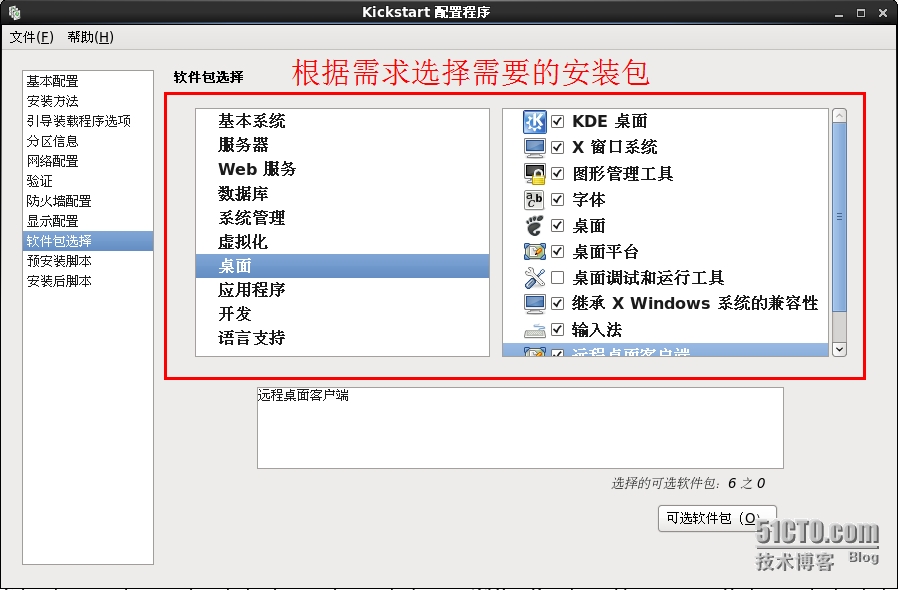
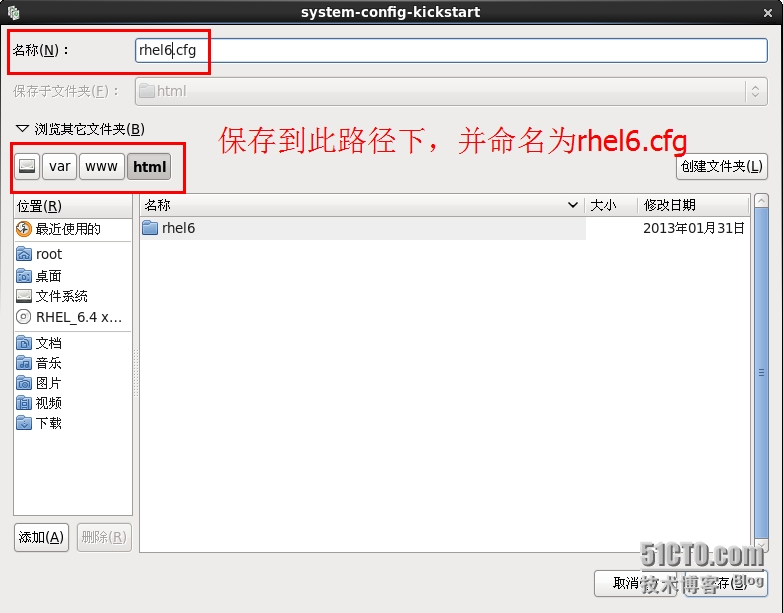
①执行system-config-kickstart配置应答文件
2)修改cobblerreport报告中rhel6的kickstart文件所在路径
cobblerprofile edit --name=rhel6-x86_64 --distro=rhel6-x86_64--kickstart=http://192.168.1.1/rhel6.cfg;
注意:其他系统应答文件配置类似,不在此重复,需要注意的是ubuntu类系统不是.cfg的应答文件,可参考cobbler中的/var/lib/cobbler/kickstarts/sample.seed的文件
3)重启所有相关服务(xinetd\httpd\cobblerd)或重启电脑
3.2客户端配置
3.2.1PEX客户端配置
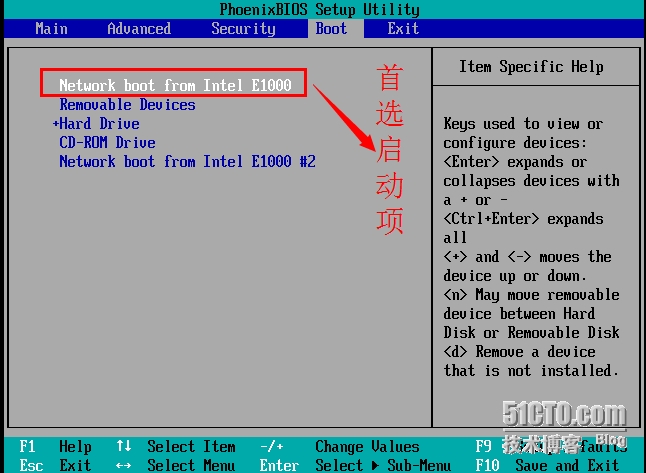
1)进入BIOS将网卡设置为首选项
3.2.2 cobbler安装过程
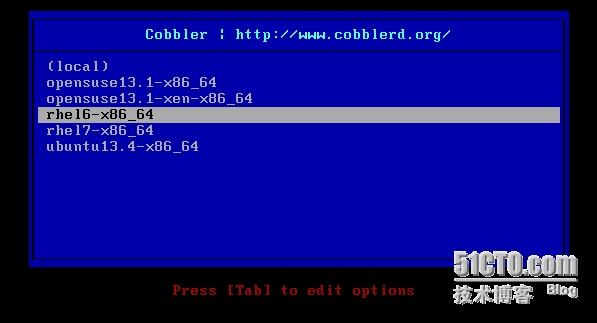
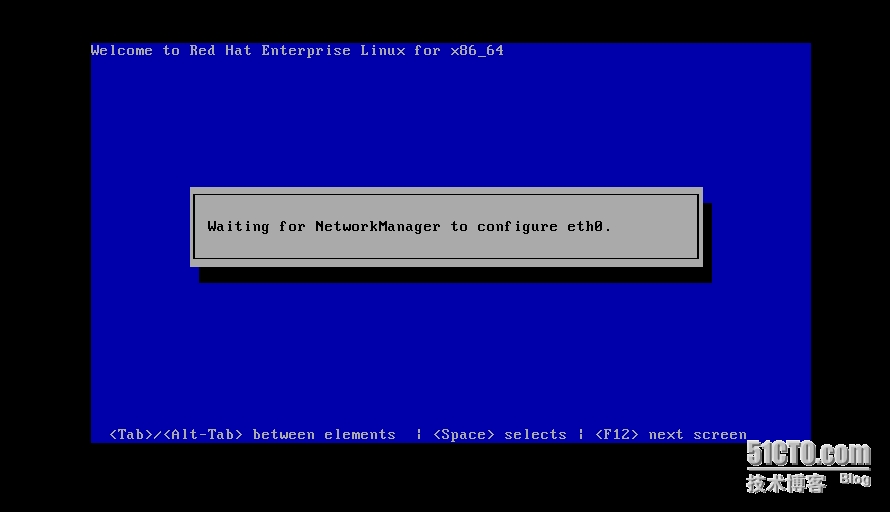

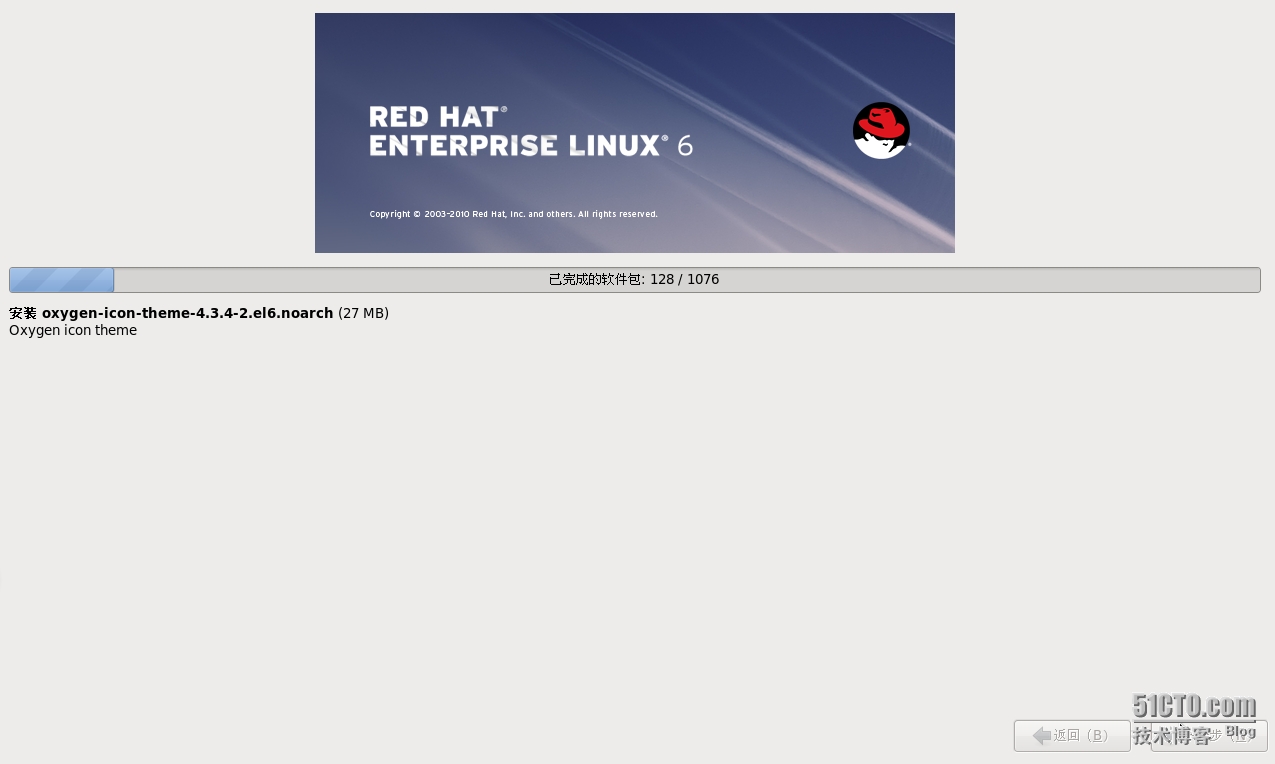
4 配置注意事项
关闭防火墙或开启相应的策略
关闭selinux
编辑/etc/rc.local开机自动挂载光盘
Chkconfig开机启动服务xinetd,http,dhcp
安装完毕后,需要修改bios启动项,以免再次优先网络启动再次安装系统
非光盘内所需的RPM包下载
http://down.51cto.com/data/1974866