Virtualbox上面UEFI/GPT安装Archlinux2015.05.01
新建Arch 64位虚拟机,内存1G,挂载Archlinux2015.05.01的ISO文件到光盘,网络选择桥接物理机网卡,硬盘设置32G。在"设置--系统--主板--扩展特性"下面勾选“启用EFI",然后启动虚拟机,选择第一个菜单启动。

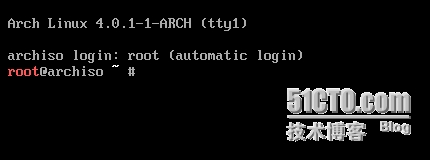
启动完成后自动登录。

开始对虚拟机硬盘分区,GPT模式,分三个区,一个给EFI启动,一个/,一个SWAP。
root@archiso ~ # parted
GNU Parted 3.2
Using /dev/sda
Welcome to GNU Parted! Type 'help' to view a list of commands.
(parted) mklabel
New disk label type? gpt
(parted) mkpart
Partition name? []?
file system type? [ext2]?
Start? 0
End? 300M
Warning: The resulting partition is not properly aligned for best performance.
Ignore/Cancel? I
(parted) mkpart
Partition name? []?
file system type? [ext2]?
Start? 300M
End? 32G
Warning: The resulting partition is not properly aligned for best performance.
Ignore/Cancel? I
(parted) mkpart
Partition name? []?
file system type? [ext2]?
Start? 32G
End? 34G
Warning: The resulting partition is not properly aligned for best performance.
Ignore/Cancel? I
(parted) quit
Information: You may need to update /etc/fstab
root@archiso ~ #
然后格式化分区
root@archiso ~ # mkfs.vfat -F32 /dev/sda1
root@archiso ~ # mkfs.ext4 /dev/sda2
root@archiso ~ # mkswap /dev/sda3
然后挂载分区
root@archiso ~ # mount /dev/sda2 /mnt
root@archiso ~ # mkdir -p /mnt/boot/efi
root@archiso ~ # mount /dev/sda1 /mnt/boot/efi
root@archiso ~ # swapon /dev/sda3
4. 清空mirrorlist文件,并写入163的源。
root@archiso ~ # echo > /etc/pacman.d/mirrorlist
root@archiso ~ # nano /etc/pacman.d/mirrorlist
Server = http://mirrors.163.com/archlinux/$repo/os/$arch
5. 开始安装系统
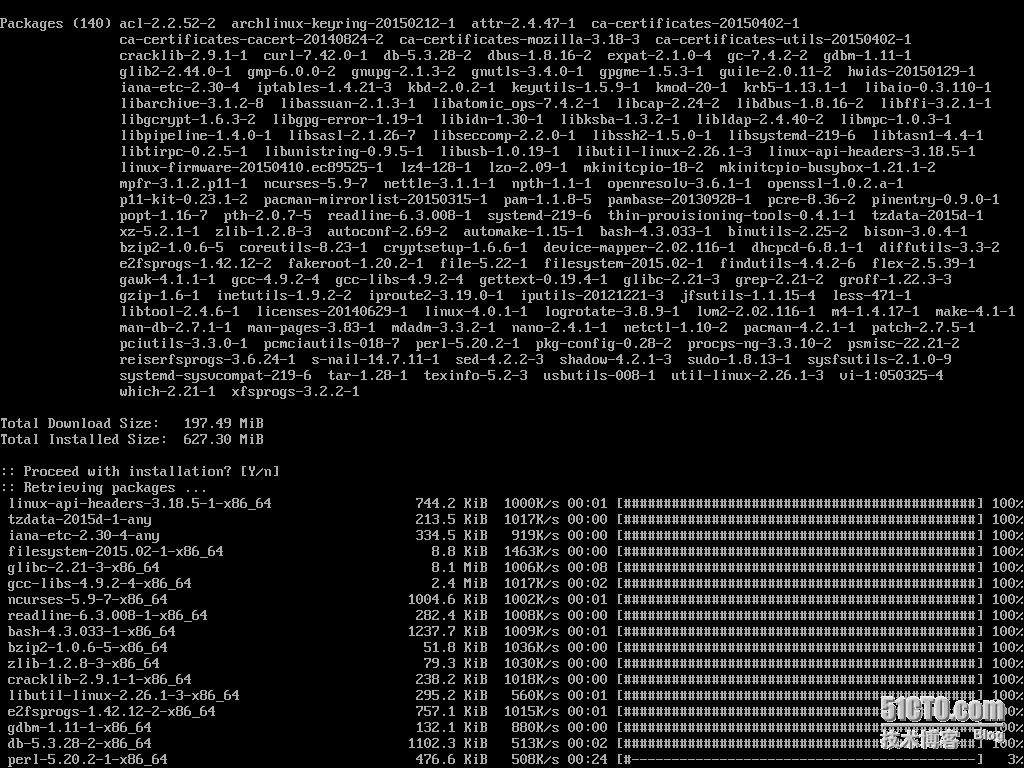
root@archiso ~ # pacstrap /mnt base base-devel

6. 安装完后写入分区表,切换到新系统
root@archiso ~ # genfstab -U -p /mnt >> /mnt/etc/fstab
root@archiso ~ # arch-chroot /mnt
sh-4.3#
7. 编辑/etc/locale.gen,去掉一下三个前面的#号注释,并运行
sh-4.3# nano /etc/locale.gen
en_US.UTF-8 UTF-8
zh_CN.UTF-8 UTF-8
zh_CN.GB2312
sh-4.3# locale-gen
8. 设置主机名和root密码
sh-4.3# echo arch150501 > /etc/hostname
sh-4.3# passwd
Enter new UNIX password: Ab12345678
Retype new UNIX password: Ab12345678
passwd: password updated successfully
sh-4.3#
9. 安装几个软件和grub启动器,要装EFI版本的。
sh-4.3# pacman -S openssh net-tools vim grub-efi-x86_64 efibootmgr
10. 把GRUB装到EFI分区里,这样就多一条GRUB启动项了。
sh-4.3# grub-install --efi-directory=/boot/efi --bootloader-id=arch-grub --recheck
11. 生成grub配置文件,在Grub里加一条启动项。
sh-4.3# grub-mkconfig -o /boot/grub/grub.cfg
12. 到此安装完成,卸载,重启,或者关机,卸载光盘ISO再启动
sh-4.3# exit
sh-4.3# umount /mnt/boot/efi
sh-4.3# umount /mnt
sh-4.3# reboot
13. 关机后卸载ISO文件再启动出现一个BUG,可能是Virtualbox的EFI有问题,不能正确引导GRUB。
临时解决办法,在UEFI Shell提示符后面输入以下命令启动GRUB.
2.0 Shell> fs0:\EFI\arch-grub\grubx64.efi
找到最终解决办法:
A. 在shell提示符里面查看启动的菜单.
2.0 Shell> bcfg boot dump -v
Option: 00. Variable: Boot0000
DeSC - EFI DVD/CDROM
DevPath - PciRoot(0x0)/Pci(0xD,0x0)/Sata(0x1,0x0,0x0)
Optional- N
Option: 01. Variable: Boot0001
DeSC - EFI Hard Drive
DevPath - PciRoot(0x0)/Pci(0xD,0x0)/Sata(0x0,0x0,0x0)
Optional- N
Option: 02. Variable: Boot0002
DeSC - EFI Internal Shell
DevPath - MemoryMapped(0xB,0x3FC4F000,0X3FFBEFFF)/FvFile(7C04A583-9E3E-4F1C-AD
65-E05268D0B4D1
Optional- N
B.删除光驱启动目录
2.0 Shell> bcfg boot rm 0
C.然后进入EFI分区,查看目录
2.0 Shell> fs0:
2.0 FS0:\> ls
Directory of: FS0:\
05/05/2015 07:03 <DIR> 4,096 EFI
0 File(s) 0 bytes
1 Dir(s)
2.0 FS0:\>
D.在EFI目录下建立boot目录,复制arch-grub目录下的grubx64.efi到此目录
2.0 FS0:\> cd EFI
2.0 FS0:\EFI> mkdir boot
2.0 FS0:\EFI> cd arch-grub
2.0 FS0:\EFI\arch-grub> cp grubx64.efi FS0:\EFI\boot
Copying FS0:\EFI\arch-grub\grubx64.efi -> FS0:\EFI\boot\grubx64.efi
- [OK]
E.将grubx64.efi该名为bootx64.efi
2.0 FS0:\EFI\arch-grub> cd ..
2.0 FS0:\EFI\> cd boot
2.0 FS0:\EFI\> mv grubx64.efi bootx64.efi
Moving FS0:\EFI\arch-grub\grubx64.efi -> \EFI\boot\grubx64.efi
- [OK]
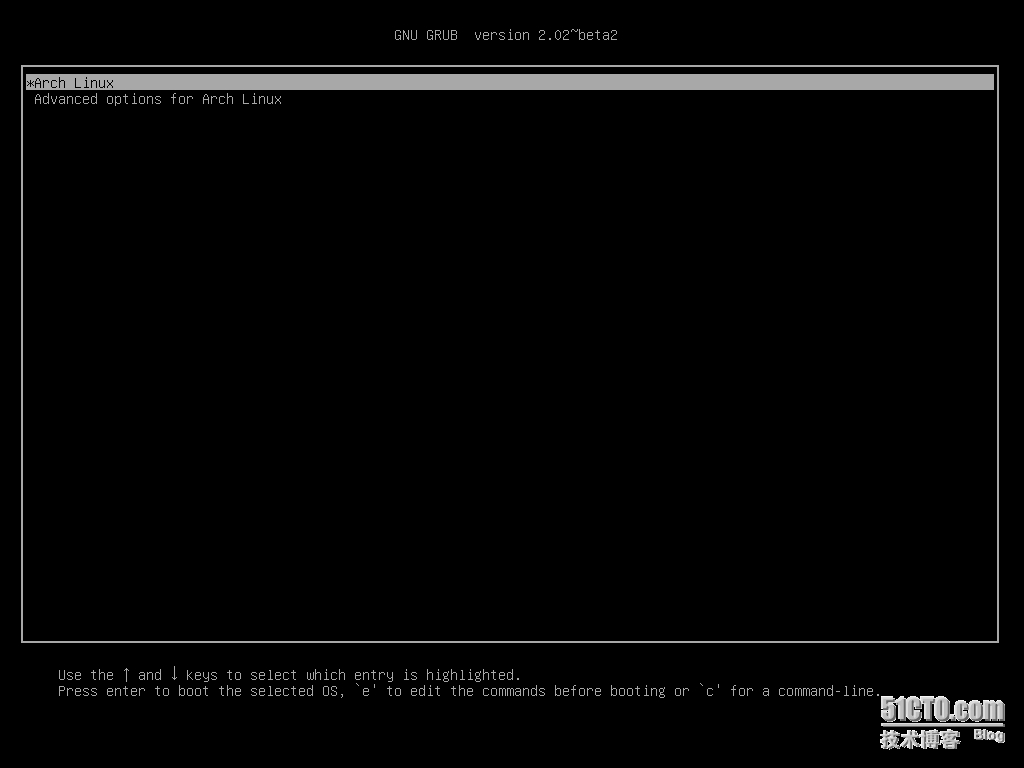
F.重启,见到GRUB启动菜单,然后就到登录界面。
