通过LAMP组合,基于heartbeat v2 crm实现HA
Heartbeat的定义
Heartbeat 项目是 Linux-HA 工程的一个组成部分,也是目前开源HA项目中最成功的一个例子,Linux-HA的全称是High-Availability Linux,这个开源项目的目标是:通过社区开发者的共同努力,提供一个增强linux可靠性(reliability)、可用性 (availability)和可服务性(serviceability)(RAS)的群集解决方案,它实现了一个高可用集群系统。心跳服务和集群通信是 高可用集群的两个关键组件,在 Heartbeat 项目里,由 heartbeat 模块实现了这两个功能。
二、Heartbeat的版本与组件
说明:Heartbeat有三个版本分别为Heartbeat v1.x,Heartbeat v2.x,Heartbeat v3.x。Heartbeat v1.x和Heartbeat v2.x版本的组成结构十分简单,所有模块都集中在heartbeat中,到了v3版本后,整个heartbeat项目进行了拆分,分为不同的项目来分别 进行开发。
1.Heartbeat v1.x与v2.x的组件
heartbeat:节点间通信检测模块
ha-logd:集群事件日志服务
CCM(Consensus Cluster Membership):集群成员一致性管理模块
LRM (Local Resource Manager):本地资源管理模块
Stonith Daemon: 使出现问题的节点从集群环境中脱离或重启
CRM(Cluster resource management):集群资源管理模块
Cluster policy engine: 集群策略引擎
Cluster transition engine:集群转移引擎(也叫策略执行引擎)
Heartbeat v1.x与Heartbeat v2.x区别:在Heartbeat v2.x中增加了一个新的集群资源管理器crm,在Heartbeat v1.x中的集群资源管理器是haresource,Heartbeat v2.x中为了兼容v1.x保留了haresource,但同时又新增了一个功能更强大的crm资源管理器。crm管理方式有,一种是基于命令行 crmsh,一种是基于图形界面的hb_gui。
2.Heartbeat v3.x的组件
Heartbeat:将原来的消息通信层独立为heartbeat项目,新的heartbeat只负责维护集群各节点的信息以及它们之前通信。
Cluster Glue:相当于一个中间层,它用来将heartbeat和pacemaker关联起来,主要包含2个部分,即为LRM和STONITH。
Resource Agent:用来控制服务启停,监控服务状态的脚本集合,这些脚本将被LRM调用从而实现各种资源启动、停止、监控等等。
Pacemaker:也就是Cluster Resource Manager(集群资源管理器,简称CRM),用来管理整个HA的控制中心,客户端通过pacemaker来配置管理监控整个集群。
作业:通过LAMP组合,基于heartbeat v2 crm实现HA。
1、地址规划
node1.test.com 192.168.77.101
node2.test.com 192.168.77.30
vip   192.168.77.200
2、主机名解析
[root@node1 ~]# uname -n
node1.test.com
[root@node1 ~]# cat /etc/hosts
127.0.0.1   localhost localhost.localdomain localhost4 localhost4.localdomain4
::1         localhost localhost.localdomain localhost6 localhost6.localdomain6
192.168.77.101 node1.test.com node1
192.168.77.130 node2.test.com node2
[root@node2 ~]# uname -n
node2.test.com
[root@node2 ~]# cat /etc/hosts
127.0.0.1   localhost localhost.localdomain localhost4 localhost4.localdomain4
 ::1         localhost localhost.localdomain localhost6 localhost6.localdomain6
192.168.77.101 node1.test.com node1
192.168.77.130 node2.test.com node2
3、配置双方互信
[root@node1 ~]# ssh-keygen -t rsa -f ~/.ssh/id_rsa -P ''
[root@node1 ~]# ssh-copy-id -i .ssh/id_rsa.pub [email protected]
[root@node2 ~]# ssh-keygen -t rsa -f ~/.ssh/id_rsa -P ''
[root@node2 ~]# ssh-copy-id -i .ssh/id_rsa.pub [email protected]
4、配置时间同步
# yum -y install ntpdate
# ntpdate time.windows.com
5、安装lamp
[root@node1 ~]# yum install http mysql-server php php-mysql
6、安装heartbeat相关软件包
[root@node1 ~]# yum install net-snmp-libs libnet PyXML
[root@node1 ~]# rpm -ivh heartbeat-2.1.4-12.el6.x86_64.rpm heartbeat-pils-2.1.4-12.el6.x86_64.rpm heartbeat-stonith-2.1.4-12.el6.x86_64.rpm
7、配置heartbeat
复制ha.cf,authkeys,haresources到/etc/ha.d下
[root@node1 ~]# cp /usr/share/doc/heartbeat-3.0.4/{ha.cf,authkeys,haresources} /etc/ha.d/
编辑authkeys文件
[root@node1 ~]# openssl rand -hex 8 >> authkeys #生成密钥追加到authkeys文件中
[root@node1 ~]# vi authkeys #修改为以下配置,使用sha1加密
auth 2
#1 crc
#2 sha1 HI!
#3 md5 Hello!
2  sha1 d0071be771be703c
编辑ha.cf主配置文件
[root@node1 ~]# grep -v '^#' ha.cf |sed '/^$/d'
logfacility local0
mcast eth1 225.0.0.1 694 1 0     #修改心跳信息的传播方式|组播
auto_failback on
node node1.test.com    #配置集群中的节点数
node node2.test.com    #配置集群中的节点数
编辑haresources配置文件
[root@node1 ~]# grep -v "#" haresources
node1.test.com 192.168.77.200/24/eth1 httpd
复制配置文件导node2
[root@node1 ~]# scp /etc/ha.d/{ha.cf,haresources,authkeys} [email protected]:/etc/ha.d/
五、节点提供httpd服务
编辑html
[root@node1 ~]# echo "<h1>node1.test.com</h1>" > /var/www/html/index.html
启动httpd
[root@node1 ~]# service httpd start
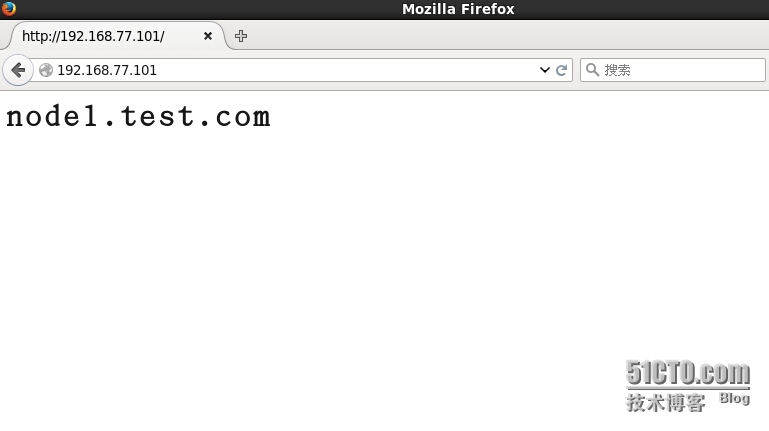
浏览node1

node2关闭IPTABELS
[root@node2 ~]# getenforce
Disabled
[root@node2 ~]# service iptables stop
iptables:将链设置为政策 ACCEPT:nat mangle filter         [确定]
iptables:清除防火墙规则:                                 [确定]
iptables:正在卸载模块:                                   [确定]
[root@node2 ~]#
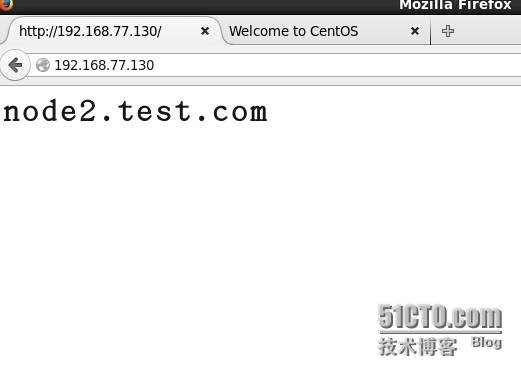
访问node2节点

启动heartbeat服务
[root@node1 ~]# /etc/init.d/heartbeat start
Starting High-Availability services: INFO:  Resource is stopped
Done.
查看vip
[root@node1 ~]# ip addr
eth1: <BROADCAST,MULTICAST,UP,LOWER_UP> mtu 1500 qdisc pfifo_fast state UP qlen 1000
link/ether 00:0c:29:c7:14:97 brd ff:ff:ff:ff:ff:ff
inet 192.168.77.101/24 brd 192.168.0.255 scope global eth1
inet 192.168.77.200/24 scope global eth1
查看httpd服务是否被heartbeat接管
[root@node1 ~]# netstat -tnlpu |grep httpd2    tcp        0      0 :::80                       :::*                        LISTEN      2140/httpd
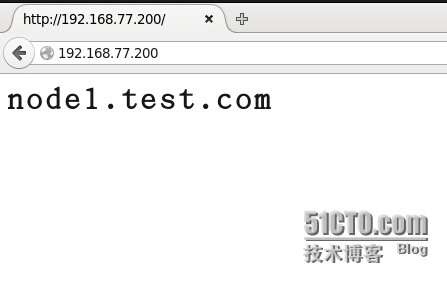
浏览器测试

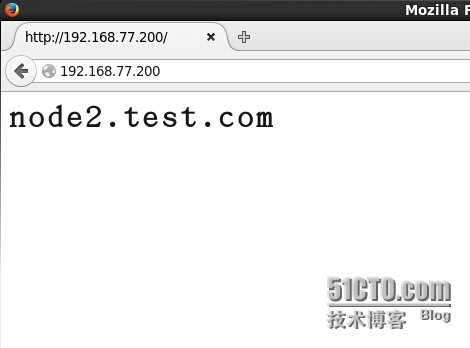
停止node1,httpd后测试
