搭建PXE网络启动服务器安装CentOS7系统
一、服务器系统安装
PXE服务器使用CentOS7-x86_64位系统。最好配置上网权限,这样能够用yum方便地安装软件包。
二、安装TFTP服务
首先安装tftp软件包:yum install -y tftp-server
创建tftpboot目录用做tftp服务器的根目录:mkdir -p /tftpboot
编辑tftp配置文件/etc/xinetd.d/tftp:
# default: off
# description: The tftp server serves files using the trivial file transfer \
#	protocol.  The tftp protocol is often used to boot diskless \
#	workstations, download configuration files to network-aware printers, \
#	and to start the installation process for some operating systems.
service tftp
{
	socket_type		= dgram
	protocol		= udp
	wait			= yes
	user			= root
	server			= /usr/sbin/in.tftpd
<span style="color:#FF0000;">	server_args		= -s /tftpboot
	disable			= no</span>
	per_source		= 11
	cps			= 100 2
	flags			= IPv4
}
重启xinetd服务:service xinetd restart
三、获得pxelinux.0文件
pxelinux.0文件在syslinux包中:
yum install -y syslinux
cp /usr/share/syslinux/pxelinux.0 /tftpboot/
四、安装dhcp服务
首先安装dhcp软件包:yum install -y dhcp
编辑配置文件/etc/dhcp/dhcpd.conf:
#
# DHCP Server Configuration file.
#   see /usr/share/doc/dhcp*/dhcpd.conf.example
#   see dhcpd.conf(5) man page
#

allow booting;      #定义能够PXE启动
allow bootp;
log-facility local4;

subnet 10.1.5.0 netmask 255.255.255.0 {
    range 10.1.5.117 10.1.5.120;
    option routers 10.1.1.1;
    option subnet-mask 255.255.255.0;
    filename "pxelinux.0";
    default-lease-time 86400;
    max-lease-time 172800;
    host ns {
        next-server 10.1.5.116;
        hardware ethernet 88:51:fb:59:1c:9b;
    }
}
重启dhcpd服务:service dhcpd restart
如果range指定的IP范围很小,在IP全部分配完毕后DHCP就不再分配IP。进行网络引导时DHCP服务器不会分配IP并会出现:“no free leases”的LOG。解决方法是减小租约时间即,default-lease-time和max-lease-time的值,这个方法未经验证,只是理论上应该可行。可靠的方法是清空租约文件:cat /dev/null > /var/lib/dhcpd/dhcpd.leases
五、安装vsftpd服务
yum install -y vsftpd
禁用防火墙:systemctl stop firewalld.service
取消防火墙开机启动:firewallsystemctl disable firewalld.service
关闭SELinux:setenforce 0;这种修改立时生效,但重启后失效。
永久关闭SELinux:编辑/etc/selinux/config,设置:SELINUX=disabled,保存退出。这种修改只能重启生效。
改变pub文件夹属主,使ftp用户能够上传数据:chown ftp /var/ftp/pub/
编辑/etc/vsftpd/vsftpd.conf,确保以下设置:
anonymous_enable=yes
anon_upload_enable=YES
anon_umask=022
重启vsftpd服务:service vsftpd restart
上传CentOS7 ISO文件到/var/ftp/pub/iso目录下。其它目录也可以,而且也不一定要用FTP上传。
创建目录用于挂载iso文件:mkdir -p /var/ftp/c7-64
挂载ISO:mount -o loop /var/ftp/pub/iso/CentOS-7-x86_64-DVD-1503-01.iso /var/ftp/c7-64/
六、准备文件
cp /var/ftp/c7-64/images/pxeboot/vmlinuz /tftpboot/vmlinuz.c7-64
cp /var/ftp/c7-64/images/pxeboot/initrd.img /tftpboot/initrd.img.c7-64
mkdir -p /tftpboot/pxelinux.cfg
编辑/tftpboot/pxelinux.cfg/default,填入如下内容:
default c7
prompt 1
timeout 100
display boot.msg

label c7
  kernel vmlinuz.c7-64
  append initrd=initrd.img.c7-64 method=ftp://10.1.5.116/c7-64 devfs=nomount
其中10.5.1.116是FTP服务器IP。
创建/tftpboot/boot.msg用于显示信息:
###################################################
#                                                                                                                                   #
# Input:                                                                                                                       #
#    c7 to install CentOS7-64                                                                                    #
#                                                                                                                                   #
# Type Enter directly to install default OS                                                             #
# Default is c7                                                                                                            #
###################################################
七、安装CentOS7
设置要安装的机器启动方式为网络引导,内存最好不小于2G。然后启动:
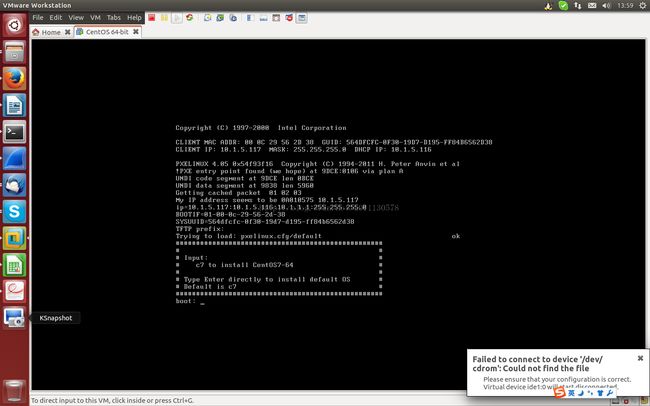
键入c7,回车,或直接回车安装默认系统,都可以安装CentOS7。如果不做任何操作则10s后会超时安装默认系统,现在这个默认也是CentOS7。接下来会进入CentOS7的安装界面:
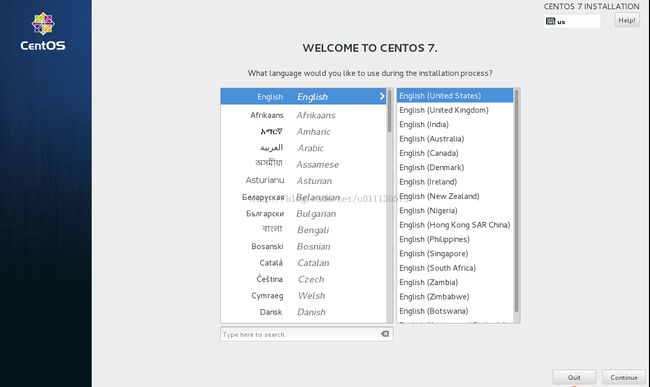
选择完语言后继续:
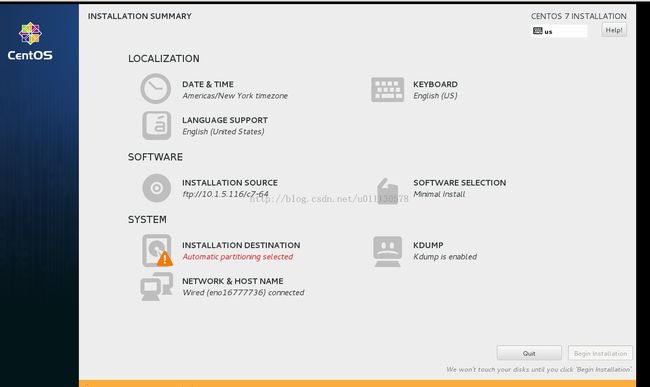
注意一定要等INSTALLATION SOURCE下面出现ftp://10.1.5.116字样后才能选择软件包。双击SOFTWARE SELECTOIN可以选择软件包。然后双击INSTALLATION DESTINATION进行分区,完毕后就可以进行安装了:
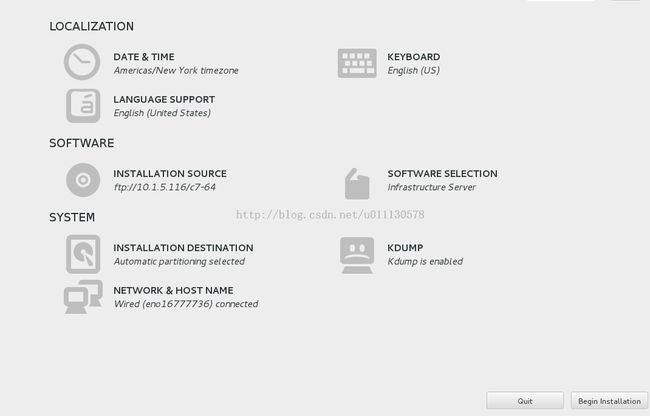
点击“Begin installation”开始安装:
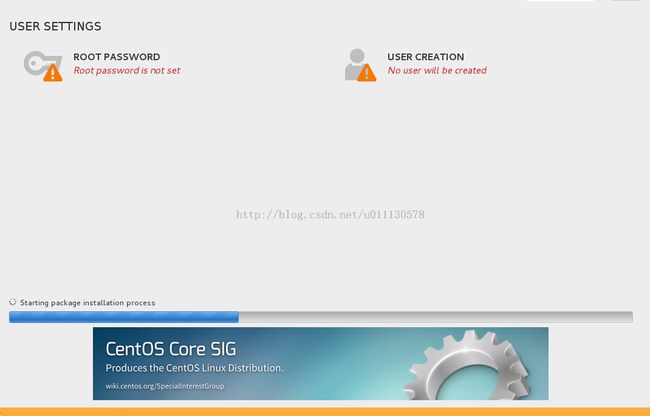
双击ROOT PASSWORD设置root用户密码。普通用户可以不设置。在Starting package installation process这步会停很长时间(大概10分钟),要有耐心哦。