关键字:WebSphere Portal 6.1 solaris 集群 安装
概述
介绍
WebSphere Portal门户系统共有三台8c\16G solaris10 Sparc64,我们在此环境下安装一个四节点的Portal集群。
安装环境
操作系统: solaris10 Sparc64
WAS版本:7.0.0.11
Portal版本:6.1.0.4
DB2版本:9.1.0.9-FP009
TDS版本:64-bit TDS server version:6.1.0.34
网络环境
整个网络为单一的网段,不存在DMZ区,客户可以通过内网、OA网、外网访问门户
架构拓扑
共三台机器,配置都是8c\16G solaris10 Sparc64 。采用三节点的集群方案,数据库使用informix具体安装方案如下
10.110.138.71:
DM、Portal Node1、HIS(主)、TDS、WAS Node(portalsp)
10.110.138.72:
DB2、Portal Node2、HIS(备)、WAS Node (2AService和Management)
10.110.138.74:
Informix、Portal Node3、Portal Node4
约定
目录预定
<AppServer root>
AppServer的根目录,本文是:/opt/IBM/WebSphere/AppServer
<PortalServer root>
PortalServer的根目录,本文是:/opt/IBM/WebSphere/PortalServer
<wp_profile>
wp_profile的根目录,本文是:/opt/IBM/WebSphere/wp_profile
<dmgr_profile>
dmgr p的根目录,本文是:/opt/IBM/WebSphere/AppServer/profiles/Dmgr01
<plugin root>
WebSphere Plugin的根目录,本文是:/opt/IBM/WebSphere/Plugins
<HttpServer root>
HttpServer的根目录,本文是:/opt/IBM/HTTPServer
命令执行约定
执行命令的时候,有时会不说明路径,在此统一说明
ConfigEngine.sh
配置门户的命令,在<wp_profile>/ConfigEngine下面执行
./stopServer.sh
停止服务的命令,在<wp_profile>/bin下面执行
./stopServer.sh
停止服务的命令,在<wp_profile>/bin下面执行
./startManager.sh
停止DMGR的命令,在<dmgr_profile> /bin下面执行
./stopManager.sh
停止DMGR的命令,在<dmgr_profile> /bin下面执行
tar.gz文件的解压缩命令
gunzip -c xxx.tar.gz | tar -xvf –
用户约定
所有安装时(was、portal、profile)设置的用户和密码都用的是一套,切记切记
环境设置
HOST文件设置
为了不直接配置链接(数据库、ldap、DM)的时候使用ip,我们会在三天机器上面配置Hosts文件。
请见《host.txt》
主节点安装WAS 7
安装WAS 7
准备介质
解压wasnd_solaris_Sparc64_7_C1G3HML.tar.gz文件
命令 gunzip -c wasnd_solaris_Sparc64_7_C1G3HML.tar.gz | tar -xvf –
执行安装
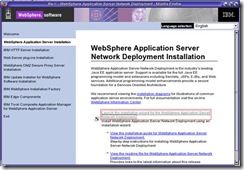
执行./launchpad.sh
![]()
弹出安装界面,选择 Websphere Application Server Installation
点击下一步
选择 同意 ,点击下一步
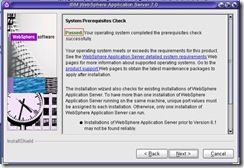
看到 绿色的 Passed ,点击下一步
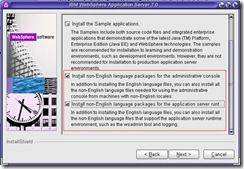
选择 第二个和第三个语言包,点击下一步
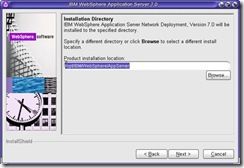
默认 installion Directory 选择 下一步
选择 None 选择下一步
点击 Yes
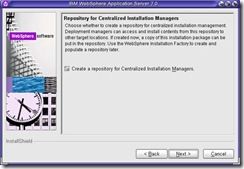
默认,选择下一步
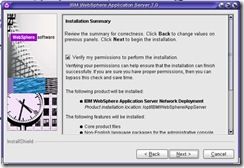
选择 Verify my permissions to perform the installion ,选择下一步
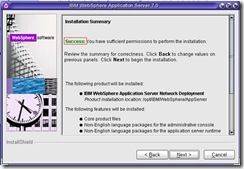
看到 绿色的 Success ,点击下一步,开始安装
安装时根据机器配置不同,大约需要10-20分钟,安装过程能看到进度条
看到绿色的 Success ,点击下一步
升级到7.0.0.11
需要升级到最新版本,目前最新版本是7.0.0.11
准备介质
解压7.0.0.11-WS-UPDI-SolarisSparc64.zip 文件
命令 unzip 7.0.0.11-WS-UPDI-SolarisSparc64.zip
安装升级工具
执行 ./install
![]()
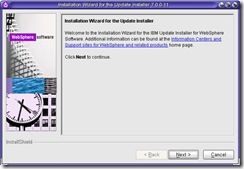
点击下一步
选择 同意 ,选择下一步
看到绿色的 Passed,点击下一步
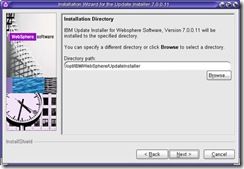
默认的 Installation Directory ,点击下一步
点击下一步
安装时根据机器配置不同,大约需要4-10分钟,安装过程能看到进度条
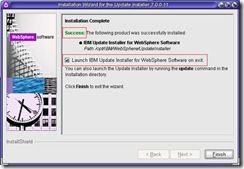
看到绿色的 Success,点击 完成
准备升级包
升级可以从网上下载,需要JDK和WAS的升级包,把WAS的升级包放在安装机器的目录里。
执行升级
安装升级工具后会弹出升级的界面
选择下一步
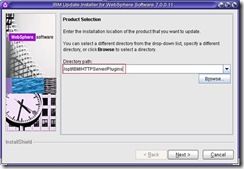
默认 Directory Path,选择下一步
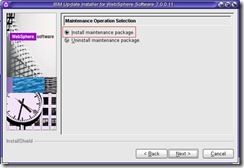
选择 Install mationtenance package ,点击下一步
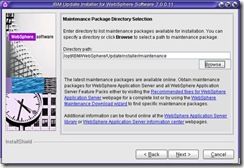
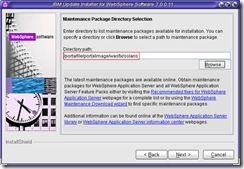
选择升级介质所在的文件夹目录,点击下一步
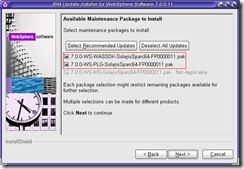
选择WAS和SDK的升级文件,点击下一步
选择下一步
安装时根据机器配置不同,大约需要10-20分钟,安装过程能看到进度条
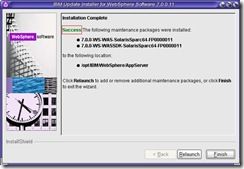
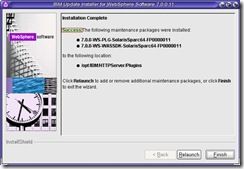
看到绿色的 Success,选择完成
主节点安装Portal
安装6.1.0.1
准备介质
确保 SS-1 、SS-2、SS-3、SS-4、SS-5、SS-5a、SS-Setup 拷贝到安装机器上。
执行安装
执行./install.sh
![]()
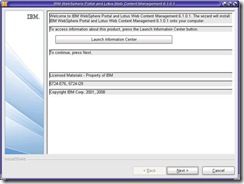
弹出安装界面,点击下一步
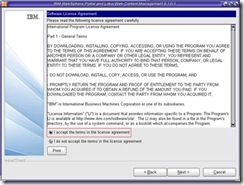
选择 同意 ,点击下一步
选择 Full 方式,点击下一步
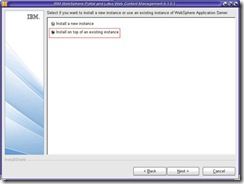
选择 Install on top of an existing instance ,点击下一步
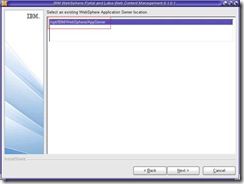
需要选择上出现的路径,点击下一步
使用默认路径,选择下一步
填写Node Name 和 Host Name,需要和之前配置的HOST文件相对应,点击下一步
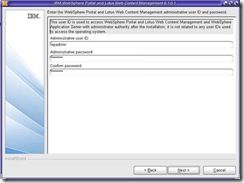
输入用户名,密码,点击下一步
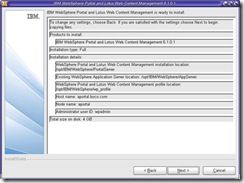
出现总结,点击下一步
开始安装,安装时根据机器配置不同,大约需要20-40分钟,安装过程能看到进度条
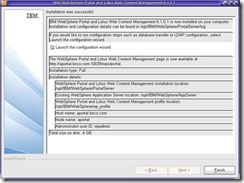
安装完成,不要选择 Launch the configuration wizard ,点击 Finish完成安装
可以在浏览器中输入http://yourserver.yourcompany.com:10039/wps/portal 来验证一下是否安装成功
升级到6.1.0.4
准备介质
准备Portal升级工具
解压缩 6.1-WP-UpdateInstaller-Solaris-SPARC.tar.gz
![]()
准备Portal升级包
下载下来的是6.1.0-WP-Multi-FP004.zip,需要解压缩,执行命令unzip 6.1.0-WP-Multi-FP004.zip
解压缩后文件为WP_PTF_6104.jar
停止Portal
执行命令./stopServer.sh WebSphere_Portal -username wpadmin -password passw0rd停止portal
修改配置文件
修改配置文件wkplc.properties中的portal、was的密码。两个变量为PortalAdminPwd 、WasPassword
执行安装
执行命令./updatePortalWizard.sh
![]()
选择简体中文
点击下一步
默认,点击下一步
选择第一个,点击下一步
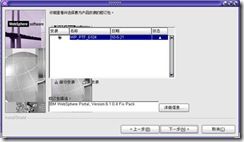
修改目录,定位到之前解压得到的WP_PTF_6104.jar文件所在的目录
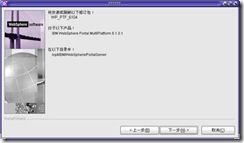
默认,点击下一步
点击下一步
安装时根据机器配置不同,大约需要40-100分钟,安装过程能看到进度条
升级完成,点击完成。
主节点安装DM
执行命令安装DM的profile,
./manageprofiles.sh -create -templatePath /opt/IBM/WebSphere/AppServer/profileTemplates/dmgr -profileName dmgr -profilePath /opt/IBM/WebSphere/AppServer/profiles/Dmgr01 -enableAdminSecurity true -adminUserName wasadmin -adminPassword Hlj@123
配置DM
配置参数
Ø 启动DM
在<dmgr_profile>/bin下执行./startManager.sh,启动DM
Ø 访问DM
在浏览器中通过http://<yourhostname>:9060/ibm/console 访问DM
Ø 登录
使用 wasadmin Hlj@123 登录
Ø 增加HTTP Connection timeouts
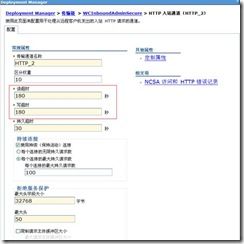
进入 系统管理 > Deployment Manager > 传输链,把WCInboundAdmin和WCInboundAdminSecure的 HTTP 入站通道 中的Read Timeout和Write Timeout两个属性改成180
Ø 修改JMX的requestTimeout
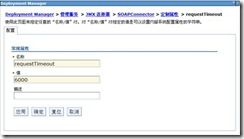
进入 系统管理 > Deployment Manager > 管理服务 > JMX 连接器 > SOAPConnector > 定制属性,把requestTimeout改成6000
Ø 修改DM的JVM参数
进入 系统管理 > Deployment Manager > 进程定义 > Java 虚拟机,修改初始堆大小和最大堆大小,分别为256、1024
Ø 修改文件参数
进入 <dmgr_profile>/properties 目录,修改soap.client.props 文件的com.ibm.SOAP.requestTimeout属性值,改为 6000
创建用户和组
Ø 创建组
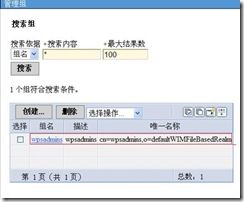
进入 用户和组 > 管理组,创建名为wpsadmins的组
Ø 用户添加进组
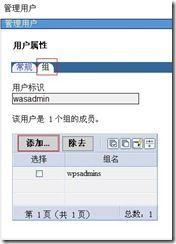
进入用户和组 > 管理用户,把刚才的登录用户添加进wpsadmins组里面
重启DM
停止DM执行命令./stopManager.sh -user wasadmin -password Hlj@123
启动DM执行命令./startManager.sh
安装DB2
准备介质
解压缩 v9fp9_sunos_ese.tar.gz文件
安装
执行./db2setup
![]()
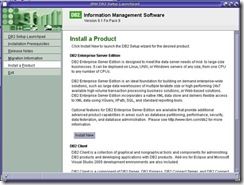
选择 Install a Product, 点击 DB2 Enterprise Server Edition下面的Install New
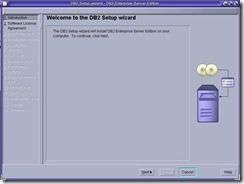
弹出安装界面,点击下一步
选择 同意,点击下一步
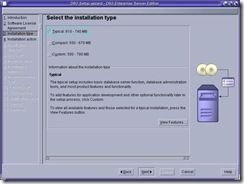
选择典型安装,点击下一步
选择第三个(最后一个),点击下一步
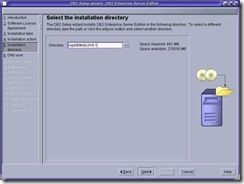
使用默认目录,点击下一步
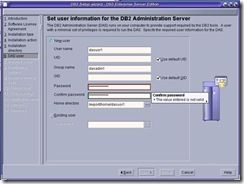
输入密码,此处为Hlj@123,选择下一步
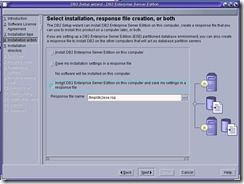
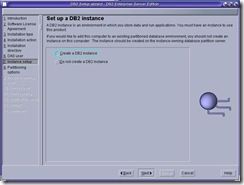
选择 Create a DB2 instance ,点击下一步
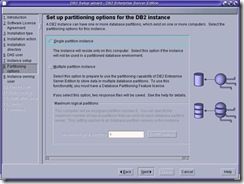
选择第一个单实例,点击下一步
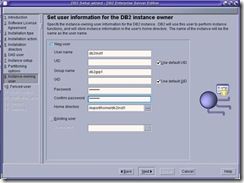
输入密码,点击下一步
输入密码,点击下一步
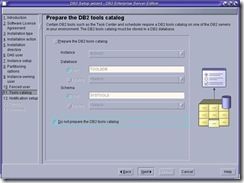
选择 Do not prepare the DB2 tools catalog,点击下一步
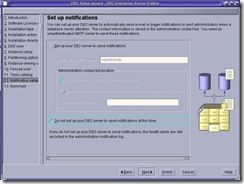
选择 Do not set up your DB2 server to send motifications at this time,点击下一步
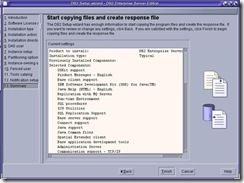
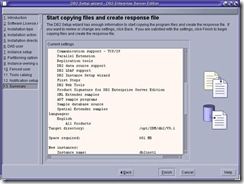
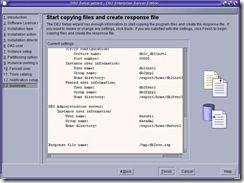
经过
安装license
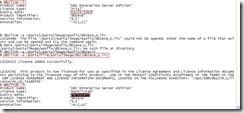
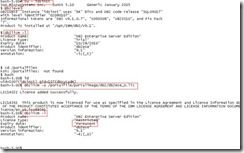
查看db2的license,使用db2用户登录,输入db2licm –l 查看现在的授权,然后使用 db2licm –a 添加授权,最后再使用db2licm –l确认授权已经添加进去
设置参数
首先在Global zones上执行db2osconfig,查看输出
set msgsys:msginfo_msgmni = 16384
set semsys:seminfo_semmni = 20480
set shmsys:shminfo_shmmax = 182228012236
set shmsys:shminfo_shmmni = 20480
执行:
projadd -U db2inst1 user.db2inst1
projmod -s -K "project.max-shm-ids=(privileged,20480,deny)" user.db2inst1
projmod -s -K "project.max-msg-ids=(privileged,16384,deny)" user.db2inst1
projmod -s -K "project.max-sem-ids=(privileged,20480,deny)" user.db2inst1
查看:
prctl -n project.max-shm-memory -i project user.db2inst1
prctl -n project.max-shm-ids -i project user.db2inst1
prctl -n project.max-msg-ids -i project user.db2inst1
prctl -n project.max-sem-ids -i project user.db2inst1
主节点数据迁移
主节点配置加入集群
此节待补充、完善
1 进入主节点的<wp_profile>/ConfigEngine目录
2 执行 ./ConfigEngine.sh collect-files-for-dmgr -DWasPassword=<password>,生成filesforDmgr.zip的文件在<wp_profile root>/filesforDmgr目录下。
3 解压缩filesforDmgr.zip文件 unzip filesForDmgr.zip
4 拷贝文件
AppServer/profiles/Dmgr01/config/.repository/metadata_wkplc.xml <dmgr_profile>/config/.repository directory.
cp metadata_wkplc.xml /opt/IBM/WebSphere/AppServer/profiles/Dmgr01/config/.repository
AppServer/plugins/com.ibm.ws.portletcontainer.deploytask_6.1.0.jar 、 wp.base.jar
<AppServer root>/plugins
cp *.jar /opt/IBM/WebSphere/AppServer/plugins
5 停止DM
./stopManager.sh -user <admin user> -password <admin pwd>
6 启动DM
./startManager.sh
7 停掉portal
./stopServer.sh WebSphere_Portal -user <admin user> -password <admin pwd>
8 停掉 server1
可以先用 ./serverStatus.sh –all 查看一下server是否启动了
9 备份 ConfigEngine下的properties文件夹
cp -r properties properties730
10修改
11 执行命令
/ConfigEngine.sh cluster-node-config-pre-federation -DWasPassword=Hlj@123(密码为dm密码)
第二、三节点安装WAS 7
如果需要多节点,可以安装多个第二节点。安装方法和安装主节点相同,具体请参考主节点的安装方法
第二、三节点安装Portal
如果需要多节点,可以安装多个第二节点。安装方法和安装主节点相同,具体请参考主节点的安装方法
第二节点加入集群
此节待补充、完善
安装TDS
准备介质
tar xvf tds61-solaris-sparc-CD1_w_entitlemt.tar
tar xvf 6.1.0.4-TIV-ITDS-SolarisSparc-IF0004.tar
DB2安装
因为TDS需要使用DB2作为后台,所以需要安装DB2,安装过程和之前的DB2安装一致,注意同样需要添加license和设置操作系统参数
安装6.1
安装
执行 ./install_tds.sh 进行安装
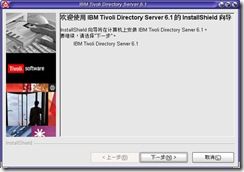
![]()
选择简体中文
点击下一步
选择同意,点击下一步
因为DB2已经在之前安装过,所以会识别出已经安装,点击下一步
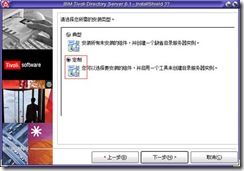
选择定制,点击下一步
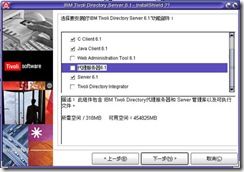
只用选择 C client 、Java client 、Server 6.1三项,点击下一步
点击安装
安装时根据机器配置不同,大约需要10-20分钟,安装过程能看到进度条
点击完成,完成安装。此时会弹出配置实例的工具,由于需要先升级所以先不配置实例。
升级到FP4
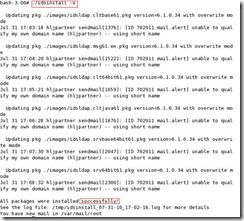
执行 ./idsinstall –u 执行升级,大约需要10分钟,看到successfully说明升级成功了。
创建实例
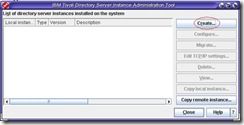
在 TDS的安装目录下的sbin目录下执行Idsxinst,在弹出的实例管理工具点击create
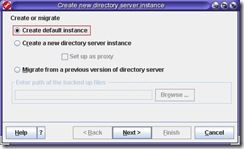
选择默认的创建实例方式
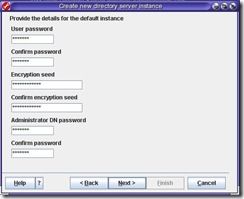
输入密码,此处为Hlj@123,Encryption seed,输入十二个0,点击下一步
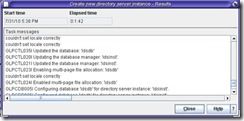
仔细查看每一行输出日志,看有没有报错和异常。
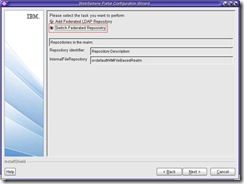
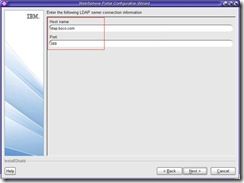
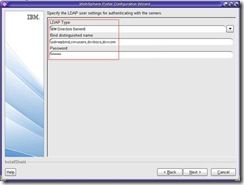
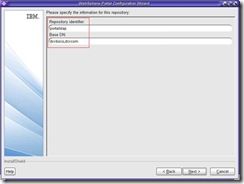
配置实例
此节待补充、完善
添加后缀
添加用户和组
添加权限
集群配置安全性
安装IHS
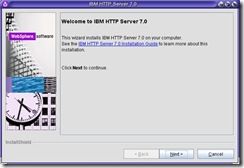
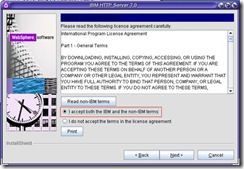
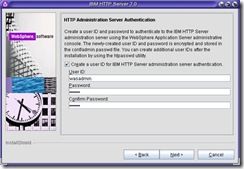
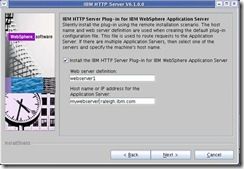
WebSphere Portal 6.1需要安装两个IHS,一个给portal及支撑平台使用,一个给2A使用,并互为备份,两个IHS的的安装过程完全一致,此处记录的是第二个HIS(给2A使用)的安装、升级、配置过程。
准备介质
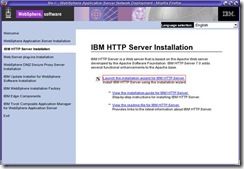
安装
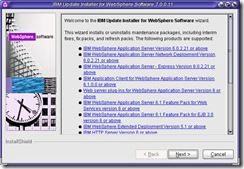
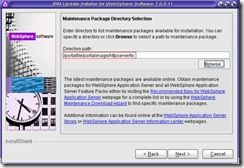
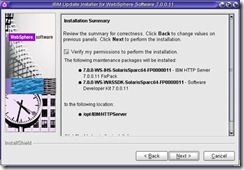
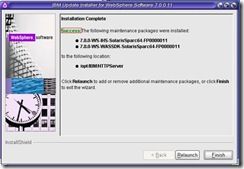
![]()
(这张图忘截了,照一张代替,步骤相同)
升级
集群配置HIS
1 拷贝<plugin root>/bin(72)目录下的configurewebserver2.sh到<dmgr_profile>/bin(71)
2 确保DM是启动的。在<dmgr_profile>/bin目录下运行
./configurewebserver2.sh -user wasadmin -password Hlj@123
3 登录到DM,查看新增加的web 服务器定义
4 生成插件,选择 webserver2 ,点击生成插件
5 启动IHS,在 <HttpServer root> /bin 下执行 ./apachectl start
6 传播插件,选择 webserver2 ,点击传播插件
如果传播不成功,需要手工拷贝文件,拷贝/opt/IBM/WebSphere/AppServer/profiles/Dmgr01/config/cells/hljpartnerCell01/nodes/hljpartnerdb-node/servers/webserver2/plugin-cfg.xml 到<plugin_root>/config/webserver1
7 重启DM、Cluster、Web server
8 通过 http://10.110.138.72/wps/portal 验证

