VM Role实战: Azure 平台上传虚拟机C 盘不能大于64GB
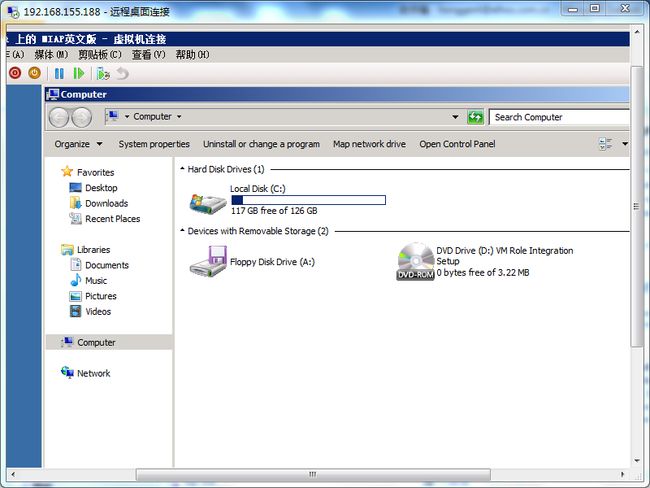
客户带来一个虚拟机,结果C盘分了126GB。如下图所示:
用CSUpload上传,会出现“TheVHDs logical size of 130048MB exceeds the system maximum of 66560MB”.错误。
解决办法:收缩C盘空间
具体步骤:
1. Shut down theVM.
2. Copy VHD fileto your machine from where you will be performing CSUpload.
3. Attach locallycopied VHD from Disk Management Console.
4. Right Clickand select option as “Attach VHD”.
5. Select locallycopied VHD file and click ok.
6. Right click onnewly attached Disk and select “Shrink Volume” Option.
7. Provide thesize of the disk you want to shrink. In your case the VHD to be less than 65GB.So anything below 62 GB will be suitable. Make sure that you enter such a valuein "enter amoun tof space to shrink in MB" textbox so that value in"Total size after shrink in MB" textbox will have value less than60GB.
8. Detach VHDafter completion of shrink.
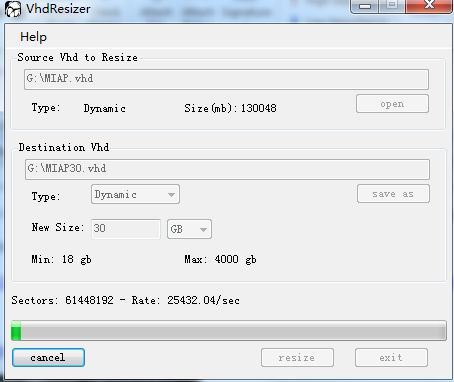
9. Download andinstall VHDResizer application, which is free. Then open the VHDResizerapplication and provide the VHD file path of above shrank VHD in Source. Thenprovide destination path and new size as 61GB and click on Resize button.
10. Thedestination path will have VHD with required size. Proceed with Csupload ofVHD. Azure will not show any problem.
相关文章:
http://blogs.msdn.com/b/avkashchauhan/archive/2010/12/22/windows-azure-vm-role-handling-error-the-vhds-logical-size-of-130048mb-exceeds-the-system-maximum-of-66560mb.aspx
http://social.msdn.microsoft.com/Forums/en-CA/windowsazureconnectivity/thread/e29f44eb-9e1b-4f46-9831-bba8e178ec2e
GmN85ZqettD3nzlhu9/sJpLJoATKa6xHDKNK2ZGNmdcFDyWlMejPzkNg64m/fd2+quqGcTkv7ZvrN0Y0V77nHQ==


