cocos2d-x 笔记(二) 多分辨率完美适配的方法
Orca原创,转贴请标明链接Orca的移动开发轨迹。
目前整个学习笔记的版本是cocos2d-x 2.1.0beta3。
这篇文章虽说是原创,但是借鉴参考了以下这位博主的做法,所以先给出链接。http://dualface.github.com/blog/2012/08/17/cocos2d-x-2-dot-0-multi-resolution/
我基本上也是照着他的方法做的,不过还是有一些不同。
这篇文章的核心就是cocos2d-x 2.0里面的setDesignResolutionSize(),这个方法根据三种策略来映射一个虚拟分辨率到设备上。
首先我们到cocos2dx官方网站去看一下这个方法的说明。
http://www.cocos2d-x.org/reference/native-cpp/dd/d76/classcocos2d_1_1_c_c_e_g_l_view_protocol.html#a6d43ec6b343473157849cf62f18b3825
我一直觉得查询官方文档是非常重要的事情,如果有朋友还没注意到这一点的话请马上把官方文档的地址加入收藏夹![]() 。
。
好了。注意看这个方法的注释
|
virtual |
Set the design resolution size.
- Parameters
-
width Design resolution width. height Design resolution height. resolutionPolicy The resolution policy desired, you may choose: [1] kResolutionExactFit Fill screen by stretch-to-fit: if the design resolution ratio of width to height is different from the screen resolution ratio, your game view will be stretched. [2] kResolutionNoBorder Full screen without black border: if the design resolution ratio of width to height is different from the screen resolution ratio, two areas of your game view will be cut. [3] kResolutionShowAll Full screen with black border: if the design resolution ratio of width to height is different from the screen resolution ratio, two black borders will be shown.
1.kResolutionExactFit,这个是完全拉伸,贴满手机屏幕。这个策略会造成图片比例失真。
2.kResolutionNoBorder,这个是会按照较短边的长来进行拉伸,长边的部分会超出屏幕
3.kResolutionShowAll,这个是按照长边的长来进行拉伸,短边会出现黑条
这里我们就采用第二个参数,kResolutionNoBorder。
理由很简单,我们当然不希望它出现黑条,所以最好就采用第二种策略,这样只需要一张大图就可以解决所有问题。
关于这一点呢,正如本文引用的那位博主所说的一样,最好的方案就是准备背景以横边960×720为基础的素材,而其他的分辨率就直接映射到这个分辨率即可。这里我们把使用的逻辑单位改为虚拟分辨率pt,而不是像素px。所以就全部都是960pt×720pt
由于分辨率的不同,自然就会造成在不同的设备上显示出来的可视范围不一样,所以我们还需要确定一个最小的可视范围,重要元素全部都在这个最小可视范围内。
各种不同分辨率映射成长边960pt后的结果如下:
iPad 1024px 768px 960pt 720pt
New iPad 2048px 1536px 960pt 720pt
iPhone 960px 640px 960pt 640pt
Android Phone 1 800px 480px 960pt 576pt
Android Phone 2 854px 480px 960pt 540pt
Android Phone 3 1280px 720px 960pt 540pt
Android Pad 1 1024px 600px 960pt 562pt
Android Pad 2 1280px 800px 960pt 600pt
iphone5的话其实和1280×720几乎是一样的,这里也不特别指出了。
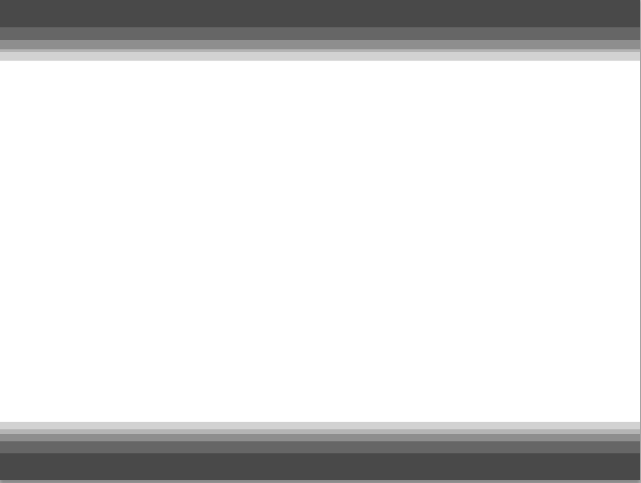
下面放一张图,就是我们采用虚拟分辨率策略以后的结果。
中间的白色区域就是最小可视范围960*540,在这个范围内,无论分辨率是多少的设备都可以显示出这其中的内容。
然后我们只需要把我们所有的重要元素都放进这个最小范围内即可。只要确定左,右,上,下四个点的x,以及中央点的x,y,就可以处理了。
关于整个处理方案的源代码这里就不放了,一是有参考到本文提到的博文代码,其次我整合的还有些其他东西,比较麻烦。摘抄关键代码吧。
  // 获得方向,960是资源最大边的长度
    float maxSide = 960.0f;
    float standardSide = maxSide;

  // _pdirector CCDirector::sharedDirector()
    const CCSize& winSizeInPixels = _pdirector->getWinSizeInPixels();
    orientation = winSizeInPixels.width > winSizeInPixels.height ? 0 : 1;

    // 横向和纵向的时候处理方法相反
    if (orientation == 0)
    {
        m_scale = winSizeInPixels.width / standardSide;
        m_screenSize.width = standardSide;
        m_screenSize.height = winSizeInPixels.height / m_scale;
    }
    else
    {
        m_scale = winSizeInPixels.height / standardSide;
        m_screenSize.height = standardSide;
        m_screenSize.width = winSizeInPixels.width / m_scale;
    }

    // _peglview CCEGLView::sharedOpenGLView()
    _peglview->setDesignResolutionSize(m_screenSize.width,
                                       m_screenSize.height, kResolutionNoBorder);
完成方案设定以后再对窄边进行修正。这里就不摘抄了,总之就是对左右原点各移动270就对了。
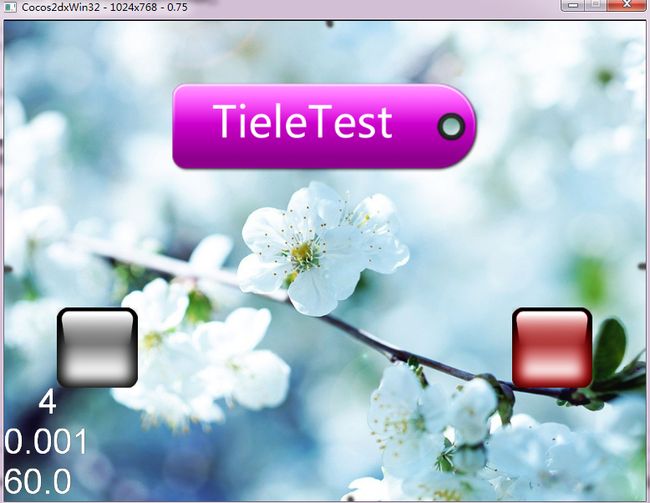
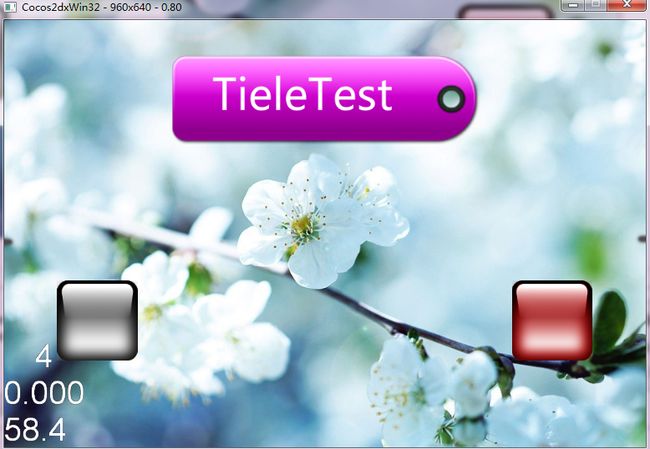
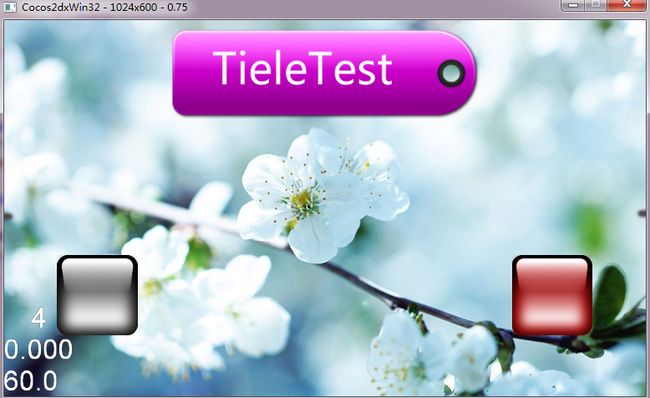
贴一下完成图
1024×768
960×640
800×480
854×480
1024×600
ok,基本上就这样了吧。
接下来的笔记先记录一下sprite和animation的创建等操作,接着再来按照testcpp的顺序来练习一下各种操作。
================
2013/4/2 补充 我们最终使用了1024×768的方案来进行处理,这样的好处是应用于在newpad的时候更方便调整坐标


