Android ant自动打包脚本:自动替换友盟渠道、版本号、包名
本文最后修改时间:2014-3-10
Android项目开发时,给公司人员安装,频繁升级,版本号总需要改,太麻烦,跟着时间变,自动升级才方便。
Android项目开发新版时,手机上可能要装两个版本,一个是 老的正式版,一个是 新的开发版,想共存的话,要包名不一样,比如chrome是com.android.chrome,而chrome beta是com.chrome.beta,自动改包名才方便。
Android项目正式发布时,发到各个市场上,要统计各个渠道的效果,所以打包要打几十次,自动打包才方便。
所以开发了这个脚本,如下:
项目代码:https://github.com/sinkcup/AntDemo
测试APP:http://com-163-sinkcup.qiniudn.com/io.github.sinkcup.ant-cnblogs-1.1.apk
截图:
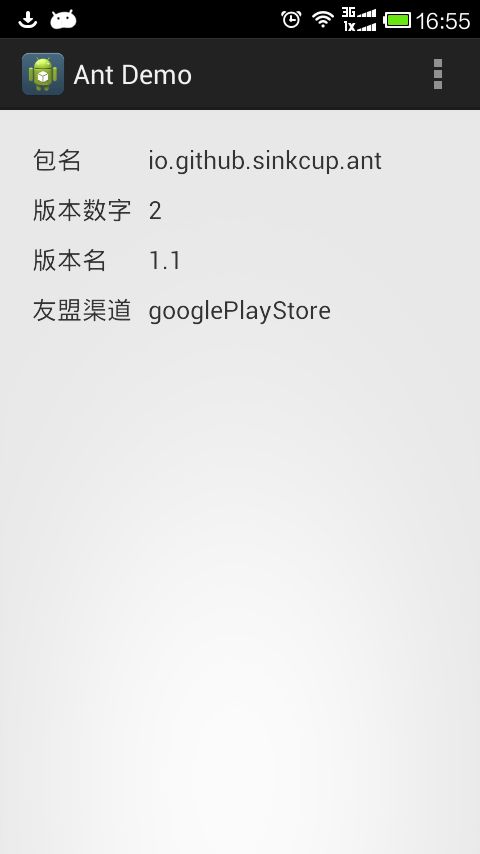
打包时自动更换友盟渠道
ant auto-release -DUMENG_CHANNEL=googlePlayStore
即会把AndroidManifest.xml中的友盟渠道替换成googlePlayStore,然后打包
ant auto-release -DUMENG_CHANNEL=xiaomiAppStore
即会打出小米应用商店的包
打包时自动更换包名
ant auto-release -Dpackage=com.example.ant.beta
把包名自动改成com.example.ant.beta,然后打包
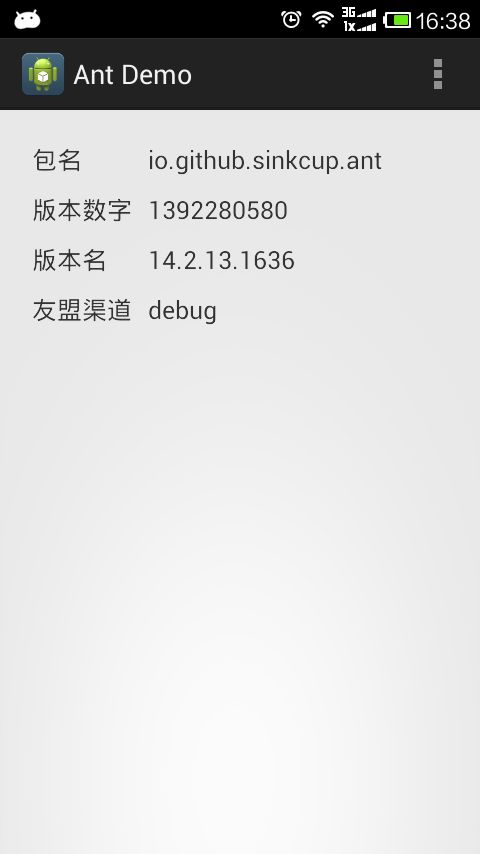
打包时使用时间作为版本号
ant auto-debug -Dversion=time
把版本号改成时间,然后打包,效果:
versionCode是时间戳,比如1390969254
versionName是日期,比如14.1.29.1220
多个参数任意组合
ant auto-release -DUMENG_CHANNEL=googlePlayStore -Dpackage=com.example.ant.beta -Dversion=time
即打出google play的beta包,使用时间作为版本号
debug与release签名
ant auto-debug
使用debug签名(路径~/.android/debug.keystore),请参考http://developer.android.com/tools/publishing/app-signing.html#debugmode
ant auto-release
使用release签名,请修改ant.properties中的路径、密码等等,参考http://developer.android.com/tools/building/building-cmdline.html#ReleaseMode
如何集成到我的项目里
前提:了解Android官方文档,在项目目录中执行ant debug能打包,比如常见的打包步骤:
android update project -p . -s -t "android-19"
ant debug
如果ant debug打包能通过,则可以使用下面的自动打包。
下载custom_rules.xml,放到项目目录(假设为Project1),然后执行:
ant auto-debug -Dversion=time
即可,生成的包在./bin/中。
如果想打release包,下载ant.properties,修改其中的密码等配置,然后执行:
ant auto-release -DUMENG_CHANNEL=googlePlayStore -Dpackage=com.example.ant.beta
即可。
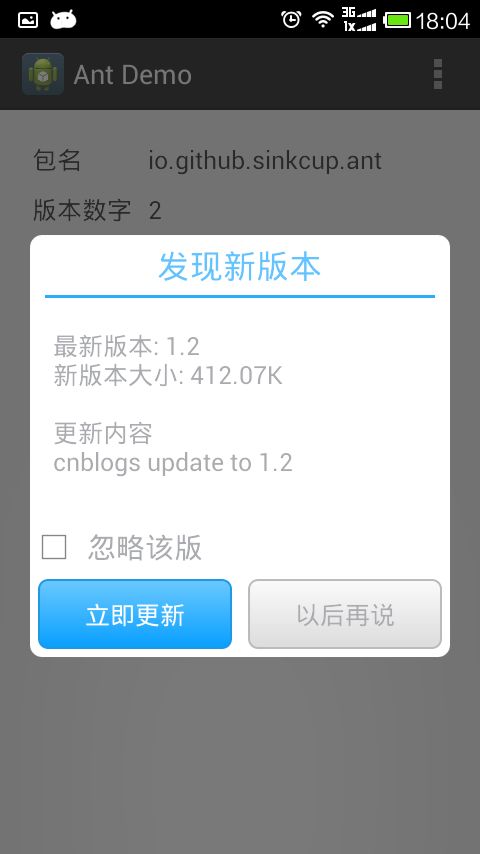
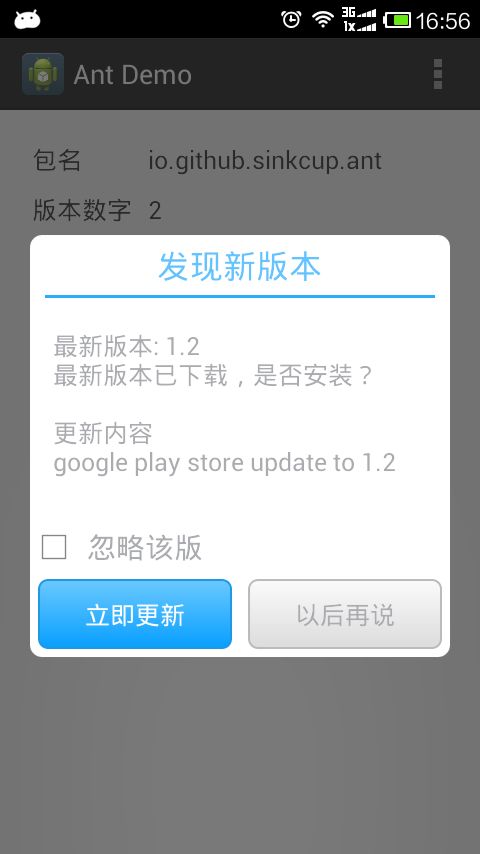
PS:友盟支持按渠道升级,比如cnblogs渠道升级完成还是cnblogs,googlePlayStore升级完成还是googlePlayStore。
比如
cnblogs渠道包:http://com-163-sinkcup.qiniudn.com/io.github.sinkcup.ant-cnblogs-1.1.apk
google渠道包:http://com-163-sinkcup.qiniudn.com/io.github.sinkcup.ant-googlePlayStore-1.1.apk
运行截图:


