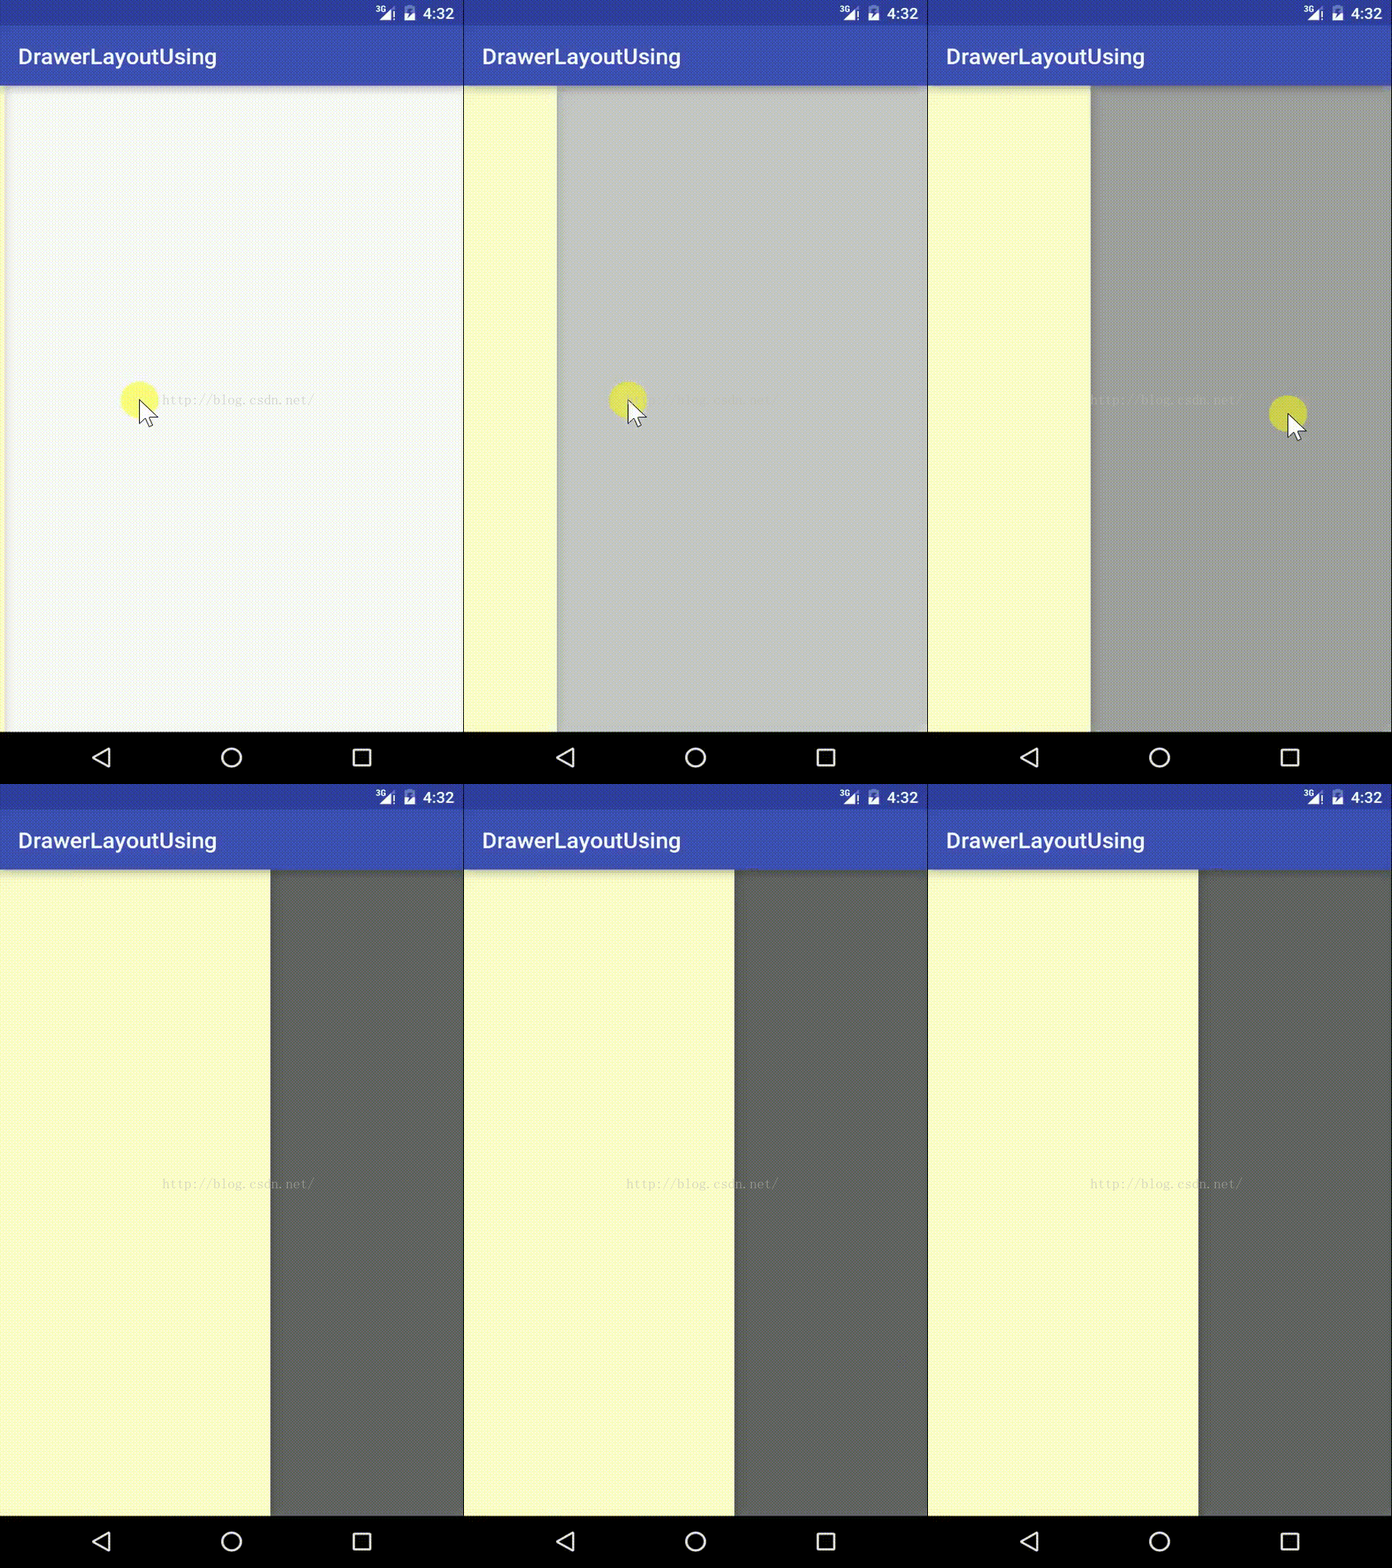
Android学习之界面篇(七)侧滑菜单的实现
- SlidingMenu开源库:https://github.com/jfeinstein10/SlidingMenu
- DrawerLayout:是2013年谷歌IO大会上由谷歌官方发布的,包含在support v4包中。
DrawerLayout
object as the root view of your layout.
DrawerLayout
, add one view that contains the main content for the screen (your primary layout when the drawer is hidden) and another view that contains the contents of the navigation drawer.
<android.support.v4.widget.DrawerLayout xmlns:android="http://schemas.android.com/apk/res/android"
    android:id="@+id/draw_layout"
    android:layout_height="match_parent"
    android:layout_width="match_parent">

    <!--The main content view-->
    <FrameLayout
        android:layout_width="match_parent"
        android:layout_height="match_parent"
        android:id="@+id/content_frame">

    </FrameLayout>

    <!--The navigation view-->
    <ListView
        android:layout_width="240dp"
        android:layout_height="match_parent"
        android:id="@+id/left_drawer"
        android:layout_gravity="start"
        android:choiceMode="singleChoice"
        android:background="#ffffcc"
        android:divider="@android:color/transparent"
        android:dividerHeight="0dp">

    </ListView>

</android.support.v4.widget.DrawerLayout>
- 主内容视图一定要是DrawerLayout的第一个子视图
- 主内容视图宽度高度要匹配父视图,即"match_parent",也就是说:当抽屉隐藏时,要让用户看到主视图的全部内容。
- 必须显示指定抽屉视图(如LiistView)的android:layout_gravity属性。
- android:layout_gravity="start"从左向右滑出菜单
- android:layout_gravity="end"从右向左滑出菜单
- 不推荐使用"left" 和"right"
ListView
, so the list should be populated by an
Adapter
(such as
ArrayAdapter
or
SimpleCursorAdapter
).
private ListView mDrawerList ;
private ArrayList<String> menuLists ;
// 使用 ArrayAdapter 来对 ListView 的内容进行填充
private ArrayAdapter<String> adapter ;
mDrawerList= (ListView) findViewById(R.id. left_drawer) ;
// 初始化 menulists
menuLists= new ArrayList<String>() ;
for ( int i= 0 ;i< 5 ;i++){
menuLists.add( " 测试菜单 "+i) ;
}
// 初始化 adapter
adapter= new ArrayAdapter<String>( this,android.R.layout. simple_list_item_1 , menuLists) ;
// 为侧边菜单填充上内容
mDrawerList.setAdapter( adapter) ;
onItemClick()
on the
OnItemClickListener
given to
setOnItemClickListener()
.
onItemClick() method depends on how you've implemented your app structure.
// 动态插入一个 Fragment 到 FrameLayout 当中
Fragment contentFragment= new ContentFragment() ;
Bundle args= new Bundle() ;
args.putString( "text" , menuLists.get(position)) ;
contentFragment.setArguments(args) ; //?
// 新建一个 Fragment
FragmentManager fm=getFragmentManager() ;
fm.beginTransaction().replace(R.id. content_frame ,contentFragment).commit() ;
// 点击完成后关闭菜单栏
mDrawerLayout.closeDrawer( mDrawerList) ;
xmlns: tools = "http://schemas.android.com/tools"
android :layout_width= "match_parent"
android :layout_height= "match_parent"
android :id= "@+id/content_frame"
tools :context= "com.example.icarus.drawerlayoutusing.ContentFragment" >
<!-- TODO: Update blank fragment layout -->
<TextView
android :layout_width= "match_parent"
android :layout_height= "wrap_content"
android :id= "@+id/textView"
android :textSize= "25sp"
/>
</FrameLayout>
private TextView textView ;
@Override
public View onCreateView(LayoutInflater inflater , ViewGroup container ,
Bundle savedInstanceState) {
// 动态加载视图
View view=inflater.inflate(R.layout. fragment_content ,container ,false) ;
// 查找组件 id
textView= (TextView) view.findViewById(R.id. textView) ;
// 通过 Arguments 来传递数据
String text=getArguments().getString( "text") ;
// 给 textview 设置文字
textView.setText(text) ;
// 返回加载的视图
return view ;
}
}
To listen for drawer open and close events, call setDrawerListener() on your DrawerLayout and pass it an implementation of DrawerLayout.DrawerListener. This interface provides callbacks for drawer events such asonDrawerOpened() and onDrawerClosed().
However, rather than implementing the DrawerLayout.DrawerListener, if your activity includes the action bar, you can instead extend the ActionBarDrawerToggle class. The ActionBarDrawerToggle implementsDrawerLayout.DrawerListener so you can still override those callbacks, but it also facilitates the proper interaction behavior between the action bar icon and the navigation drawer (discussed further in the next section).
R.string. drawer_open ,R.string. drawer_close){
/**
* 当抽屉被打开是执行
* 设置抽屉被打开时的 Title
* 通过 getActionBar() 来改变
* @param drawerView
*/
@Override
public void onDrawerOpened(View drawerView) {
super.onDrawerOpened(drawerView) ;
//BUG: 此处产生空指针异常 , 使用 getSupportActionBar()
//getActionBar().setTitle(" 请选择 ");
getSupportActionBar().setTitle( " 请选择 ") ;
invalidateOptionsMenu() ; // 重绘 actionbar 上的菜单项,会自动调用 onPrepareOptionsMenu 方法
}
/**
* 当抽屉被关闭时执行
* 设置抽屉被关闭时的 Title
* @param drawerView
*/
@Override
public void onDrawerClosed(View drawerView) {
super.onDrawerClosed(drawerView) ;
getSupportActionBar().setTitle( mTitle) ;
invalidateOptionsMenu() ; // 重绘 actionbar 上的菜单项
}
} ;
<menu xmlns: android = "http://schemas.android.com/apk/res/android"
xmlns: app = "http://schemas.android.com/apk/res-auto" >
<item
android :id= "@+id/action_websearch"
android :icon= "@drawable/action_search"
android :title= "webSearch"
app :showAsAction= "ifRoom|withText" />
</menu>
getMenuInflater().inflate(R.menu. main ,menu) ;
return true;
}
// 获取 Drawer 的打开状态
boolean isDrawerOpen= mDrawerLayout.isDrawerOpen( mDrawerList) ;
// 对 menuItem 的可见状态进行改变 , 总是跟 Drawer 的打开状态相反
menu.findItem(R.id. action_websearch).setVisible(!isDrawerOpen) ;
return super.onPrepareOptionsMenu(menu) ;
}
switch (item.getItemId()) {
case R.id. action_websearch:
Intent intent= new Intent() ;
intent.setAction( "android.intent.action.VIEW") ;
Uri uri=Uri. parse( "http://www.baidu.com") ;
intent.setData(uri) ;
startActivity(intent) ;
break;
}
return super.onOptionsItemSelected(item) ;
}
Users can open and close the navigation drawer with a swipe gesture from or towards the left edge of the screen, but if you're using the action bar, you should also allow users to open and close it by touching the app icon. And the app icon should also indicate the presence of the navigation drawer with a special icon. You can implement all this behavior by using the ActionBarDrawerToggle shown in the previous section.
To make ActionBarDrawerToggle work, create an instance of it with its constructor, which requires the following arguments:
- The
Activityhosting the drawer. - The
DrawerLayout. - A drawable resource to use as the drawer indicator.
The standard navigation drawer icon is available in the Download the Action Bar Icon Pack.
- A String resource to describe the "open drawer" action (for accessibility).
- A String resource to describe the "close drawer" action (for accessibility).
ActionBarDrawerToggle
as your drawer listener, you need to call upon your
ActionBarDrawerToggle
in a few places throughout your activity lifecycle:
return true;
}
super.onPostCreate(savedInstanceState , persistentState) ;
mDrawerToggle.syncState() ;
}
super.onConfigurationChanged(newConfig) ;
mDrawerToggle.onConfigurationChanged(newConfig) ;
}
