Android中Font Awesome的使用
Android应用离不开应用图标,而Android的碎片化又导致应用的兼容性需要很多额外的处理,通常我们在开发应用用到图标时,需要用到多个drawable目录,根据不同的分辨率大小放入不同大小的图片到drawable-hdpi,drawable-mdpi等等目录,这不仅增加了APK的大小,而且碰到不标准的分辨率还是会出现拉升,变形等各种问题。
Font Awesome可以解决这个问题,Font Awesome在Web开发中已经比较常用了,在Android中使用则不多见,下面介绍下使用方法:
第一步:去下载字体文件,地址:https://github.com/FortAwesome/Font-Awesome/tree/master/fonts,只需要下载fontawesome-webfont.ttf即可,其它我们用不上
第二步:将下载后的文件放在应用的assets目录中
第三步:自定义TextView,代码如下:
public class AwesomeFontTextView extends TextView {
	private static Typeface mTypeface;

	public AwesomeFontTextView(Context context, AttributeSet attrs) {
		super(context, attrs);

		if (mTypeface == null) {
			mTypeface = Typeface.createFromAsset(context.getAssets(),
					"fontawesome-webfont.ttf");
		}
		setTypeface(mTypeface);
	}
}
这里就是设置了TextView的字体为我们刚才下载的字体,这里需要注意的是,用到了一个静态变量 mTypeface,并且判断了该变量是否为null,为null再从assets中获取字体,这样做的好处是只需要获取一次,如果不加这个判断,每次都从assets目录中获取的话,有可能发生内存泄露。
当然,如果用到的地方比较少,不自定义TextView也是可以的,在Activity的onCreate中指定TextView的字体文件即可。
第四步:定义主类
public class MainActivity extends Activity {
	@Override
	protected void onCreate(Bundle savedInstanceState) {
		super.onCreate(savedInstanceState);
		setContentView(R.layout.activity_main);
	}
}
主类很简单,加载一个布局文件
第五步:定义布局文件
<LinearLayout xmlns:android="http://schemas.android.com/apk/res/android"
    android:layout_width="match_parent"
    android:layout_height="match_parent"
    android:orientation="vertical"
    android:gravity="center">

    <com.example.testtext.AwesomeFontTextView
        android:layout_width="wrap_content"
        android:layout_height="wrap_content"
        android:textSize="50sp"
        android:textColor="#F00"
        android:text="@string/people" />

    <com.example.testtext.AwesomeFontTextView
        android:layout_width="wrap_content"
        android:layout_height="wrap_content"
        android:textSize="25sp"
        android:textColor="#0F0"
        android:text="@string/message" />
</LinearLayout>
注意这里的 com.example.testtext.AwesomeFontTextView要换成自己项目的包名和类名,这里用到的text的值定义在项目res/values/strings.xml文件里,如下:
<?xml version="1.0" encoding="utf-8"?>
<resources>
<string name="app_name">TestText</string>
<string name="people">""</string>
<string name="message">""</string>
</resources>
注意这里people和message的值中的双引号要去掉,我这里博客中如果不加双引号会显示不出来,实际使用时去掉双引号
可以看到,这里字符串的值使用unicode码表示的,unicode码和图标对应可以查看http://fortawesome.github.io/Font-Awesome/cheatsheet/,该网址中罗列了所有现在支持的图标对应的unicode码。
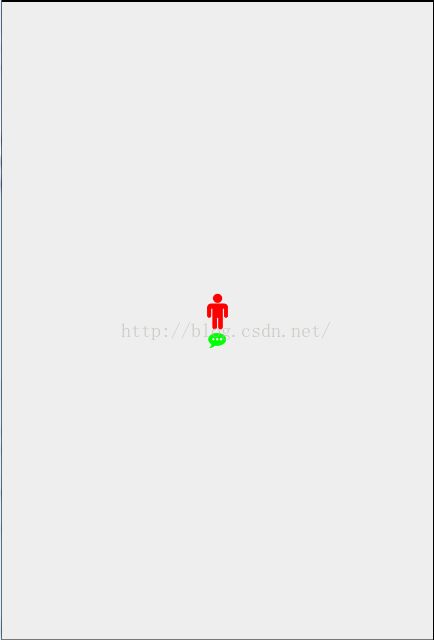
最后效果图:
总结:AwesomeFont使用unicode码的方式来显示图标,并且可以通过设置textSize和textColor来修改图标的大小和颜色,且不会出现拉升,比传统显示图标的方式要好很多。
