OCiOS开发:UIKit 力学(UIDynamics)(二)
一、前言
在上篇文章中,我们已经了解到了UIDynamic的一些基本概念,本篇博客,我们主要了解一些力学行为特性即物理行为。
UIKit力学行为包含重力(UIGravityBehavior)、碰撞(UICollisionBehavior)、吸附(UIAttachmentBehavior)、推送(UIPushBehavior)、捕捉(UISnapBehavior)和行为限制(UIDynamicItemBehavior)。除了行为限制(UIDynamicItemBehavior)外,其中的5种力学行为使用起来都大同小异。
下面将分别介绍几种物理行为的配置方法。
二、重力行为 UIGravityBehavior
1、简介
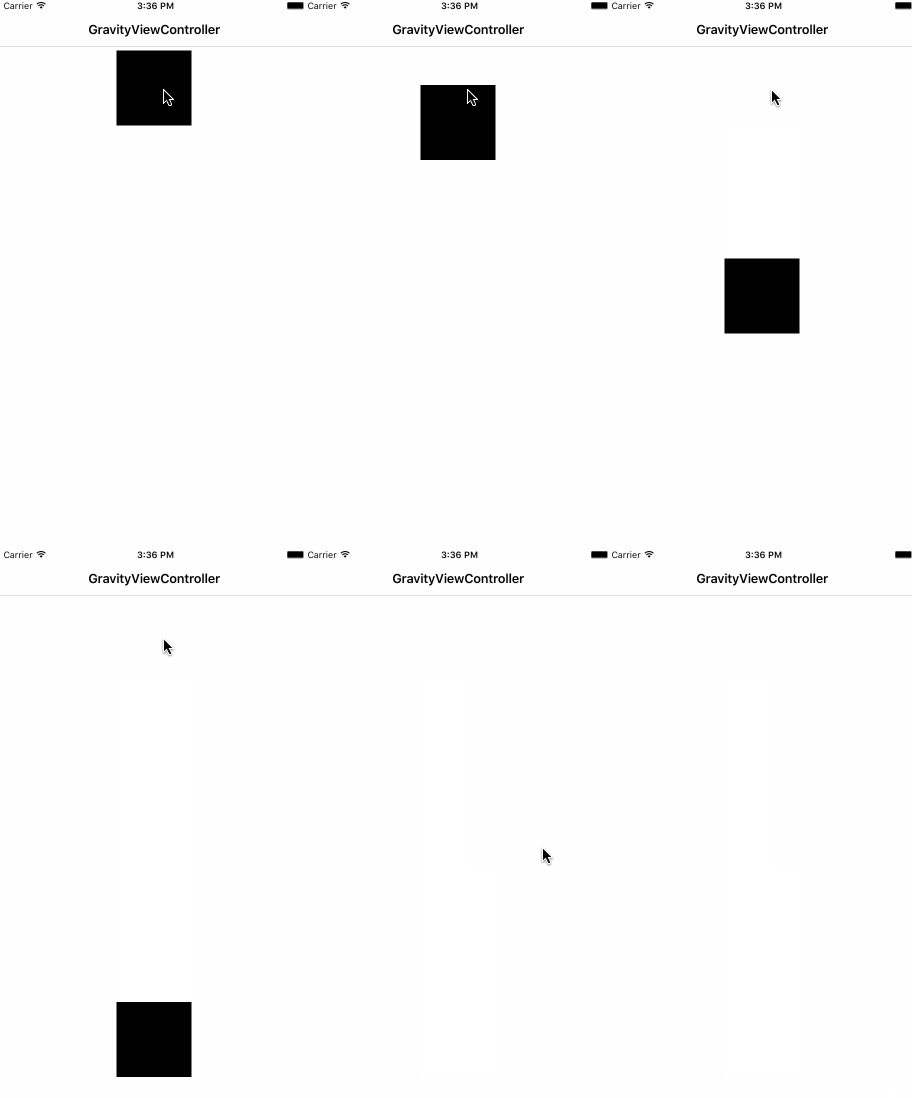
给定重力方向、加速度,让物体朝着重力方向掉落
2、UIGravityBehavior 初始化
// 1、items参数 :里面存放着物理仿真元素
public init(items: [UIDynamicItem])
3、UIGravityBehavior 常见方法
// 1、添加1个物理仿真元素
public func addItem(item: UIDynamicItem)

// 2、移除1个物理仿真元素
public func removeItem(item: UIDynamicItem)
4、UIGravityBehavior 常见属性
items:添加到重力行为中的所有物理仿真元素
gravityDirection:重力方向(是一个二维向量)
angle:重力方向(是一个角度,以x轴正方向为0°,顺时针正数,逆时针负数)
magnitude:量级(用来控制加速度,1.0代表加速度是1000 points /second²)
5、效果展示
6、代码示例
import UIKit

class ViewController: UIViewController {

    var square: UIButton!  /**< 物理仿真元素 */

    var animator: UIDynamicAnimator!  /**< 物理仿真器 */
    var gravity : UIGravityBehavior!  /**< 重力行为 */

    override func viewDidLoad() {
        super.viewDidLoad()
        self.initializeUserInterface()
    }

    // MARK:- Initialize -
    func initializeUserInterface() {

        // 1、设置视图背景颜色
        self.view.backgroundColor = UIColor.whiteColor()

        // 2、初始化物理仿真元素
        self.square = UIButton(frame: CGRect(x: 0.0, y: 0.0, width: 100.0, height: 100.0))
        self.square.center = CGPoint(x: CGRectGetMidX(self.view.bounds), y: 120)
        self.square.backgroundColor = UIColor.blackColor()
        self.square.addTarget(self, action: "respondsToSquareTaped:", forControlEvents: UIControlEvents.TouchUpInside)
        self.view.addSubview(self.square)
    }

    // MARK:- Events -
    func respondsToSquareTaped(sender: UIButton) {

        // 1、初始化物理仿真器,指定仿真范围为整个屏幕视图(参照视图)
        self.animator = UIDynamicAnimator(referenceView: self.view)

        // 2、初始化重力行为,并添加物理仿真元素
        self.gravity = UIGravityBehavior(items: [self.square])
        // 3、设置重力的方向(垂直向下)
        self.gravity.gravityDirection = CGVector(dx: 0.0, dy: 1.0)
        // 4、将重力行为添加到物理仿真器中,执行仿真
        self.animator.addBehavior(self.gravity)
    }
}
三、碰撞行为 UICollisionBehavior
1、简介
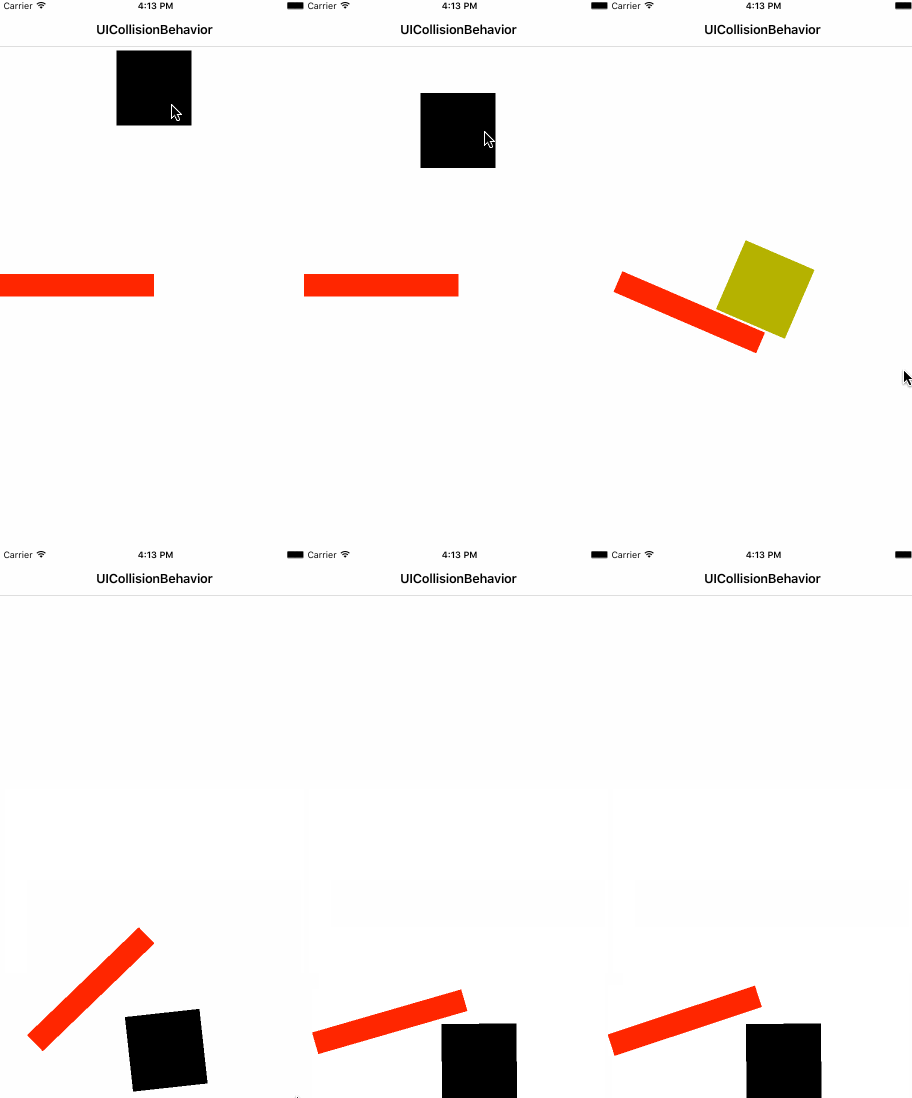
可以让物体之间实现碰撞效果
可以通过添加边界(boundary),让物理碰撞局限在某个空间中
2、UICollisionBehavior 边界相关的方法
1)检测是否与ReferenceView边界发生碰撞的方法如下:
self.collision.translatesReferenceBoundsIntoBoundary = true2)检测是否与其他的物体(视图对象)边界发生碰撞的方法如下:
// 1、设置一个碰撞的贝塞尔曲线,第一个参数是定义一个标识,第二个参数forPath是设置贝塞尔曲线。
public func addBoundaryWithIdentifier(identifier: NSCopying, forPath bezierPath: UIBezierPath)

// 2、设置一个碰撞的线段,第一个参数是定义一个标识,第二个参数fromPoint是设置线段开始点,第三个参数toPoint是设置线段结束点。
public func addBoundaryWithIdentifier(identifier: NSCopying, fromPoint p1: CGPoint, toPoint p2: CGPoint)
3)其他方法
// 1、根据碰撞标识获取贝塞尔曲线
public func boundaryWithIdentifier(identifier: NSCopying) -> UIBezierPath?

// 2、根据标识移除碰撞边界
public func removeBoundaryWithIdentifier(identifier: NSCopying)

// 3、移除所有碰撞边界
public func removeAllBoundaries()
3、常见用法
translatesReferenceBoundsIntoBoundary:是否以参照视图的bounds为边界
setTranslatesReferenceBoundsIntoBoundaryWithInsets:设置参照视图的bounds为边界,并且设置内边距
collisionMode:碰撞模式(分为3种,元素碰撞、边界碰撞、全体碰撞)
collisionDelegate:代理对象(可以监听元素的碰撞过程)
4、collisionDelegate 代理方法
// 1、开始碰撞
optional public func collisionBehavior(behavior: UICollisionBehavior, beganContactForItem item1: UIDynamicItem, withItem item2: UIDynamicItem, atPoint p: CGPoint)

// 2、结束碰撞
optional public func collisionBehavior(behavior: UICollisionBehavior, endedContactForItem item1: UIDynamicItem, withItem item2: UIDynamicItem)
5、重力 + 碰撞 效果展示
6、代码示例
import UIKit

class ViewController: UIViewController, UICollisionBehaviorDelegate {

    var square: UIButton!
    var obstacles: UIView!

    var animator : UIDynamicAnimator!    /**< 物理引擎 */
    var gravity  : UIGravityBehavior!    /**< 重力行为 */
    var collision: UICollisionBehavior!  /**< 碰撞行为 */

    override func viewDidLoad() {
        super.viewDidLoad()
        self.initializeUserInterface()
    }

    // MARK:- Initialize -
    func initializeUserInterface() {
        self.view.backgroundColor = UIColor.whiteColor()

        // 1、设置视图背景颜色
        self.view.backgroundColor = UIColor.whiteColor()

        // 2、初始化物理仿真元素
        self.square = UIButton(frame: CGRect(x: 0.0, y: 0.0, width: 100.0, height: 100.0))
        self.square.center = CGPoint(x: CGRectGetMidX(self.view.bounds), y: 120)
        self.square.backgroundColor = UIColor.blackColor()
        self.square.addTarget(self, action: "respondsToSquareTaped:", forControlEvents: UIControlEvents.TouchUpInside)
        self.view.addSubview(self.square)

        // 2、初始化障碍物
        self.obstacles = UIView(frame: CGRect(x: 0.0, y: CGRectGetMidY(self.view.bounds), width: CGRectGetWidth(self.view.bounds) * 0.5, height: 30))
        self.obstacles.backgroundColor = UIColor.redColor()
        self.view.addSubview(self.obstacles)

    }

    // MARK:- Events -
    func respondsToSquareTaped(sender: UIButton) {

        // 1、初始化物理仿真器,指定仿真范围为整个屏幕视图
        self.animator = UIDynamicAnimator(referenceView: self.view)

        // 2、初始化重力行为,并添加物理仿真元素
        self.gravity = UIGravityBehavior(items: [self.square])
        // 2.1、设置重力行为的方向(垂直向下)
        self.gravity.gravityDirection = CGVector(dx: 0.0, dy: 1.0)
        // 2.2、设置重力的加速度,重力的加速度越大,碰撞就越厉害
        self.gravity.magnitude = 1.0
        // 2.3、将重力行为添加到物理仿真器中
        self.animator.addBehavior(self.gravity)

        // 3、初始化碰撞行为,并设置碰撞元素
        self.collision = UICollisionBehavior(items: [self.square, self.obstacles])
        // 3.1、让参照视图的边框成为碰撞检测的边界
        self.collision.translatesReferenceBoundsIntoBoundary = true
        // 3.2、设置碰撞代理
        self.collision.collisionDelegate = self
        // 3.3、将碰撞行为添加到物理仿真器中
        self.animator.addBehavior(self.collision)


    }

    // MARK:- UICollisionBehaviorDelegate -
    // 碰撞开始,改变仿真元素背景色
    func collisionBehavior(behavior: UICollisionBehavior, beganContactForItem item1: UIDynamicItem, withItem item2: UIDynamicItem, atPoint p: CGPoint) {
        UIView.animateWithDuration(0.2, animations: { () -> Void in
            self.square.backgroundColor = UIColor.yellowColor()
            }) { (finsh) -> Void in
                self.square.backgroundColor = UIColor.blackColor()
        }
    }
}
四、吸附行为 UIAttachmentBehavior
1、简介
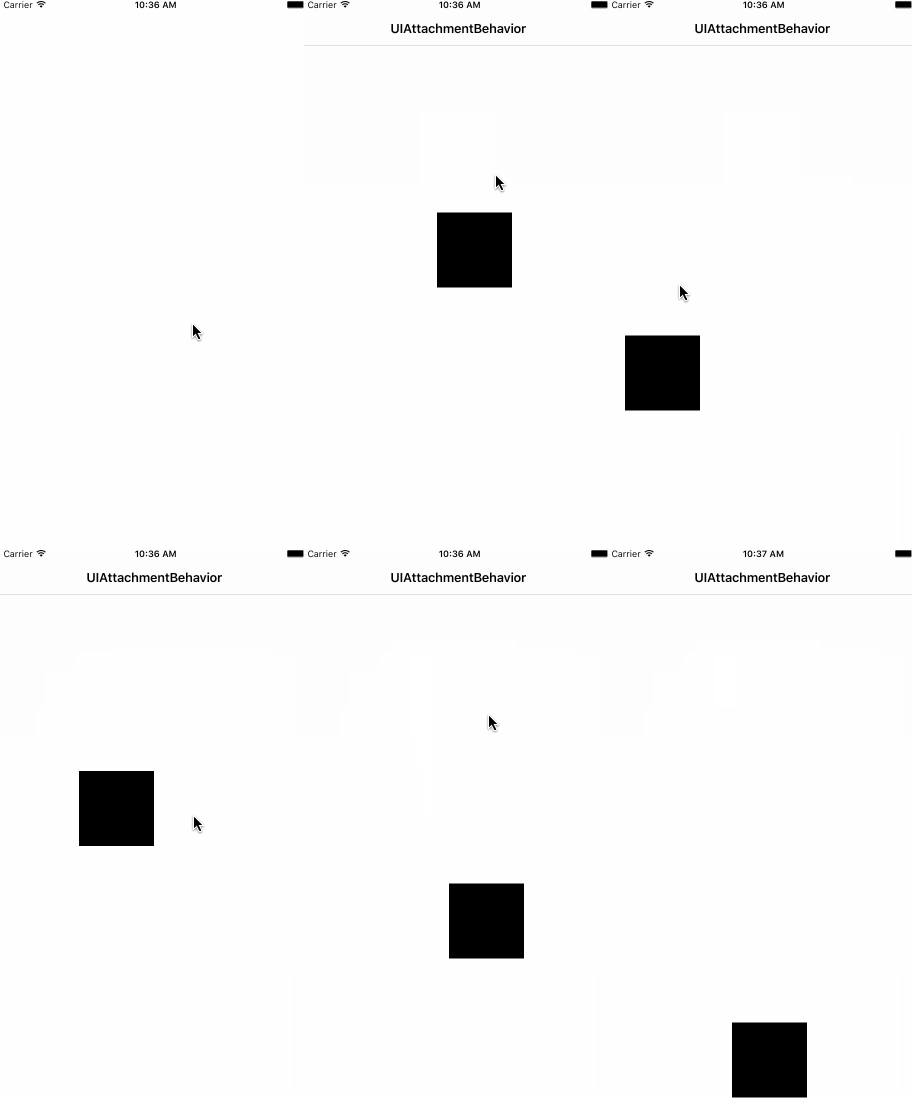
吸附行为可以实现两个物体彼此牵制,就好像是用一根棍子将两个物体连接在一起,注意这里用棍子而不是绳子描述,这是因为两个物体之间的距离是刚性的。其描述一个view和一个锚相连接的情况,也可以描述view与view之间的连接。attachment描述的是两个点之间的连接情况,可以通过设置来模拟无形变或者弹性形变的情况。
2、UIAttachmentBehavior 初始化
1)初始化连接动力item的中心和锚点的吸附行为
public convenience init(item: UIDynamicItem,
attachedToAnchor point: CGPoint)
1.1)参数:item是你要应用吸附行为的动力项,point是吸附行为的锚点,与跟行为相关的动态动画所在在系统坐标有关。
1.2)返回:初始化的attachment behavior,如果初始化过程出错将会返回nil。
1.3)该初始化方法的吸附行为的类型是 UIAttachmentBehaviorType.Anchor
2)初始化连接两个动力项中心的吸附行为
public convenience init(item item1: UIDynamicItem, attachedToItem item2: UIDynamicItem)2.1)参数:item1第一个被吸附行为连接的动力项,item2第二个被吸附行为连接的动力项
2.2)返回:初始化的attachment behavior,如果初始化过程出错将会返回nil。
2.3)该初始化方法的吸附行为的类型是UIAttachmentBehaviorType.Items
3)初始化连接动力项中某一点和锚点的 吸附行为
public init(item: UIDynamicItem, offsetFromCenter offset: UIOffset, attachedToAnchor point: CGPoint)3.1)参数:item要应用吸附行为的动力项,p1相对于item中心的偏移,point 是吸附行为的锚点,与跟行为相关的动力动画所在在系统坐标有关。
3.2)返回: 初始化的 attachment behavior,如果初始化过程出错将会返回nil。
3.3)该初始化方法的吸附行为的类型是UIAttachmentBehaviorType.Anchor
4)初始化连接一个动力item中某一点和另一个动力item中某一点的吸附行为
public init(item item1: UIDynamicItem, offsetFromCenter offset1: UIOffset, attachedToItem item2: UIDynamicItem, offsetFromCenter offset2: UIOffset)4.1)参数:item1第一个被吸附行为连接的动力项,p1相对于item1中心的偏移,item2第二个被吸附行为连接的动力项,p2相对于item2中心的偏移
4.2)返回:返回:初始化的attachment behavior,如果初始化过程出错将会返回nil。
4.3)这是为UIAttachmentBehavior类指定的初始化程序。
3、UIAttachmentBehavior 常用属性
items:获取所有添加了吸附行为的仿真元素
damping:描述吸附行为减弱的阻力大小
frictionTorque:摩擦力
anchorPoint:锚点
frequency:吸附行为震荡的频率
length:吸附行为中的两个吸附点之间的距离,通常用这个属性来调整吸附的长度,可以创建吸附行为之后调用。系统基于你创建吸附行为的方法来自动初始化这个长度。
attachedBehaviorType:吸附行为的类型,说明吸附到的是什么样子的动力项。
public enum UIAttachmentBehaviorType : Int {

    case Items  // 表示连接两个item的吸附行为
    case Anchor // 表示连接一个item与锚点的吸附行为
}
4、效果展示
5、代码示例
import UIKit

class ViewController: UIViewController, UICollisionBehaviorDelegate {

    var square: UIView!

    var animator : UIDynamicAnimator!     /**< 物理仿真器 */
    var attach   : UIAttachmentBehavior!  /**< 吸附行为 */
    var gravity  : UIGravityBehavior!     /**< 重力行为 */
    var collision: UICollisionBehavior!   /**< 碰撞行为 */


    override func viewDidLoad() {
        super.viewDidLoad()
        // 1、设置背景颜色
        self.view.backgroundColor = UIColor.whiteColor()

        // 2、初始化物理仿真元素
        self.square = UIButton(frame: CGRect(x: 0.0, y: 0.0, width: 100.0, height: 100.0))
        self.square.center = CGPoint(x: CGRectGetMidX(self.view.bounds), y: 120)
        self.square.backgroundColor = UIColor.blackColor()
        self.view.addSubview(self.square)

        // 3、初始化物理仿真器
        self.animator = UIDynamicAnimator(referenceView: self.view)

        // 4、碰撞
        self.collision = UICollisionBehavior(items: [self.square])
        self.collision.translatesReferenceBoundsIntoBoundary = true
        self.animator.addBehavior(self.collision)

        // 5、重力
        self.gravity = UIGravityBehavior(items: [self.square])
        self.animator.addBehavior(self.gravity)

        // 5、手势
        let pan = UIPanGestureRecognizer(target: self, action: "handleAttachmentGesture:")
        self.view.addGestureRecognizer(pan)

    }

    // MARK:- Gesture -
    func handleAttachmentGesture(gesture: UIPanGestureRecognizer) {
        if gesture.state == UIGestureRecognizerState.Began {
            let square_center = CGPoint(x: self.square.center.x, y: self.square.center.y - 100.0)
            // 吸附
            self.attach = UIAttachmentBehavior(item: self.square, attachedToAnchor: square_center)
            self.animator.addBehavior(self.attach)
        }else if gesture.state == UIGestureRecognizerState.Changed {
            self.attach.anchorPoint = gesture.locationInView(self.view)
        }else if gesture.state == UIGestureRecognizerState.Ended {
            self.animator.removeBehavior(self.attach)
        }
    }
}
五、推力行为 UIPushBehavior
1、简介
推行为可以使视图对象朝某个方向运动,这个推力有瞬间(UIPushBehaviorModelInstantaneous)和持续(UIPushModelContinuous)两种方式。持续的推力会产生一个恒定的加速度,所以物体的速度会越来越快。瞬时推力只是一瞬间的推力,物体会由于摩擦力越来越慢。
2、UIPushBehavior 初始化
public init(items: [UIDynamicItem], mode: UIPushBehaviorMode)3、UIPushBehavior 常用属性
mode:推送方式
active:是否处于推送状态
angle:推送角度
magnitude:速度 每1个magnigude将会引起100/平方秒的加速度
pushDirection:推送方向
六、捕捉行为 UISnapBehavior
1、简介
可以让物体迅速冲到某个位置(捕捉位置),捕捉到位置之后会带有一定的震动
2、UISnapBehavior 初始化
public init(item: UIDynamicItem, snapToPoint point: CGPoint)3、UISnapBehavior 常用属性
damping:用于减幅、减震(取值范围是0.0 ~ 1.0,值越大,震动幅度越小)
snapPoint:迅速移动效果 只能一次 添加到一个元素上 snapToPoint 让他移动到哪一个点
4、UISnapBehavior使用注意
如果要进行连续的捕捉行为,需要先把前面的捕捉行为从物理仿真器中移除


