编译nginx并加入chunkin-nginx-module模块
文章摘于:http://blog.csdn.net/fangzhangsc2006/article/details/8122273。在原有基础上进行补充
目的:
某些客户端发出的分块传输(chunked encoding)的http请求会被 nginx 识别为不合法的,报出411错误。比如 hessian (一个RPC框架),因为其http 头中缺少 Conten-Length 参数。在 nginx 中加入chunkin-nginx-module模块并重新编译可以解决这个问题。提示:
1. 以下实验步骤和截图是我在自己的Red Hat虚拟机上实践了几遍后整理的,因此很顺利,第一次做的时候难免遇到各种问题,比如我第一次做时缺gcc,缺pcre,缺md5,缺open-ssl等等。请兵来将挡水来土掩。
2. 以下实验步骤可以保证线上运行不间断,即便失败可以继续使用旧的nginx。
步骤:
1. 保存旧configure参数
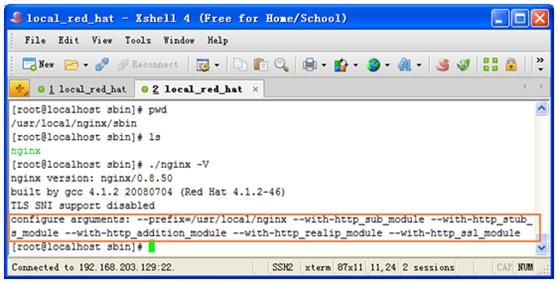
找到nginx 的可执行文件(我的在 /usr/local/nginx/sbin),查看之前编译时的参数并保存下来。
命令为:./nginx –V (V 大写)
2. 拷贝和解压源码
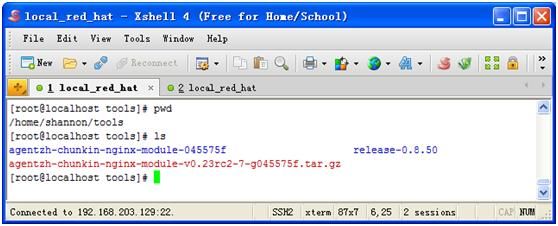
将 nginx 源码(或者用以前的源码)和 chunkin-nginx-module 源码解压放到合适的位置。
注:agentzh-chunkin-nginx-module-045575f 为 chunkin 模块源码,release-0.8.50 为 nginx 0.8.50 的源码。
3. configure准备工作
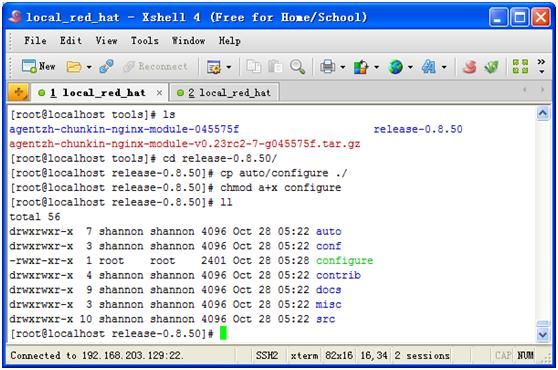
将 nginx 的 auto 目录下的 configure 文件拷到上一层目录,否则一会儿会提示找不到文件。
为 configure 文件加上可执行权限
4. 运行configure
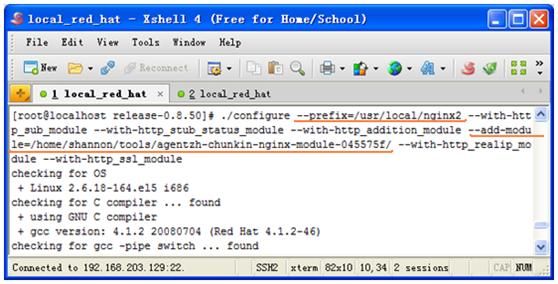
运行configure,在步骤1中保存的参数的基础上加入 chunkin 模块。--add-module=<模块路径>。
另外将 --prefix=/usr/local/nginx 参数改为 --prefix=/usr/local/nginx2,这个参数代表编译后的输出目录,目的是不覆盖原来的。
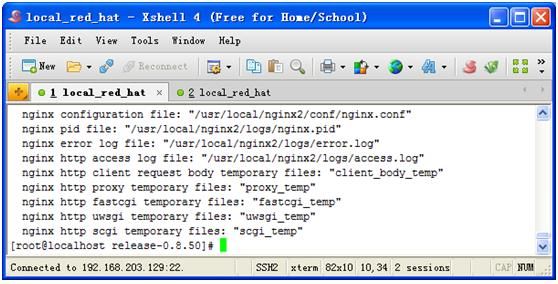
会有一大堆的输出信息,只要不报错就好。
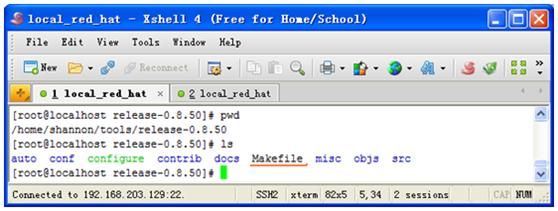
这时会在刚才的目录生成 Makefile 文件
5. 运行make
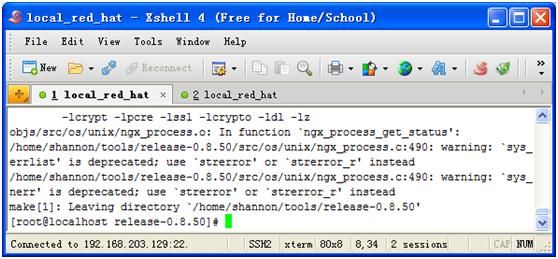
运行make 命令(大概10秒钟,输出信息较多,不报错就好)
6. 运行 make install
运行 make install 命令
这里有错误提示,找不到 html 文件夹,不要紧,自己将 docs/html 文件夹拷到 /usr/local/nginx2 下就可以了

7. 配置
将新的 nginx 的配置文件修改的和旧的一样(不知道直接拷过去是否可以,可能会有微调的地方,因为路径不一样了。)。然后在新的nginx的配置文件加入分块传输的配置。
红线框里的内容:
chunkin on;
error_page 411 = @my_411_error;
location @my_411_error {
chunkin_resume;
}
8. 启动新的nginx
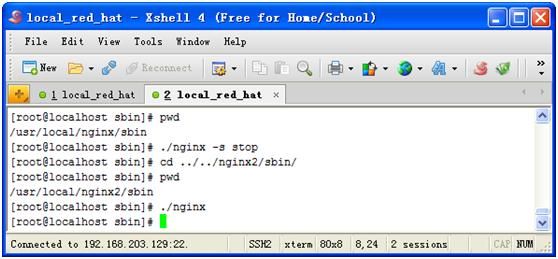
停止旧的 nginx ,启动新编译好的,如果新的有问题还可以启动旧的。这样可以保证线上运行不间断。
9. 资源下载
chunkin模块下载:
https://github.com/agentzh/chunkin-nginx-module
nginx下载(网站上只提供部分版本,用svn可以下载所有版本)
http://nginx.org/
10. 参考
http://blog.csdn.net/fangzhangsc2006/article/details/8098692
http://blog.chinaunix.net/uid-16974460-id-296023.html
http://blog.163.com/tonylee@126/blog/static/13033555420125654534570/
附ngnix配置:
另外可以在“server{”i添加多个代理域名,域名代理配置放conf同级目录下的domains文件夹下。
 #keepalive_timeout  0;
    keepalive_timeout  65;

      include domains/*;
    #gzip  on;

    server {
domains文件夹下新建文件名为域名比如:abc.pp.com 。内容如下:
upstream abc.pp.com {
server  127.0.0.1:8001;
}
server
        {
           listen   80;
           server_name  abc.pp.com;
#          access_log    /export/servers/nginx/los/abc.pp.com;
           location / {
           proxy_pass     http://abc.pp.com;
             }
        }
