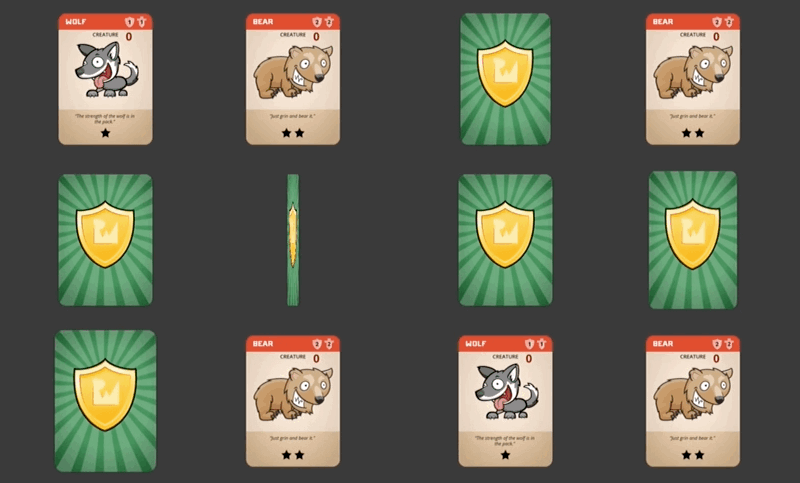
Card Game Mechanics in Sprite Kit with Swift
Card Game Mechanics in Sprite Kit with Swift
For over 20 years, people have played Collectible Card Games (CCGs). The Wikipedia entry gives a fairly thorough recount of how these games evolved, which appear to have been inspired by role playing games like Dungeons and Dragons. Magic the Gathering is one example of a modern CCG.
At their core, CCGs are a set of custom cards representing characters, locations, abilities, events, etc. To play the game, the players must first build their own decks, then they use their individual decks to play. Most players make decks that accentuate certain factions, creatures or abilities.
In this tutorial, you’ll use Sprite Kit to manipulate images that serve as cards in a CCG app. You’ll move cards on the screen, animate them to show which cards are active, flip them over and enlarge them so you can read the text — or just admire the artwork.
If you’re new to SpriteKit, you may want to read through a beginner tutorial or indulge yourself with the iOS Games by Tutorials book. If you’re new to Swift, make sure you check out the Swift Quick Start series.
Getting Started
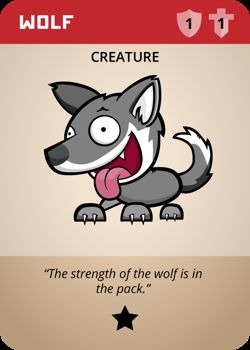
Since this is a card game, the best place to start is with the actual cards. Download the starter projectwhich provides a SpriteKit project preset for an iPad in landscape mode, as well as all the images, fonts and sound files you’ll need to create a functional sample game.
Take a minute to look around the project to acquaint yourself with its file structure and content. You should see the following project folders:
- System: Contains the basic files to set up a SpriteKit project. This includes
AppDelegate.swift,GameViewController.swift, andMain.storyboard - Scenes: Contains an empty main scene
GameScene.swiftwhich will manage the game content. - Card: Contains an empty
Card.swiftfile which will manage the playing cards. - Supporting Files: Contains all the images, fonts, and sound files you’ll use in the tutorial.
This game just wouldn’t be as cool without the art, so I’d like to give special thanks to Vicki fromgameartguppy.com for the beautiful card artwork!
A Classy Start
Since you can’t play a card game without cards, start by making a class to represent them. Card.swift is currently a blank Swift file, so find it and add:
import Foundation import SpriteKit class Card : SKSpriteNode { required init(coder aDecoder: NSCoder!) { fatalError("NSCoding not supported") } init(imageNamed: String) { let cardTexture = SKTexture(imageNamed: imageNamed) super.init(texture: cardTexture, color: nil, size: cardTexture.size()) } } |
You’re declaring Card as a subclass of SKSpriteNode.
To create a simple sprite with an image, you would use SKSpriteNode(imageNamed:). In order to keep this behavior, you use the inherited initializer which must call the super classes designated initializerinit(texture:color:size:). You do not support NSCoding in this game.
To put sprites on the screen, open GameScene.swift and add the following code to didMoveToView():
let wolf = Card(imageNamed: "card_creature_wolf.png") wolf.position = CGPointMake(100,200) addChild(wolf) let bear = Card(imageNamed: "card_creature_bear.png") bear.position = CGPointMake(300, 200) addChild(bear) |
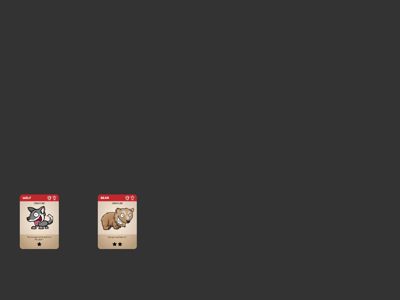
Build and run the project, and take a moment to admire the wolf and bear.
Rule #1 for creating card games: start with creative, imaginative art. Looks like your app is shaping up nicely!
Note: Depending on screen size, you may want to zoom the simulator window, usingWindow\Scale\50% to fit on the screen. I also recommend using the iPad 2 simulator.
Looking at a couple of cards is fun and all, but the UI will be much cooler if you can actually move the cards. You’ll do that next!
I Want to Move It, Move It…
No matter the quality of the art, cards sitting on a screen won’t earn your app any rave reviews, because you need be able to drag them around like you can do with real paper cards. The simplest way to do this is to handle touches in the scene itself.
Still in GameScene.swift, add this new function to the class:
override func touchesMoved(touches: NSSet, withEvent event: UIEvent) { for touch in touches { let location = touch.locationInNode(self) let touchedNode = nodeAtPoint(location) touchedNode.position = location } } |
Build and run the project, and drag those two cards around the display.
The cards now move, but sometimes slide behind other cards. Read on to fix the problem.
As you play around with this, you’ll notice two major issues:
- First, since the sprites are at the same
zPosition, they are arranged in the same order they are added to the scene. This means the bear card is “above” the wolf card. If you’re dragging the wolf, it appears to slide beneath the bear. - Second,
nodeAtPoint()returns the topmost sprite at that point. So when you drag the wolf under the bear,nodeAtPoint()returns the bear sprite and start changes its position, so you might find yourself moving the bear even though you originally moved the wolf.
While this effect is almost magical, it’s not the kind of magic you want to in the final app!
To fix this, you’ll modify the card’s zPosition while dragging. Your first inclination might be to change thezPosition of the sprite in touchesMoved, but this isn’t a good approach if you want to change it back later.
Using the beginning and ending functions is a better strategy. Still in GameScene.swift, and add the following methods:
override func touchesBegan(touches: NSSet, withEvent event: UIEvent) { for touch in touches { let location = touch.locationInNode(self) let touchedNode = nodeAtPoint(location) touchedNode.zPosition = 15 } } override func touchesEnded(touches: NSSet, withEvent event: UIEvent) { for touch in touches { let location = touch.locationInNode(self) let touchedNode = nodeAtPoint(location) touchedNode.zPosition = 0 } } |
Build and run the project again, and you’ll see the cards sliding over each other as you would expect.
Make sure you pick a zPosition value that is greater than other cards will be. In the sample game at the end of the tutorial, there are some overlay elements at zPosition of 20. The number 19 ensures the overlay elements showed over the cards.
Now the card is moving properly over other cards, but now you need to add some satisfying depth — say, a visual indication that the card has been lifted up.
Time to make your cards dance!
Card Animations
Still in GameScene.swift, add the following to the end of the code inside the for loop of touchesBegan()
let liftUp = SKAction.scaleTo(1.2, duration: 0.2) touchedNode.runAction(liftUp, withKey: "pickup") |
and similarly in touchesEnded()
let dropDown = SKAction.scaleTo(1.0, duration: 0.2) touchedNode.runAction(dropDown, withKey: "drop") |
Here you’re using the scaleTo(scale:duration:) method of SKAction to grow the width and height of the card to 1.2x its original size when clicked and back down to 1.0 when released.
Build and run the project to see how this looks.
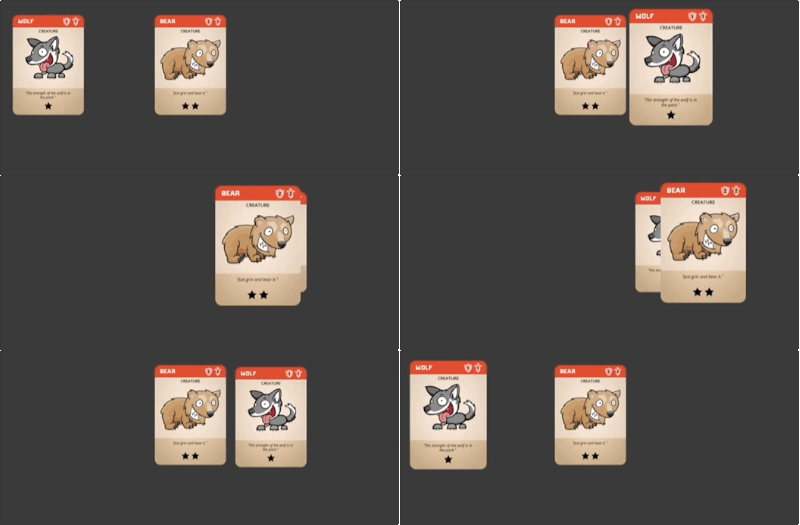
This simple animation gives the appearance of picking up a card and putting it back down. Sometimes the simplest animations are the most effective.
Tinker with the scale and duration values to find what the levels that look best to you. If you set the lift and drop durations as different values you can make it appear as though that card lifts slowly, then drops quickly when released.
Wiggle, Wiggle, Wiggle
Dragging cards around now works pretty well, but you should add a bit of flair. Making the cards appear to flutter around their y-axis certainly qualifies as flair.
Since SpriteKit is a pure 2D framework, there doesn’t seem to be any way to do a partial rotation effect on a sprite. What you can do, however, is change the xScale property to give the illusion of rotation.
Again, you’ll add code to the touchesBegan() and touchesEnded() pair of functions. In touchesBegan() add the following code to the end of the for loop:
let wiggleIn = SKAction.scaleXTo(1.0, duration: 0.2) let wiggleOut = SKAction.scaleXTo(1.2, duration: 0.2) let wiggle = SKAction.sequence([wiggleIn, wiggleOut]) let wiggleRepeat = SKAction.repeatActionForever(wiggle) touchedNode.runAction(wiggleRepeat, withKey: "wiggle") |
And similarly, in touchesEnded() add:
touchedNode.removeActionForKey("wiggle") |
This code makes the card appear to rotate back and forth — just a tad — as it moves around. This effect makes use of the reaction(action:, withKey:) method to add a string name to the action so that you can cancel it later.
There is a small caveat to this approach: when you remove the animation, it leaves the sprite wherever it is in the animation cycle.
You already have an action to return the card to its initial scale value of 1.0. Since scale sets both the x and y scale, that part is taken care of, but if you use another property, remember to return the initial value in the touchesEnded function.
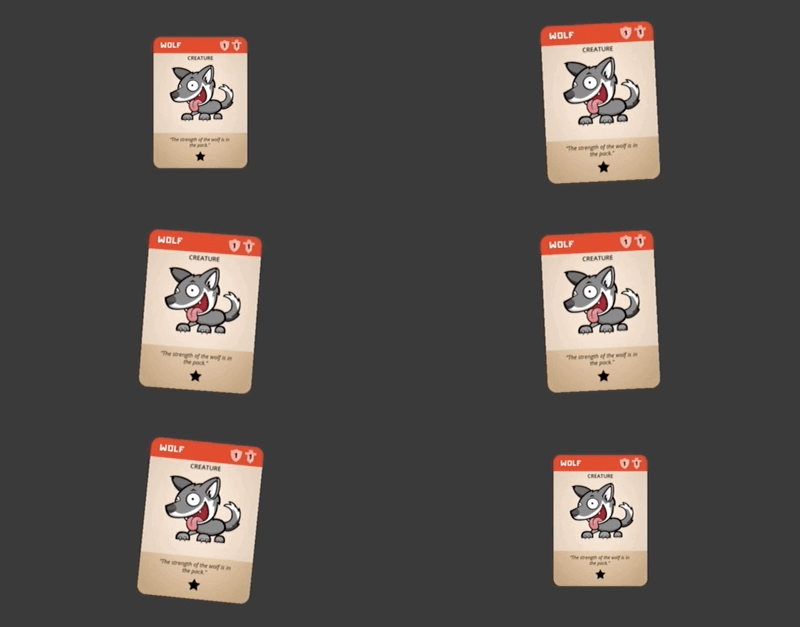
Build and run the project, so you can see the cards now flutter when you drag them around.
A simple animation to show that this card is currently active.
Challenge: In the bonus example game at the end of the tutorial, you’ll learn about using zRotation to make the cards wobble back and forth.
Try replacing the scaleXTo actions with rotateBy to replace the “wiggle” animation with a “rocking” animation. Remember to make it a cycle, which means it needs to return to its starting point before repeating.
| Solution Inside | Show |
|---|---|
Tracking Damage
In many collectible card games, monsters like these have hit points associated with them, and can fight each other.
To implement this, you’ll need a label on top of the cards so the user can track damage inflicted on each creature. Still in GameScene.swift, add the following new method:
func newDamageLabel() -> SKLabelNode { let damageLabel = SKLabelNode(fontNamed: "OpenSans-Bold") damageLabel.name = "damageLabel" damageLabel.fontSize = 12 damageLabel.fontColor = UIColor(red: 0.47, green: 0.0, blue: 0.0, alpha: 1.0) damageLabel.text = "0" damageLabel.position = CGPointMake(25, 40) return damageLabel } |
This helper method creates a new SKLabelNode which in turn will display the damage inflicted upon each card. It uses a custom font that is included in the starter project with the correct info.plist settings.
Are you wondering how the position works in this example?
Since the label is a child of the card sprite, the position is relative to the sprite’s anchor point and that is the center, by default. Usually this just takes some trial and error to get the label positioned exactly where you want it.
Use this new method to add a damage label to each card by adding the following code to the end ofdidMoveToView():
wolf.addChild(newDamageLabel()) bear.addChild(newDamageLabel()) |
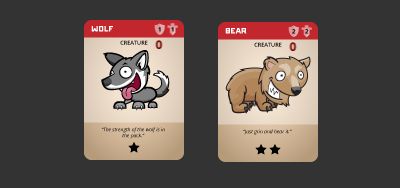
Build and run the project. You should now see a red ‘0’ within each card.
Try dragging a card, but click on the label to start dragging rather than the card itself. Notice that the label flys off somewhere — perhaps to a magical kingdom where it can rule with impunity?
No, it’s not actually that mysterious. ;]
The problem here is that when you call nodeAtPoint it returns the topmost SKNode of any type, which in this case is the SKLabelNode. When you then change the node’s position, the label moves instead of the card. Ahhh…yes, there is a logical explanation.

The result of starting a touch on top of the damage label. Oops. (Changed the background to white to make the label more visible)
Pros and Cons Of Scene Touch Handling
Before going any further, let’s stop for a moment and muse upon some of the advantages and disadvantages of handling the touches at the scene level.
Touch handling at the scene level is a good place to start working with a project because it’s the simplest, easiest approach. In fact, if your sprites have transparent regions that should be ignored, such as hex grids, this may be the only reasonable solution.
However, it starts to fall apart when you have composite sprites. For example, these could contain multiple images, labels or even a health bar. It can also be unwieldy and complicated if you have different rules for different sprites.
One gotcha that comes into play when you use nodeAtPoint is that it always returns a node.
What if you drag outside of one of the card sprites? Because SKScene is a subclass of SKNode, if the touch location intersects no other node, the scene itself returns as a SKNode.
When you changed the position and did animations before, you may not have known but you really should’ve checked to see that touchedNode was not the scene itself, but it’s okay because this is a learning experience.
You’ll be happy to know there is a better solution…
Handle Those Touches! Handle Them!
What can you do instead? Well, you can make the Card class responsible for handling its own touches. The logistics of this approach are fairly straightforward. Open Card.swift and add the following toinit(imageNamed:):
userInteractionEnabled = true |
This allows the Card class to intercept touches as opposed to passing them through to the scene. SpriteKit will send touch events to the topmost instance with this property set.
Next, you remove the three touch handler functions,touchesBegan(), touchesMoved(), and touchesEnded()from GameScene.swift and add them to Card.swift.
The original code won’t work exactly as-is, so it needs some changes to work within the node.
As a challenge, see if you can make the appropriate changes without checking the spoiler!
Hint: Since touch events are sent directly to the correct sprite, you don’t have to figure out which sprite to modify.
| Solution Inside | Show |
|---|---|
Build and run the project, and you’ll notice that this fixes the earlier issue of the flying label.
Card can be moved the same as before.
Two Sides of the Story
Now take a moment to observe how the Card nodes initialize. Currently, you’re simply using the string image name to create a texture, and sending that to the superclass initializer.
In order to add attributes like attack and defense values, or mystical spell effects, you need to setup properties and configure them based on the specific card’s data. Instead of using strings to identify cards, which are prone to typos, you can define an enumeration instead. Open Card.swift and add the following between the import lines and the class definition:
enum CardName: Int { case CreatureWolf = 0, CreatureBear, // 1 CreatureDragon, // 2 Energy, // 3 SpellDeathRay, // 4 SpellRabid, // 5 SpellSleep, // 6 SpellStoneskin // 7 } |
This defines CardName as a new type that you can use to identify individual cards. The integer values will be helpful as a reference when working with the cards in a deck.
Next, you need to define some custom properties for the Card class. Add this between the class declaration line and init
let frontTexture: SKTexture let backTexture: SKTexture var largeTexture: SKTexture? let largeTextureFilename: String |
Replace init(imageNamed:) in Card.swift with
init(cardNamed: CardName) { // initialize properties backTexture = SKTexture(imageNamed: "card_back.png") switch cardNamed { case .CreatureWolf: frontTexture = SKTexture(imageNamed: "card_creature_wolf.png") largeTextureFilename = "card_creature_wolf_large.png" case .CreatureBear: frontTexture = SKTexture(imageNamed: "card_creature_bear.png") largeTextureFilename = "Card_creature_bear_large.png" default: frontTexture = SKTexture(imageNamed: "card_back.png") largeTextureFilename = "card_back_large.png" } // call designated initializer on super super.init(texture: frontTexture, color: nil, size: frontTexture.size()) // set properties defined in super userInteractionEnabled = true } |
Finally, open GameScene.swift and change didMoveToView() to use the new enum instead of the string filename:
let wolf = Card(cardNamed: .CreatureWolf) wolf.position = CGPointMake(100,200) addChild(wolf) let bear = Card(cardNamed: .CreatureBear) bear.position = CGPointMake(300, 200) addChild(bear) |
There are several changes here:
- First, you add a new type called
CardName, the advantage of an enum like this is that the compiler knows all the possible values and it will warn you if you mistype one of the names. Additionally, Xcode autocomplete should be able to help as you type the first few characters of the name. - Next, you create four new properties in
Card.swiftto store the values of eachSKTexture, which will be utilized based on the state of the card. Each card requires a front image, back image and large front image.largeTextureFilenameis there to save memory by preventing a large image from loading until it’s actually needed. - Next you update the init method to take a
CardNamerather than aStringand set each of the newly created properties based on the type ofCard. This makes use of the new-and-improvedswitchstatement in Swift. Here, switch cases do not automatically fall through. Additionally, you must either provide adefaultcase, or cover all possible values. Once you have custom properties, such as attack and defense, you can assign those values inside the switch statement.There is a specific order you have to follow when initializing swift objects.
- First, make sure all of the properties defined in the class have default values.
- Second, call a designated initializer for the superclass.
- Third, set any properties defined in the superclass, and call any functions you need to on the object.
- Lastly, you update the code in
GameScene.swiftto use the new init method ofCard.
Build and run the project, and make sure that everything works just as it did before.
Note: Since you’re just working with seven cards, there’s no need for anything more complicated to initialize cards. This particular strategy probably won’t work very well if you have 10’s or 100’s of cards. In that case, you’ll a system to store all of the card attributes in a configuration file, like a .json file. You’ll also want to design the init system to pull out the relevant part of the configuration as a dictionary and build the card data from that.
Challenge:
Finish Card by adding the correct images for the other cards, such as the fierce dragon. You’ll find the images in the cards folder inside Supporting Files.
Dun Dun Dun
Flip Flop
Finally, add some card-like actions to make the game more realistic. Since the basic premise is that two players will share an iPad, the cards need to be able to turn face down so the other player cannot see them.
An easy way to do this is to make the card flip over when you double tap it. However, you need a property to keep track of the card state to make this possible.
Open Card.swift and add the following property below the other properties:
var faceUp = true |
Next, add a function to swap the textures that will make a card appears flipped:
func flip() { if faceUp { self.texture = self.backTexture if let damageLabel = self.childNodeWithName("damageLabel") { damageLabel.hidden = true } self.faceUp = false } else { self.texture = self.frontTexture if let damageLabel = self.childNodeWithName("damageLabel") { damageLabel.hidden = false } self.faceUp = true } } |
Finally, add the following to the beginning of touchesBegan, just inside the for-in loop.
if touch.tapCount > 1 { flip() } |
Now you understand why you saved the front and back card images as textures earlier — it makes flipping the cards delightfully easy. You also hide damageLabel so the number is not shown when the card is face down.
Build and run the project and flip those cards.
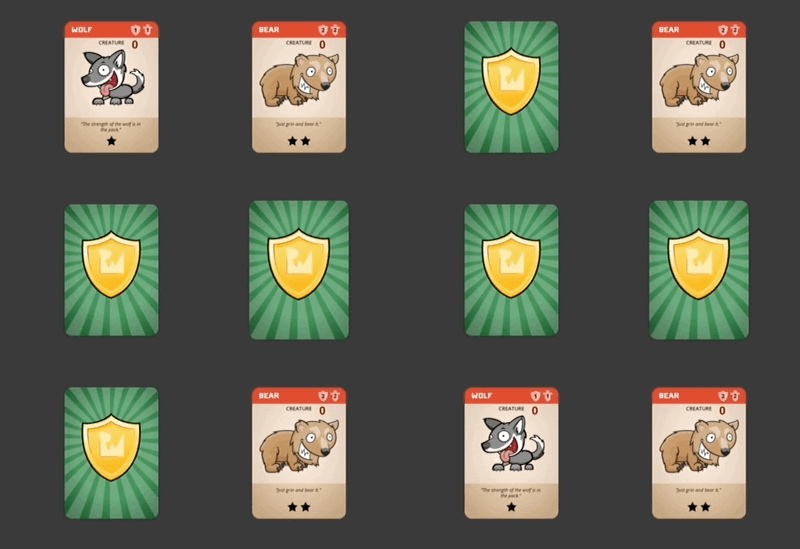
Simple card flip by swapping out the texture. The little bounce is the pick-up animation triggered by the first touch.
Note: At this point, it’s ideal for the damage label to be a property that initializes during Card initialization. For the sake of keeping this tutorial simple and straightforward, it is in here as a child node. Try pulling it from GameScene and putting it into Card for a little extra credit.
The effect is ok, but you can do better. One trick is to use the scaleToX animation to make it look as though it actually flips.
Replace flip with:
func flip() { let firstHalfFlip = SKAction.scaleXTo(0.0, duration: 0.4) let secondHalfFlip = SKAction.scaleXTo(1.0, duration: 0.4) setScale(1.0) if faceUp { runAction(firstHalfFlip) { self.texture = self.backTexture if let damageLabel = self.childNodeWithName("damageLabel") { damageLabel.hidden = true } self.faceUp = false self.runAction(secondHalfFlip) } } else { runAction(firstHalfFlip) { self.texture = self.frontTexture if let damageLabel = self.childNodeWithName("damageLabel") { damageLabel.hidden = false } self.faceUp = true self.runAction(secondHalfFlip) } } } |
The scaleXTo action shrinks only the horizontal direction and gives it a pretty cool 2D flip animation. The animation splits into two halves so that you can swap the texture halfway. The setScale function makes sure the other scale animations don’t get in the way.
Build and run the project to see the new “flip” effect in action.
Things are looking great, but you can’t fully appreciate the bear’s goofy grin when the cards are so small. If only you could enlarge a selected card to see its details…
Big Time
The last effect you’ll work with in this tutorial is modifying the double tap action so that it enlarges the card. Add these two properties to the beginning of Card.swift with the other properties:
var enlarged = false var savedPosition = CGPointZero |
Add the following method to perform the enlarge action:
func enlarge() { if enlarged { enlarged = false zPosition = 0 position = savedPosition setScale(1.0) } else { enlarged = true savedPosition = position zPosition = 20 position = CGPointMake(CGRectGetMidX(parent.frame), CGRectGetMidY(parent.frame)) removeAllActions() setScale(5.0) } } |
Remember to update touchesBegan() to call the new function, instead of flip()
if touch.tapCount > 1 { enlarge() } if enlarged { return } |
Finally, make a small update to touchesMoved() and touchesEnded by adding the following line to each before the for-in loop:
if enlarged { return } |
You need to add the extra property savedPosition so the card can be moved back to its original position. This is the point when touch-handling logic becomes a bit tricky, as mentioned earlier.
The tapCount check at the beginning of the function prevents glitches when the card is enlarged and then tapped again. Without the early return, the large image would shrink and start the wiggle animation.
It also doesn’t make sense to move the enlarged image, and there is nothing to do when the touch ends, so both functions return early when the card is enlarged.
Build and run the app to see the card grow and grow to fill the screen.
Basic card enlarging. Would look much better with some animation, and the enlarged image is fuzzy.
But why is it all pixelated? Vicki’s artwork is much too nice to place under such duress. You’re enlarging this way because you’re not using the large versions of the images in the cards_large folder insideSupporting Files.
Because loading the large images for all the cards at the beginning can waste memory, it’s best to make it so they don’t load until the user needs them.
The final version of the enlarge function is as follows:
func enlarge() { if enlarged { let slide = SKAction.moveTo(savedPosition, duration:0.3) let scaleDown = SKAction.scaleTo(1.0, duration:0.3) runAction(SKAction.group([slide, scaleDown])) { self.enlarged = false self.zPosition = 0 } } else { enlarged = true savedPosition = position if largeTexture != nil { texture = largeTexture } else { largeTexture = SKTexture(imageNamed: largeTextureFilename) texture = largeTexture } zPosition = 20 let newPosition = CGPointMake(CGRectGetMidX(parent.frame), CGRectGetMidY(parent.frame)) removeAllActions() let slide = SKAction.moveTo(newPosition, duration:0.3) let scaleUp = SKAction.scaleTo(5.0, duration:0.3) runAction(SKAction.group([slide, scaleUp])) } } |
The animations are fairly straightforward at this point.
The card’s position saves before running an animation, so it returns to its original position. To prevent the pickup and drop animations from interfering with the animation as it scales up, you add theremoveAllActions() function.
When the scale down animations run, the enlarged and zPosition properties don’t set until the animation completes. If these values change earlier, an enlarged card sitting behind another card will appear to slide underneath as it returns to its previous position.
Since largeTexture is defined as an optional, it can have a value of nil, or “no value”. The if statement tests to see if it has a value, and loads the texture if it doesn’t.
Note: Optionals are a core part of learning Swift, especially since it works differently than nil values in Objective-C.
Build and run the app once again. You should now see a nice, smooth animation from the card’s initial position to the final enlarged position. You’ll also see the cards in full, clean, unpixelated splendor.
Final Challenge: Sound effects are an important part of any game, and there are some sound files included in the starter project. See if you can use SKAction.playSoundFileNamed(soundFile:, waitForCompletion:) to add a sound effect to the card flip, and the enlarge action.
Where to Go from Here?
The final project for this tutorial can be found here.
At this point, you understand the basic — and some not so basic — card mechanics that you can put to use in your own card game.
This sample project has many subtle animations that you can tweak, so make sure you play around with the different values to find what you like and what works for you.
Once you’re happy with the animations, there are board regions, decks, attacks and many other features that are simply too much to address in a single article like this. Take a look at the completed example game in Objective-C and Swift to learn more about the other elements that go into game development.
Use the forum below to comment, ask questions or share your ideas for animating cards with Swift. Thanks for taking the time to work through this tutorial!

