UFLDL教程答案(2):Exercise:Vectorization
教程地址:http://deeplearning.stanford.edu/wiki/index.php/UFLDL%E6%95%99%E7%A8%8B
练习地址:http://deeplearning.stanford.edu/wiki/index.php/Exercise:Vectorization
matlab矢量化还是比较容易实现的,和矩阵化向量化的数学公式基本可以直接对应。
注意:有些数学公式的求和其实可以隐含在矩阵相乘中,如:
X为64*10000的矩阵,64维特征,10000个样本,在均值为0的情况下,用公式 来计算X的协方差矩阵,那么可以直接用sigma = x * x' / size(x, 2)求得,样本1到m的求和隐含在了X*X'中!
1.进入正题:
由于我是把整个教程看完之后再来做的练习,所以练习(1)中的程序已经是矢量化的代码了,练习(2)基本没有什么需要改的。只要按照教程设置参数,把需要的m文件复制过去,load数据即可:
visibleSize = 28*28;   % number of input units
hiddenSize = 196;     % number of hidden units
sparsityParam = 0.1;   % desired average activation of the hidden units.
                     % (This was denoted by the Greek alphabet rho, which looks like a lower-case "p",
		     %  in the lecture notes).
lambda =3e-3;     % weight decay parameter
beta = 3;            % weight of sparsity penalty term

%%======================================================================
% Change the filenames if you've saved the files under different names
% On some platforms, the files might be saved as
% train-images.idx3-ubyte / train-labels.idx1-ubyte
images = loadMNISTImages('train-images.idx3-ubyte');
labels = loadMNISTLabels('train-labels.idx1-ubyte');
patches = images(:,1:10000);
% We are using display_network from the autoencoder code
display_network(images(:,1:100)); % Show the first 100 images
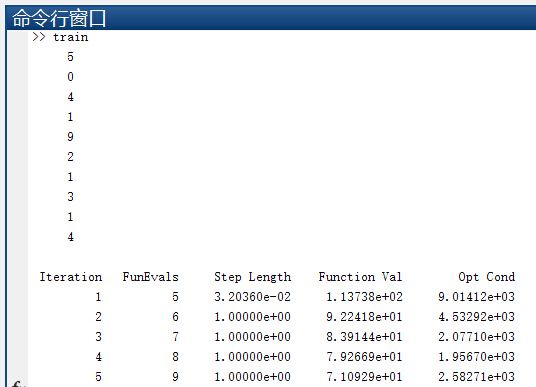
disp(labels(1:10));
需要注意的是这次使用的数据集比上次大不少,所有step3 梯度检验最好注释掉,不然会慢不少。
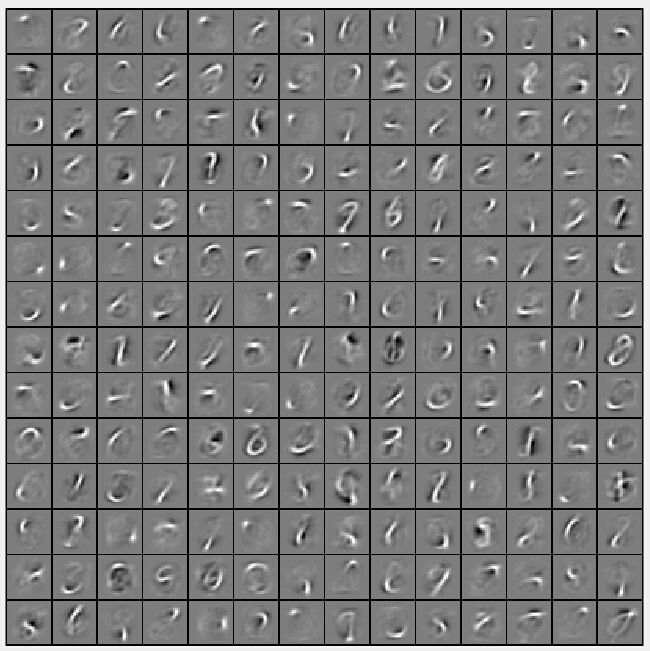
左边为教程上的结果,中间和右边是两次我的运行结果:
2.对结果的讨论:
这里打印出来的是W1,即输出层与隐层之间的连接权重,输入为28*28=784维,隐层为196,用196维来表示784维的数据,低维表示高维,也意味着提取了特征。(196=14*14,注意上图就是由14*14个小正方形组成,每个小正方形由28*28个像素组成)
到这里就很容易看出:每个小正方形代表了输入层784个神经元与隐层某个神经元的连接权重,这里有14*14=196个小正方形,即有196个隐层神经元。

