如需转载,请注明出处:Flutter学习笔记(24)--SingleChildScrollView滚动组件
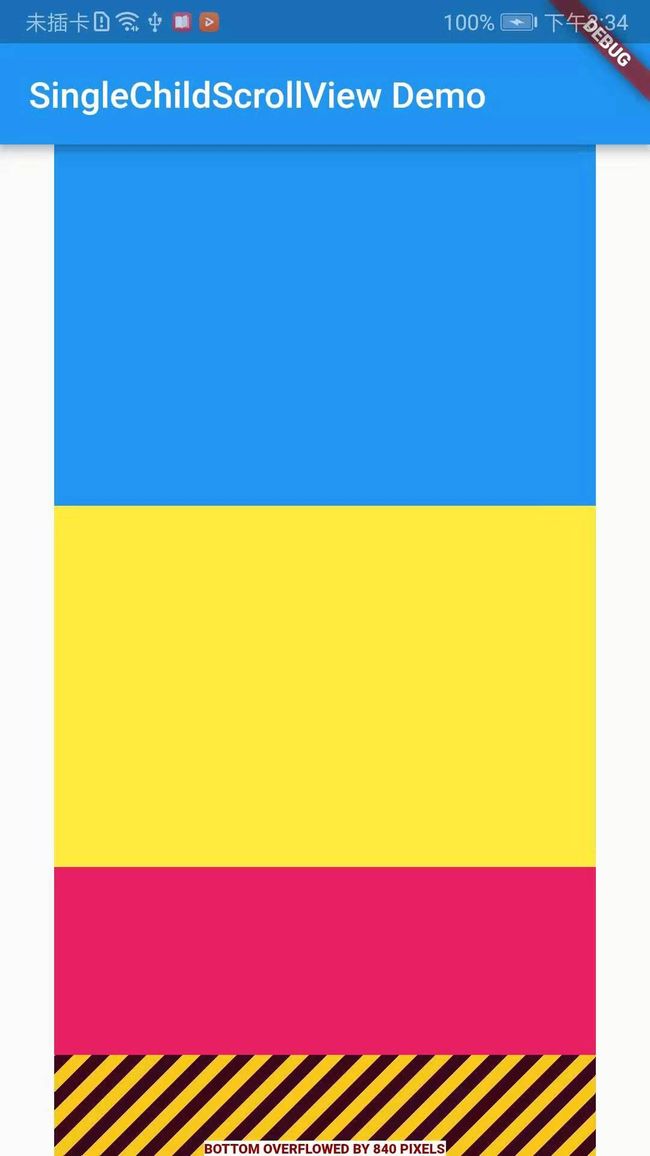
在我们实际的项目开发中,经常会遇到页面UI内容过多,导致手机一屏展示不完的情况出现,以Android为例,在Android中遇到这类情况的做法通常就是使用ScrollView将内容包裹起来,如果不做可滑动的处理,Android上的表现为页面的部分内容无法展示,而在Flutter中,如果内容过多无法展示完全,屏幕的边界会给我们一个OVERFLOWED的警告提示,在Flutter中我们通常使用SingleChildScrollView处理滑动,这里需要注意的是,通常SingleChildScrollView只应在期望的内容不会超过屏幕太多时使用,这是因为SingleChildScrollView不支持基于Sliver的延迟实例化模式,所以如果预计视口可能包含超出屏幕尺寸太多的内容时使用SingleChildScrollView将会导致性能差的问题,此时应该使用一些支持Sliver延迟加载的可滚动组件,如ListView。
基于Sliver的延迟构建模式:
通常可滚动组件的子组件可能会非常多,占用的总高度也会非常大,如果要一次性将子组件全部构建出将会导致性能差的问题出现,为此,Flutter中提出一个Sliver(中文为"薄片"的意思)概念,如果一个可滚动组件支持Sliver模型,那么该滚动组件可以将子组件分成好多个薄片(Sliver),只有当Sliver出现在视口时才会去构建它,这种模型也成为"基于Sliver的延迟构建模型"。可滚动组件中有很多都支持基于Sliver的延迟构建模型,如ListView、GridView,但是也有不支持该模型的,如SingleChildScrollView
import 'package:flutter/material.dart'; void main() => runApp(DemoApp()); class DemoApp extends StatelessWidget { @override Widget build(BuildContext context) { return new MaterialApp( title: 'SingleChildScrollView Demo', home: new Scaffold( appBar: AppBar( title: new Text('SingleChildScrollView Demo'), ), body: new Center( child: new Column( children:[ Container( width: 300.0, height: 200.0, color: Colors.blue, ), Container( width: 300.0, height: 200.0, color: Colors.yellow, ), Container( width: 300.0, height: 200.0, color: Colors.pink, ), Container( width: 300.0, height: 200.0, color: Colors.blue, ), Container( width: 300.0, height: 200.0, color: Colors.yellow, ), Container( width: 300.0, height: 200.0, color: Colors.pink, ), Container( width: 300.0, height: 200.0, color: Colors.blue, ), ], ), ), ), ); } }
在Flutter实现页面滑动需要用到SingleChildScrollView组件,SingleChildScrollView和Android中ScrollView类似,都是只能接收一个子组件,先看一下SingleChildScrollView的源码:
const SingleChildScrollView({
  Key key,
  //滚动方向,默认是垂直方向
  this.scrollDirection = Axis.vertical,
  //是否按照阅读方向相反的方向滑动
  this.reverse = false,
  //内容边距
  this.padding,
  //是否使用widget树中默认的PrimaryScrollController
  bool primary,
  //此属性接受一个ScrollPhysics类型的对象,它决定可以滚动如何响应用户操作,比如用户滑动完抬起手指后,继续执行动画,或者滑动到边界时,如何显示。
  //默认情况下,Flutter会根据具体平台分别使用不同的ScrollPhysics对象,对应不同的显示效果,如当滑动到边界时,继续拖动的话,在iOS上会出现弹性效果,
  //而在Android上会出现微光效果。如果你想在所有平台下使用同一种效果,可以显示指定一个固定的ScrollPhysics。
  //Flutter SDK包含两个ScrollPhysics的子类。1.ClampingScrollPhysics:Android下微光效果,2.BouncingScrollPhysics:iOS下弹性效果
  this.physics,
  //此属性接收一个ScrollController对象,ScrollController的主要作用是控制滚动位置和监听滚动事件。
  //默认情况下,Widget树中会有一个默认的PrimaryScrollController,如果子树中的可滚动组件没有显示的指定controller,并且primary属性值为true时,可滚动组件会使用这个默认的ScrollController。
  //这种机制带来的好处是父组件可以控制子树中可滚动的滚动行为,例:scaffold正是使用这种机制在iOS中实现了点击导航回到顶部的功能。
  this.controller,
  this.child,
})
Demo示例:
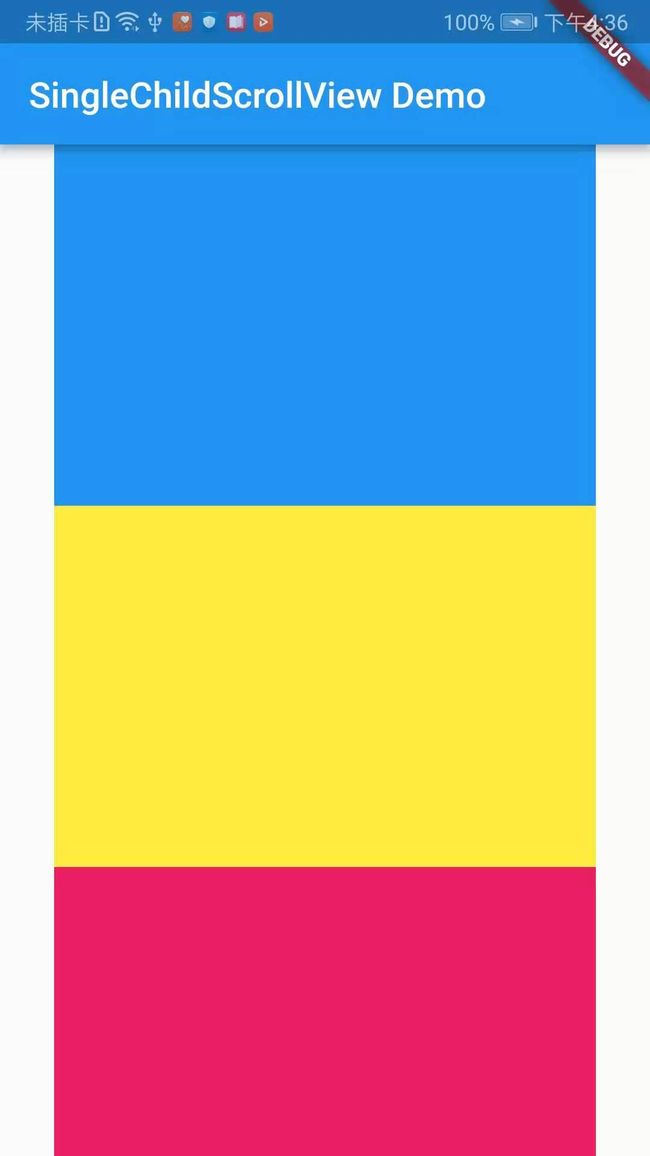
import 'package:flutter/material.dart'; void main() => runApp(DemoApp()); class DemoApp extends StatelessWidget { @override Widget build(BuildContext context) { return new MaterialApp( title: 'SingleChildScrollView Demo', home: new Scaffold( appBar: AppBar( title: new Text('SingleChildScrollView Demo'), ), body: new SingleChildScrollView( physics: BouncingScrollPhysics(), child: new Center( child: new Column( children:[ Container( width: 300.0, height: 200.0, color: Colors.blue, ), Container( width: 300.0, height: 200.0, color: Colors.yellow, ), Container( width: 300.0, height: 200.0, color: Colors.pink, ), Container( width: 300.0, height: 200.0, color: Colors.blue, ), Container( width: 300.0, height: 200.0, color: Colors.yellow, ), Container( width: 300.0, height: 200.0, color: Colors.pink, ), Container( width: 300.0, height: 200.0, color: Colors.blue, ), ], ), ), ), ), ); } }
效果截图:

