DFP简单粗暴的笔记(About Google Native DFP)
DFP简单粗暴的笔记
首先要有一个google的账号,然后在AdSense注册https://www.google.com/adsense,最后在DFP网站注册https://www.google.com/dfp
准备好以上工作既可以开始
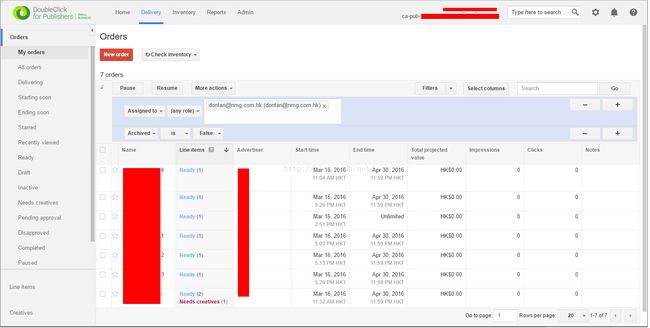
1.登入之后可以见到主界面
Delivery:创建订单
Inventory:创建广告单元
在这里要先了解下这些关系:
Order(订单,可以理解客户投放的广告单)里面有Line Item(类似明细,一个LineItem可以有多种广告size,多个广告),LineItem里面有多个Creatives(广告啦),而LineItem则需要依赖Unit(广告单元,类似分类啦)
2.DFP系统配置
先创建Unit ID这里重点是size的选择,一般三种普通广告(除了Custom rendering (Native)基本都是吧),Native广告(可以自己定义很多key value),Smart广告(其实也可以归类普通广告)
详细说明:https://developers.google.com/mobile-ads-sdk/docs/dfp/android/banner#banner_size
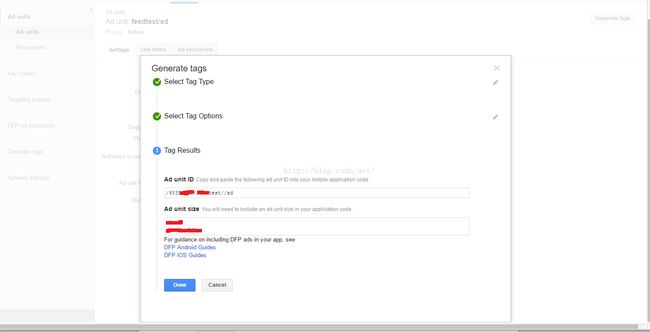
选择320×50和CustomNative之后,回到列表点击右上角的按钮,记下Ad unit id
回到订单页创建订单,创建刚刚unit id设置size的line item,选择对应的size,其他默认(可以参考文档选择),重点在于要选择Ad unit依赖的unit id
创建Creative广告,图里看到有空图,虚线边框的是Custom Native广告(创建的时候要选择模板,这里有系统两个默认的,也可以自己创建就在Native ad formats,假如使用的是自己创建的模板,要记下那个模板的ID哦)
创建后,回到LineItem,添加相应的Creative即可
3.在android上面显示广告
在AS下添加依赖
compile 'com.google.android.gms:play-services-ads:8.4.0'
添加string value,这里的项,就是你创建的unit id(广告单元的ID),因为这里是显示banner图片,所以你设置的unit id里面有这类符合广告才出现,不然会报个error code 3,找不到ad
注:创建广告unit id和order的时候都需要时间,可能要等上几个小时才行,之前按照官方文档操作,步骤是正确,就因为这里的创建广告问题,卡了一下
在显示的界面添加
xmlns:ads="http://schemas.android.com/apk/res-auto"
android:id="@+id/publisherAdView"
android:layout_width="wrap_content"
android:layout_height="wrap_content"
android:layout_centerHorizontal="true"
android:layout_alignParentBottom="true"
ads:adSize="BANNER"
ads:adUnitId="@string/banner_ad_unit_id">
Code
PublisherAdView mPublisherAdView = (PublisherAdView) findViewById(R.id.publisherAdView);
PublisherAdRequest adRequest = new PublisherAdRequest.Builder().build();
mPublisherAdView.loadAd(adRequest);
以上是显示普通广告
接着显示显示Custom Native,这个东西确实好,能自定义,比上面的都灵活
如果使用了系统默认的两种模板,则需要添加这些code
详细文档:https://developers.google.com/mobile-ads-sdk/docs/dfp/android/native#nativeadoptions
AdLoader adLoader = new AdLoader.Builder(context, "/6499/example/native")//unit id
.forAppInstallAd(new OnAppInstallAdLoadedListener() {
@Override
public void onAppInstallAdLoaded(NativeAppInstallAd appInstallAd) {
// Show the app install ad.
}
})
.forContentAd(new OnContentAdLoadedListener() {
@Override
public void onContentAdLoaded(NativeContentAd contentAd) {
// Show the content ad.
}
})
.withAdListener(new AdListener() {
@Override
public void onAdFailedToLoad(int errorCode) {
// Handle the failure by logging, altering the UI, etc.
}
})
.withNativeAdOptions(new NativeAdOptions.Builder()
// Methods in the NativeAdOptions.Builder class can be
// used here to specify individual options settings.
.build())
.build();
adLoader.loadAd(new PublisherAdRequest.Builder().build());
使用自己创建的模板
AdLoader adLoader = new AdLoader.Builder(context, "/6499/example/native")//unit id
.forCustomTemplateAd("10063170",//上面让大家记住自己创建的模板ID
new OnCustomTemplateAdLoadedListener() {
@Override
public void onCustomTemplateAdLoaded(NativeCustomTemplateAd ad) {
// Show the custom template and record an impression.
}
},
new NativeCustomTemplateAd.OnCustomClickListener() {
@Override
public void onCustomClick(NativeCustomTemplateAd ad, String s) {
// Handle the click action
}
})
.withAdListener( ... )
.withNativeAdOptions( ... )
.build();
adLoader.loadAd(new PublisherAdRequest.Builder().build());
如果不知道自己的代码是否正确可以使用 addTestDevice方法检测(log里会提示)
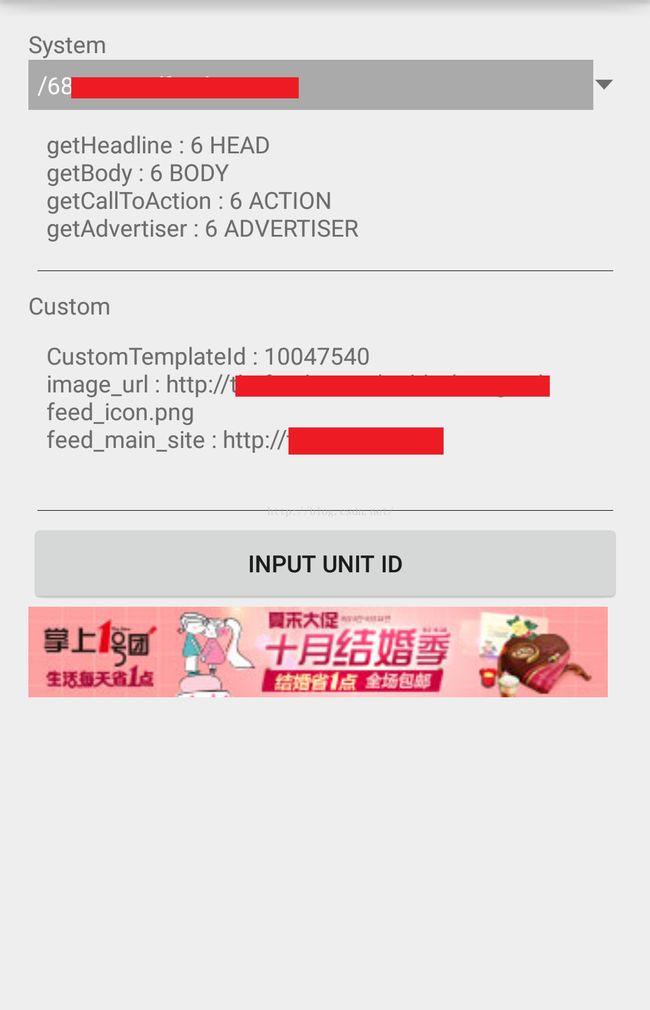
放两张自己的效果图
其他的功能还得慢慢摸索,有不对的地方,请指点


