GPUImage--视频流处理之AVCaptureVideoDataOutputSampleBufferDelegate
如果你是第一次看到这篇博客请看http://blog.csdn.net/xoxo_x/article/details/52695032
如果app需求仅仅是自己得到美颜的效果, 请看这里http://blog.csdn.net/xoxo_x/article/details/52743107
如果想了解更多的滤镜使用方法,请看这里http://blog.csdn.net/xoxo_x/article/details/52749033
接下来咱们要做的工作是如何对 CMSampleBufferRef 数据进行渲染、然后显示 美颜效果
一、通过AVCaptureVideoDataOutputSampleBufferDelegate获取视频流:
#import "ViewController.h"
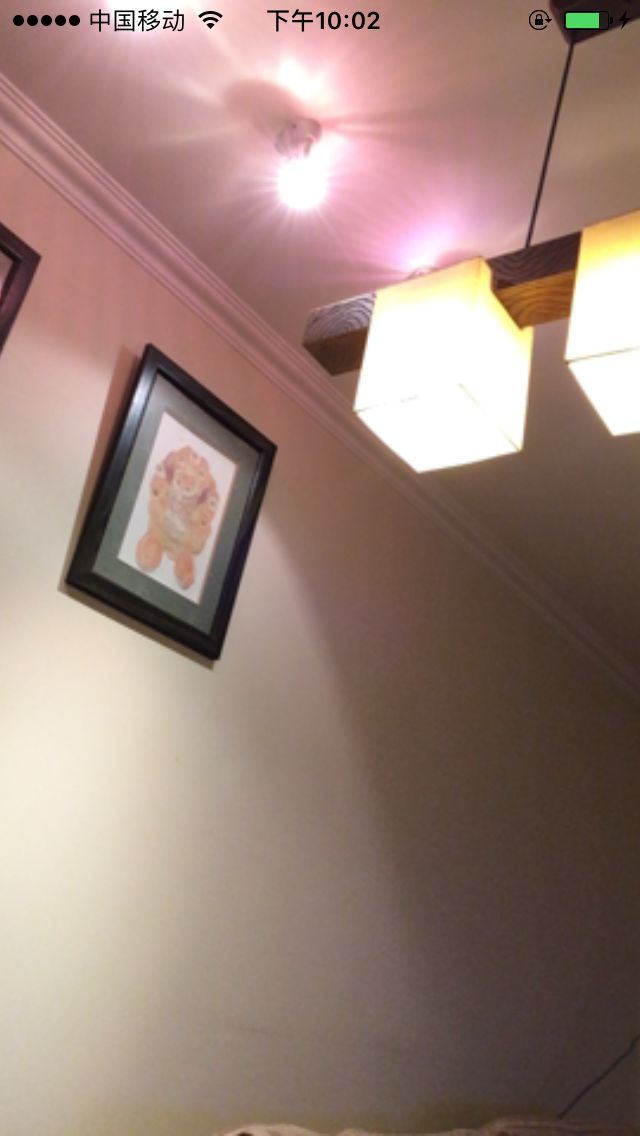
#import 效果图:
二、现在没有添加任何滤镜效果,下面开始添加滤镜,处理AVCaptureVideoDataOutputSampleBufferDelegate的CMSampleBufferRef数据
- (void)captureOutput:(AVCaptureOutput *)captureOutput
didOutputSampleBuffer:(CMSampleBufferRef)sampleBuffer
       fromConnection:(AVCaptureConnection *)connection
{
//这里进行处理CMSampleBufferRef
}
首先、我们先通过处理数据,从而得到视频流,如下:
//捕获到视频的回调函数
- (void)captureOutput:(AVCaptureOutput *)captureOutput
didOutputSampleBuffer:(CMSampleBufferRef)sampleBuffer
       fromConnection:(AVCaptureConnection *)connection
{
    // 通过sampleBuffer得到图片
    UIImage *image = [self imageFromSampleBuffer:sampleBuffer];
    NSData *mData = UIImageJPEGRepresentation(image, 0.5);
    //这里的mData是NSData对象,后面的0.5代表生成的图片质量
    //在主线程中执行才会把图片显示出来
    dispatch_async(dispatch_get_main_queue(), ^{
        [self.imagev setImage:[UIImage imageWithData:mData]];
    });
    [self.view addSubview:self.imagev];
    NSLog(@"output,mdata:%@",image);
}
self.imagev是在viewController中添加的全局变量,并在viewDidLoad中初始化
- (void)viewDidLoad
{
    [super viewDidLoad];
    self.imagev=[[UIImageView alloc] init];
    self.imagev.frame=CGRectMake(0, 300, 300, 200);
    self.imagev.backgroundColor=[UIColor orangeColor];
    [self setupCaptureSession];
}
这里我们发现self.preLayer的frame 与 self.imagev 的frame 并不冲突,为了更好地进行比较,这里就不移除原有的self.frame
其中,imageFromSampleBuffer的内容如下
// 把buffer流生成图片
- (UIImage *) imageFromSampleBuffer:(CMSampleBufferRef) sampleBuffer
{
    // Get a CMSampleBuffer's Core Video image buffer for the media data
    CVImageBufferRef imageBuffer = CMSampleBufferGetImageBuffer(sampleBuffer);
    // Lock the base address of the pixel buffer
    CVPixelBufferLockBaseAddress(imageBuffer, 0);

    // Get the number of bytes per row for the pixel buffer
    void *baseAddress = CVPixelBufferGetBaseAddress(imageBuffer);

    // Get the number of bytes per row for the pixel buffer
    size_t bytesPerRow = CVPixelBufferGetBytesPerRow(imageBuffer);
    // Get the pixel buffer width and height
    size_t width = CVPixelBufferGetWidth(imageBuffer);
    size_t height = CVPixelBufferGetHeight(imageBuffer);

    // Create a device-dependent RGB color space
    CGColorSpaceRef colorSpace = CGColorSpaceCreateDeviceRGB();

    // Create a bitmap graphics context with the sample buffer data
    CGContextRef context = CGBitmapContextCreate(baseAddress, width, height, 8,
                                                 bytesPerRow, colorSpace, kCGBitmapByteOrder32Little | kCGImageAlphaPremultipliedFirst);
    // Create a Quartz image from the pixel data in the bitmap graphics context
    CGImageRef quartzImage = CGBitmapContextCreateImage(context);
    // Unlock the pixel buffer
    CVPixelBufferUnlockBaseAddress(imageBuffer,0);

    // Free up the context and color space
    CGContextRelease(context);
    CGColorSpaceRelease(colorSpace);

    // Create an image object from the Quartz image
    //UIImage *image = [UIImage imageWithCGImage:quartzImage];
    UIImage *image = [UIImage imageWithCGImage:quartzImage scale:1.0f orientation:UIImageOrientationRight];

    // Release the Quartz image
    CGImageRelease(quartzImage);

    return (image);
}
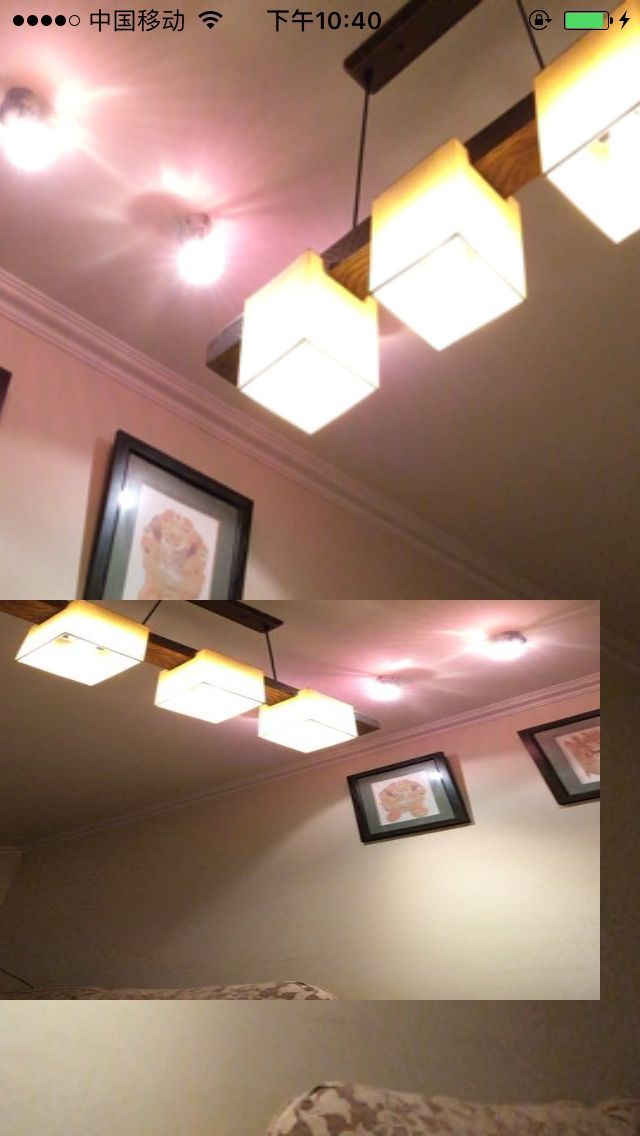
这时的效果如下:
我们明显可以看到,在ImageView中出现了视频,并成功的显现了出来,到这里我们成功了
三、我们成功地得到了这个图像,那么是否可以处理呢?下面进行滤镜处理

