iOS开发(OC)——常用动画
iOS开发交流群:301058503
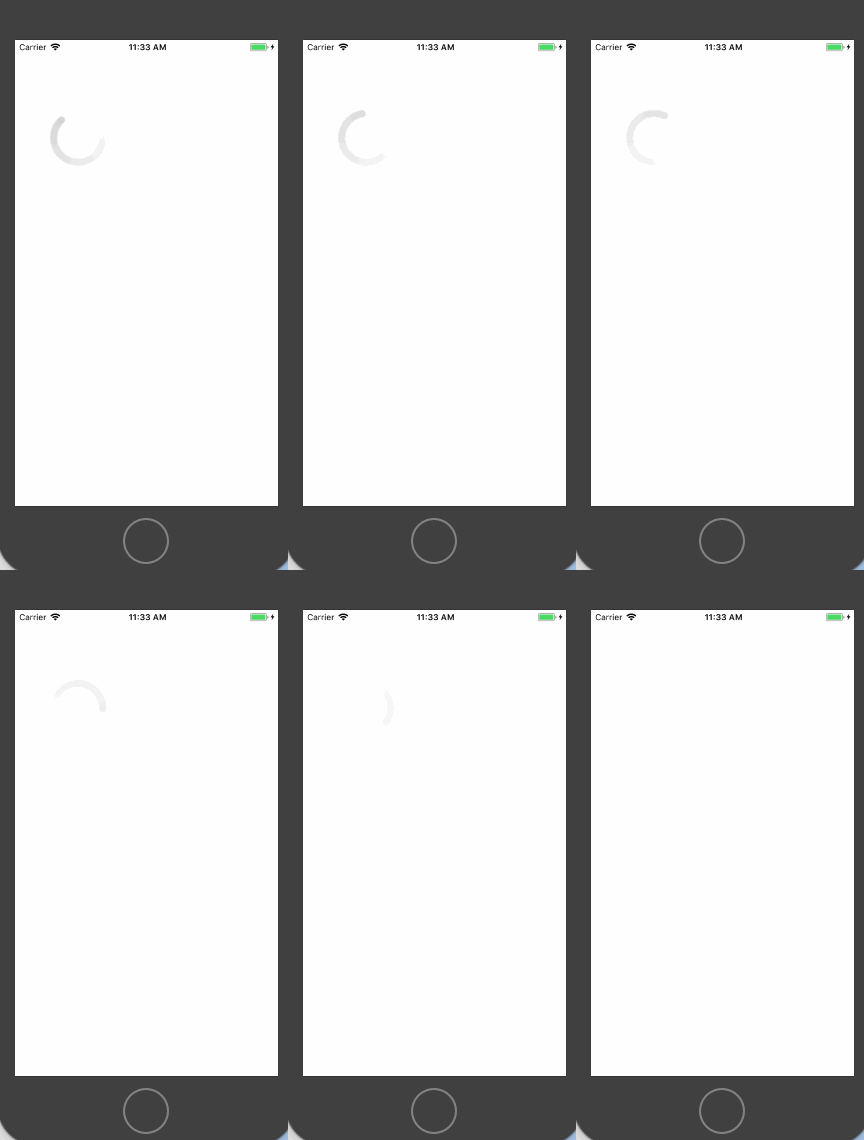
1、 旋转的加载动画,效果图如下

代码实现
/*慢慢消失的动画*/
    CABasicAnimation *animation1 = [CABasicAnimation animationWithKeyPath:@"opacity"];
    //动画完成后保持原状
    animation1.fillMode = kCAFillModeForwards;
    animation1.removedOnCompletion = NO;
    //值
    animation1.fromValue = [NSNumber numberWithFloat:1.0];
    animation1.toValue = [NSNumber numberWithFloat:0];
    animation1.duration = 1.2;//动画时间


    /*旋转动画*/
    NSString *keyPath = @"transform.rotation.z";//绕z轴旋转(大家可以试试x,y轴,看看效果)
    CABasicAnimation *animation2 = [CABasicAnimation animationWithKeyPath:keyPath];
    animation2.fillMode = kCAFillModeForwards;
    animation2.removedOnCompletion = NO;
    //值
    animation2.fromValue = [NSNumber numberWithFloat:0];
    animation2.toValue = [NSNumber numberWithFloat:1.5*M_PI];
    animation2.duration = 1.2;

    /*动画组,把上面两个动画组合起来*/
    CAAnimationGroup *groupAnnimation = [CAAnimationGroup animation];
    groupAnnimation.duration = 1.5;
    groupAnnimation.repeatCount = MAXFLOAT;//无限循环
    groupAnnimation.animations = @[animation1, animation2];
    groupAnnimation.fillMode = kCAFillModeForwards;
    groupAnnimation.removedOnCompletion = NO;
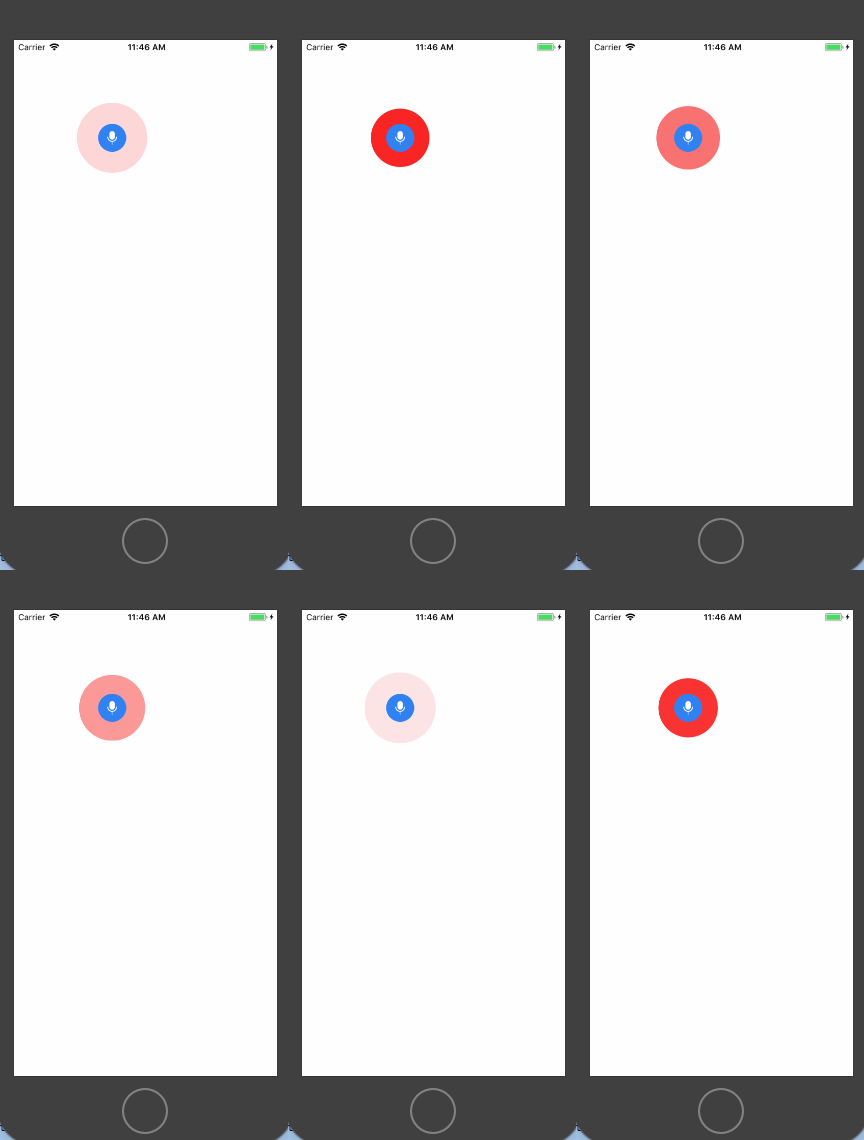
[imageView.layer addAnimation:groupAnnimation forKey:@"group"];UIView *animationView = [[UIView alloc] initWithFrame:CGRectMake(100,100, 80, 80)];
animationView.backgroundColor = [UIColor redColor];
animationView.layer.masksToBounds = YES;
animationView.layer.cornerRadius = 40;
[self.view addSubview:animationView];
UIImageView *voiceImageView = [[UIImageView alloc] initWithFrame:CGRectMake(120, 120, 40, 40)];
voiceImageView.image = [UIImage imageNamed:@"voice"];
[self.view addSubview:voiceImageView];
/*慢慢消失的动画*/
CABasicAnimation *animation1 = [CABasicAnimation animationWithKeyPath:@"opacity"];
//动画完成后保持原状
animation1.fillMode = kCAFillModeForwards;
animation1.removedOnCompletion = NO;
//值
animation1.fromValue = [NSNumber numberWithFloat:1.0];
animation1.toValue = [NSNumber numberWithFloat:0];
animation1.duration = 1;//动画时间
/*变大动画*/
CABasicAnimation *animation2 = [CABasicAnimation animationWithKeyPath:@"transform.scale"];
animation2.fillMode = kCAFillModeForwards;
animation2.removedOnCompletion = NO;
//值
animation2.fromValue = [NSNumber numberWithFloat:1.0];
animation2.toValue = [NSNumber numberWithFloat:1.3];
animation2.duration = 1;
/*动画组,把上面两个动画组合起来*/
CAAnimationGroup *groupAnnimation = [CAAnimationGroup animation];
groupAnnimation.duration = 1.0;
groupAnnimation.repeatCount = MAXFLOAT;//无限循环
groupAnnimation.animations = @[animation1, animation2];
groupAnnimation.fillMode = kCAFillModeForwards;
groupAnnimation.removedOnCompletion = NO;
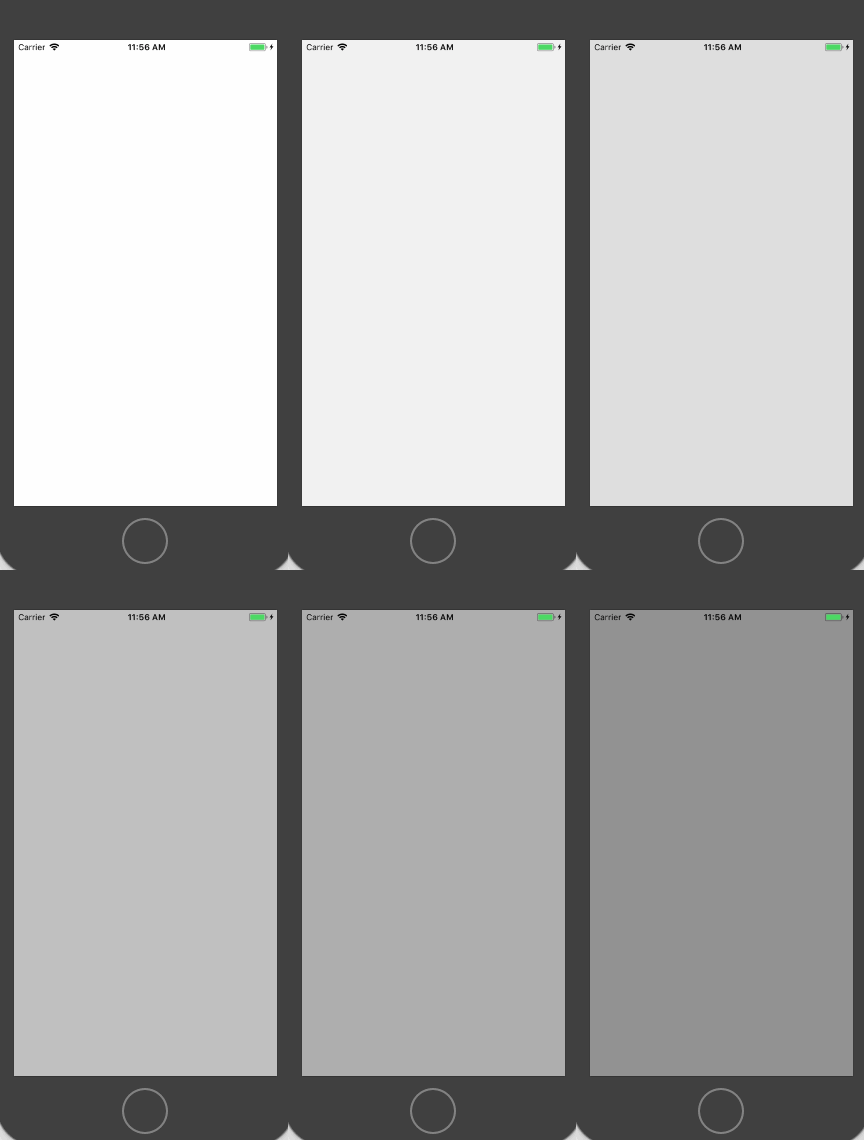
[animationView.layer addAnimation:groupAnnimation forKey:@"group"];3、弹出页面的渐隐渐显动画,效果图如下
3.1 渐显

代码实现
UIView *view = [[UIView alloc] initWithFrame:self.view.frame];
    view.backgroundColor = [UIColor colorWithRed:0 green:0 blue:0 alpha:0.5];
    [self.view addSubview:view];
    view.hidden = YES;

    dispatch_after(dispatch_time(DISPATCH_TIME_NOW, (int64_t)(2.0 * NSEC_PER_SEC)), dispatch_get_main_queue(), ^{
        view.hidden = NO;
        /*慢慢消失的动画*/
        CABasicAnimation *animation1 = [CABasicAnimation animationWithKeyPath:@"opacity"];
        //动画完成后保持原状
        animation1.fillMode = kCAFillModeForwards;
        animation1.removedOnCompletion = NO;
        //值
        animation1.fromValue = [NSNumber numberWithFloat:0];
        animation1.toValue = [NSNumber numberWithFloat:1.0];
        animation1.duration = 2;//动画时间
        [view.layer addAnimation:animation1 forKey:@"Opacity"];
    });
渐隐的效果只需要把上面的fromValue和toValue的值调换就行
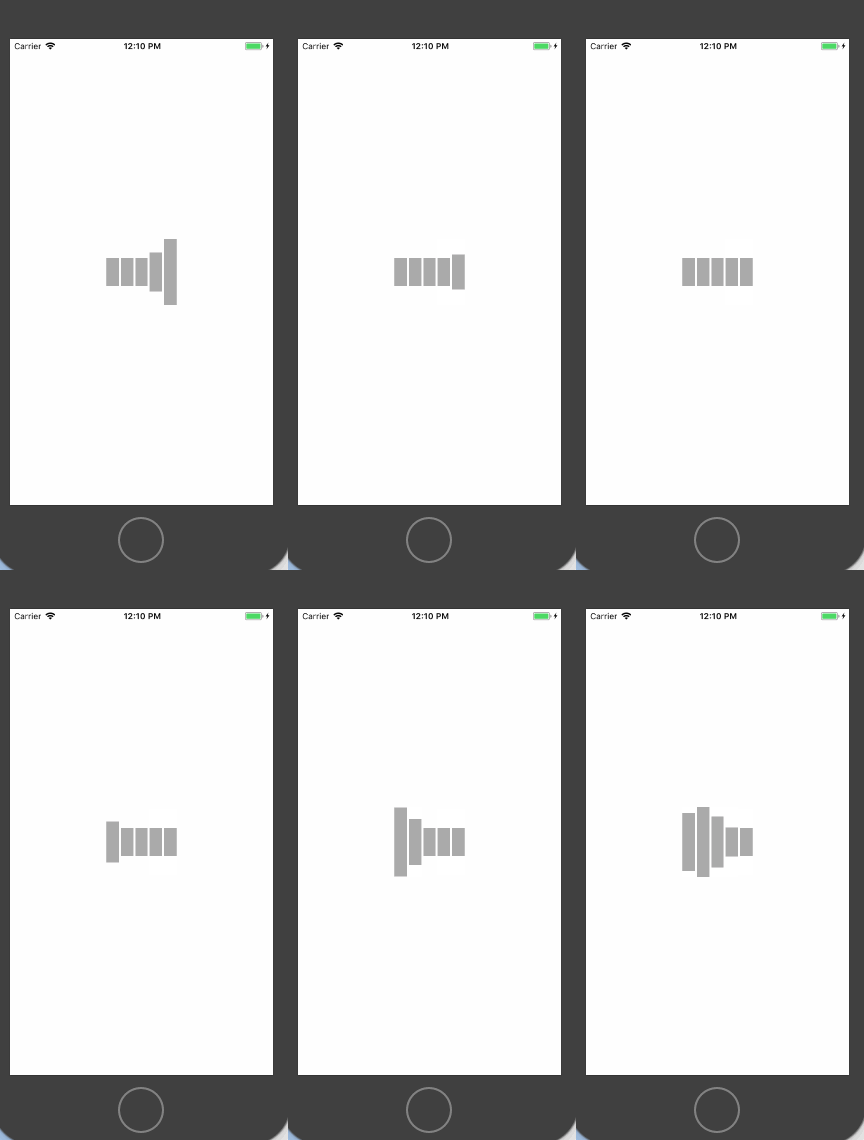
4、跳动的加载动画,效果图如下

代码实现
CGFloat kSpaceBetweenRect = 3.0;
    NSInteger kRectCount = 5;

    UIView *loadingView = [[UIView alloc] initWithFrame: CGRectMake(self.view.frame.size.width/2-50, self.view.frame.size.height/2-50, 100, 100)];
    loadingView.backgroundColor = [UIColor clearColor];
    [self.view addSubview:loadingView];

    CGFloat rectWidth = (loadingView.frame.size.width - kSpaceBetweenRect *(kRectCount-1)) / kRectCount;
    for (NSInteger i = 0; i < kRectCount; ++i) {
        CALayer *layer = [CALayer layer];
        layer.transform =  CATransform3DMakeScale(1.0, 0.4, 0.0);
        layer.backgroundColor = [UIColor lightGrayColor].CGColor;
        layer.frame = CGRectMake(i * (rectWidth + kSpaceBetweenRect), 0, rectWidth, loadingView.frame.size.height);
        [loadingView.layer addSublayer:layer];
    }


    for (NSInteger i = 0; i < kRectCount; ++i) {
        CALayer *layer = loadingView.layer.sublayers[i];
        CAKeyframeAnimation *animation =  [CAKeyframeAnimation animationWithKeyPath:@"transform"];
        animation.removedOnCompletion = NO;
        animation.repeatCount = MAXFLOAT;
        animation.duration = 1.2;

        animation.beginTime = CACurrentMediaTime() + i * 0.1;
        animation.keyTimes = @[@0.0,@0.2, @0.4,@1.0];
        animation.timingFunctions = @[
                                      [CAMediaTimingFunction functionWithName:kCAMediaTimingFunctionEaseInEaseOut],
                                      [CAMediaTimingFunction functionWithName:kCAMediaTimingFunctionEaseInEaseOut],
                                      [CAMediaTimingFunction functionWithName:kCAMediaTimingFunctionEaseInEaseOut],
                                      [CAMediaTimingFunction functionWithName:kCAMediaTimingFunctionEaseInEaseOut]
                                      ];
        animation.values = @[
                             [NSValue valueWithCATransform3D:CATransform3DMakeScale(1.0, 0.4, 0.0)],
                             [NSValue valueWithCATransform3D:CATransform3DMakeScale(1.0, 1.0, 0.0)],
                             [NSValue valueWithCATransform3D:CATransform3DMakeScale(1.0, 0.4, 0.0)],
                             [NSValue valueWithCATransform3D:CATransform3DMakeScale(1.0, 0.4, 0.0)]
                             ];
        [layer addAnimation:animation forKey:[NSString stringWithFormat:@"wave_animation_%lu",i]];
    }
5、动物跳动动画,效果图如下

代码实现
这种要用UIImageView的GIF实现,让UI设计师把动画的各个点的图都做出来
UIImageView *imageview = [[UIImageView alloc] initWithFrame:CGRectMake(100, 100, 100, 100)];
    [self.view addSubview:imageview];
    //这里就是一组图片,开头和结尾都是同一张图片
    NSArray *gifArray = [NSArray arrayWithObjects:[UIImage imageNamed:@"11"],
                         [UIImage imageNamed:@"12"],
                         [UIImage imageNamed:@"13"],
                         [UIImage imageNamed:@"14"],
                         [UIImage imageNamed:@"11"],
                         nil];
    imageview.animationImages = gifArray; //动画图片数组
    imageview.animationDuration = 0.5; //执行一次完整动画所需的时长
    imageview.animationRepeatCount = 0;  //动画重复次数
    [imageview startAnimating];