前言
(呃呃呃,其实本文不算是动画实战,只是用到了一点动画,算了没差~)
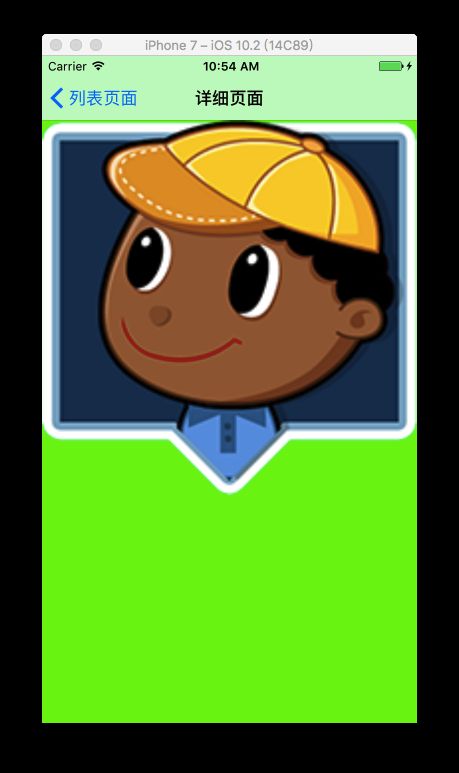
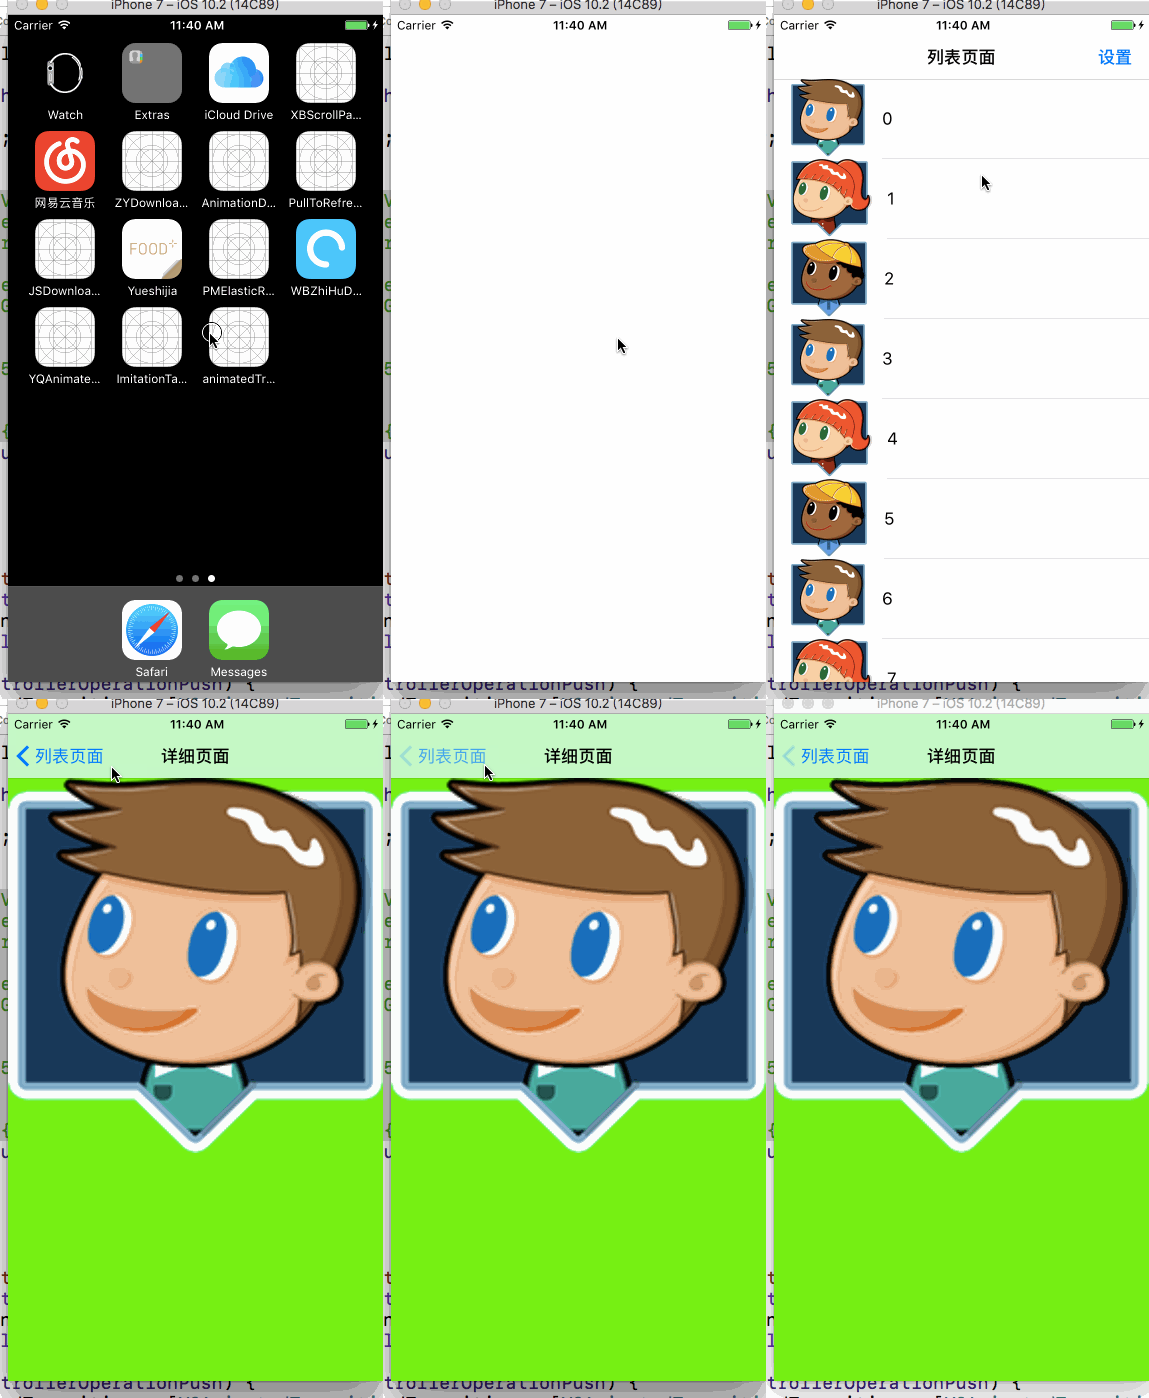
在平时使用的app中,部分app的部分转场动画与传统的动画不一样,其实他们使用的是自定义转场动画。本文记录的是自定义转场动画的实现。
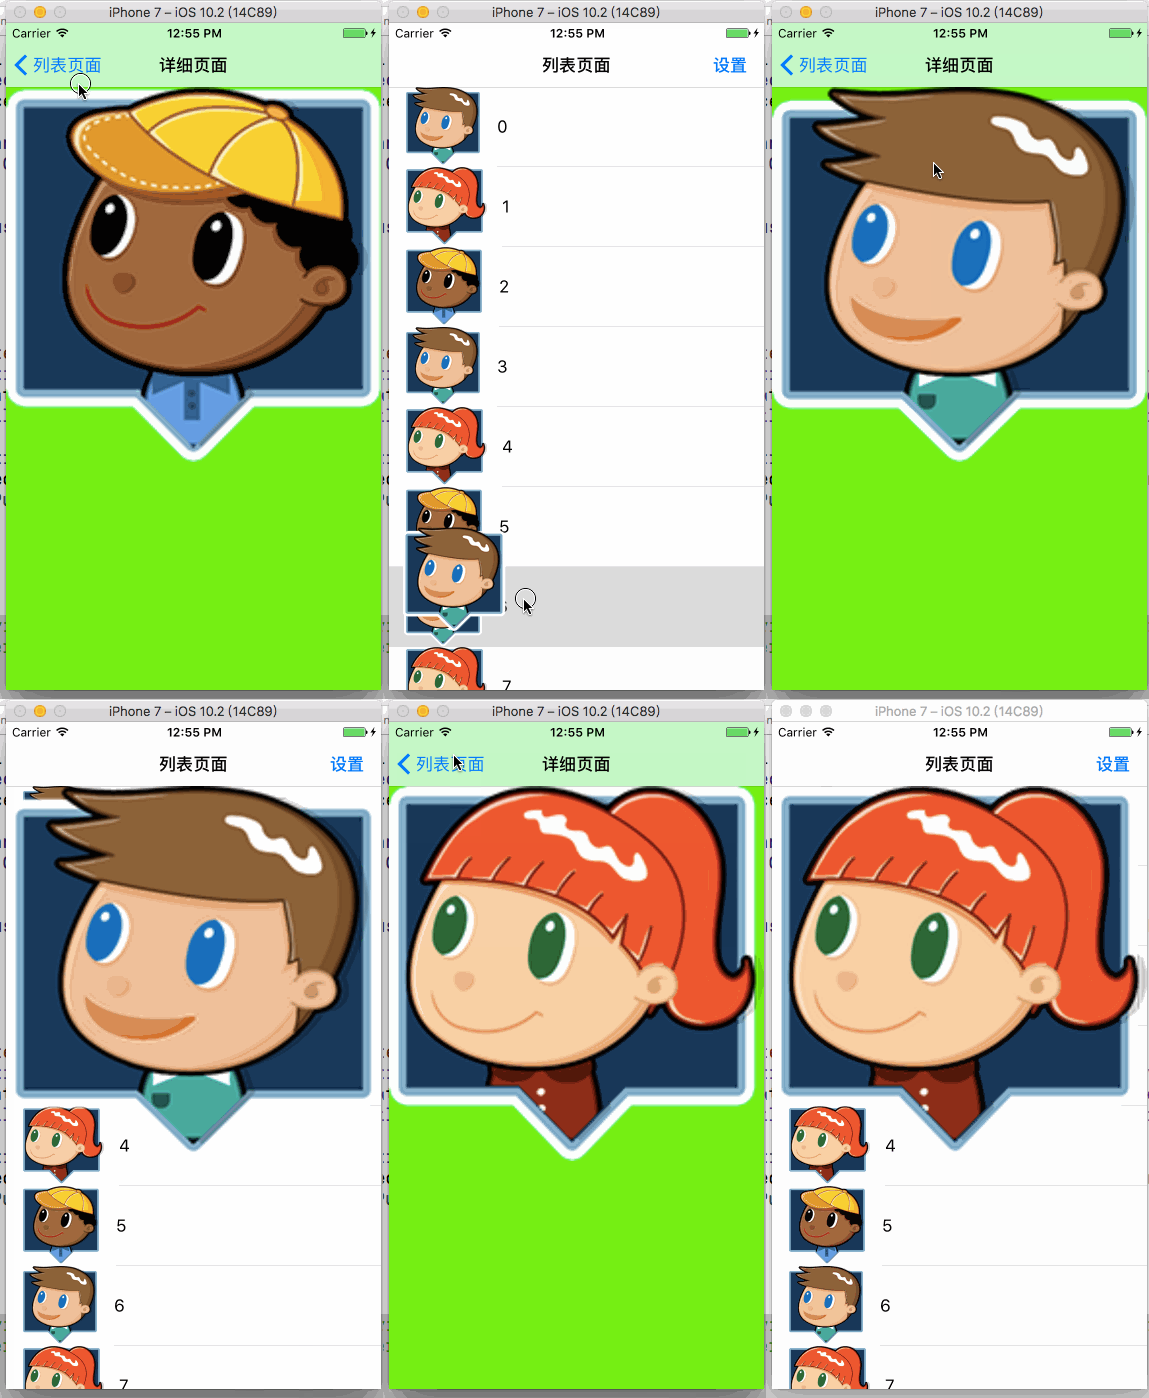
效果图
主要思路
最重要的是需要创建一个继承NSObject的类,并且遵守UIViewControllerAnimatedTransitioning协议。我暂时给这个类命名为YQAnimatedTransition。这个协议就是用来自定义转场动画的。点进去看看:
@protocol UIViewControllerAnimatedTransitioning
// This is used for percent driven interactive transitions, as well as for
// container controllers that have companion animations that might need to
// synchronize with the main animation.
- (NSTimeInterval)transitionDuration:(nullable id )transitionContext;
// This method can only  be a nop if the transition is interactive and not a percentDriven interactive transition.
- (void)animateTransition:(id )transitionContext;
@end
发现这个协议有两个必须实现的方法。第一个方法是设置动画的时间。第二个方法是设置动画。
好了,当这个YQAnimatedTransition类设置好后,在控制器需要用它的时候调用它。这个下面会具体说。
开始吃键盘
1.YQAnimatedTransition创建
首先创建一个继承NSObject,并且遵守UIViewControllerAnimatedTransitioning协议的类YQAnimatedTransition。
其次考虑到转场一共有四种方式:push,pop,present,dismiss。所以我加了一个枚举,用来设置转场的类型。
typedef enum {
    YQAnimatedTransitionTypePush,
    YQAnimatedTransitionTypePop,
    YQAnimatedTransitionTypePresent,
    YQAnimatedTransitionTypeDismiss
}YQAnimatedTransitionType;
为了方便这个类的使用,我加了一个类方法,在类方法中进行初始化且设置转场类型:
//.h
+ (YQAnimatedTransition *)animatedTransitionWithType:(YQAnimatedTransitionType)type;

//.m
+ (YQAnimatedTransition *)animatedTransitionWithType:(YQAnimatedTransitionType)type
{
    YQAnimatedTransition *animatedTransition = [[YQAnimatedTransition alloc] init];
    animatedTransition.type = type;
    return animatedTransition;
}
2.协议方法实现
下面是重点了!既然这个类遵循UIViewControllerAnimatedTransitioning协议,就需要实现协议方法。
直接上代码了。
- (NSTimeInterval)transitionDuration:(nullable id )transitionContext
{
    return 0.5;
}

- (void)animateTransition:(id)transitionContext
{
    self.transitionContext = transitionContext;

    if (self.type == YQAnimatedTransitionTypePush) {
    } else if (self.type == YQAnimatedTransitionTypePresent) {
    } else if (self.type == YQAnimatedTransitionTypeDismiss) {
    } else {
    }
}
解释一下。第一个方法的意思是我设置转场动画为0.5秒。第二个方法是在设置动画过程。由于篇幅过长,我暂时先省略啦~
重点说说上面的第二方法:动画设置。
不管是pop或者dismiss等等,只要控制器转场都会执行这第二个方法。所以首先在这个方法中进行判断,是属于哪种转场方式。然后再自定义动画。
以push为例子:
if (self.type == YQAnimatedTransitionTypePush) {

        // 获得即将消失的vc的v
        UIView *fromeView = [transitionContext viewForKey:UITransitionContextFromViewKey];
        // 获得即将出现的vc的v
        UIView *toView = [transitionContext viewForKey:UITransitionContextToViewKey];
        // 获得容器view
        UIView *containerView = [transitionContext containerView];

        [containerView addSubview:fromeView];
        [containerView addSubview:toView];

        UIBezierPath *startBP = [UIBezierPath bezierPathWithOvalInRect:CGRectMake((containerView.frame.size.width-100)/2, 100, 100, 100)];
        CGFloat radius = 1000;
        UIBezierPath *finalBP = [UIBezierPath bezierPathWithOvalInRect:CGRectMake(150 - radius, 150 -radius, radius*2, radius*2)];

        CAShapeLayer *maskLayer = [CAShapeLayer layer];
        maskLayer.path = finalBP.CGPath;
        toView.layer.mask = maskLayer;

        //执行动画
        CABasicAnimation *animation = [CABasicAnimation animationWithKeyPath:@"path"];
        animation.fromValue = (__bridge id _Nullable)(startBP.CGPath);
        animation.toValue = (__bridge id _Nullable)(finalBP.CGPath);
        animation.duration = [self transitionDuration:transitionContext];
        animation.timingFunction = [CAMediaTimingFunction functionWithName:kCAMediaTimingFunctionEaseInEaseOut];
        [maskLayer addAnimation:animation forKey:@"path"];
    }
这里用到了动画的知识,改变的是layer的path属性,让layer从小圆变成了大圆。
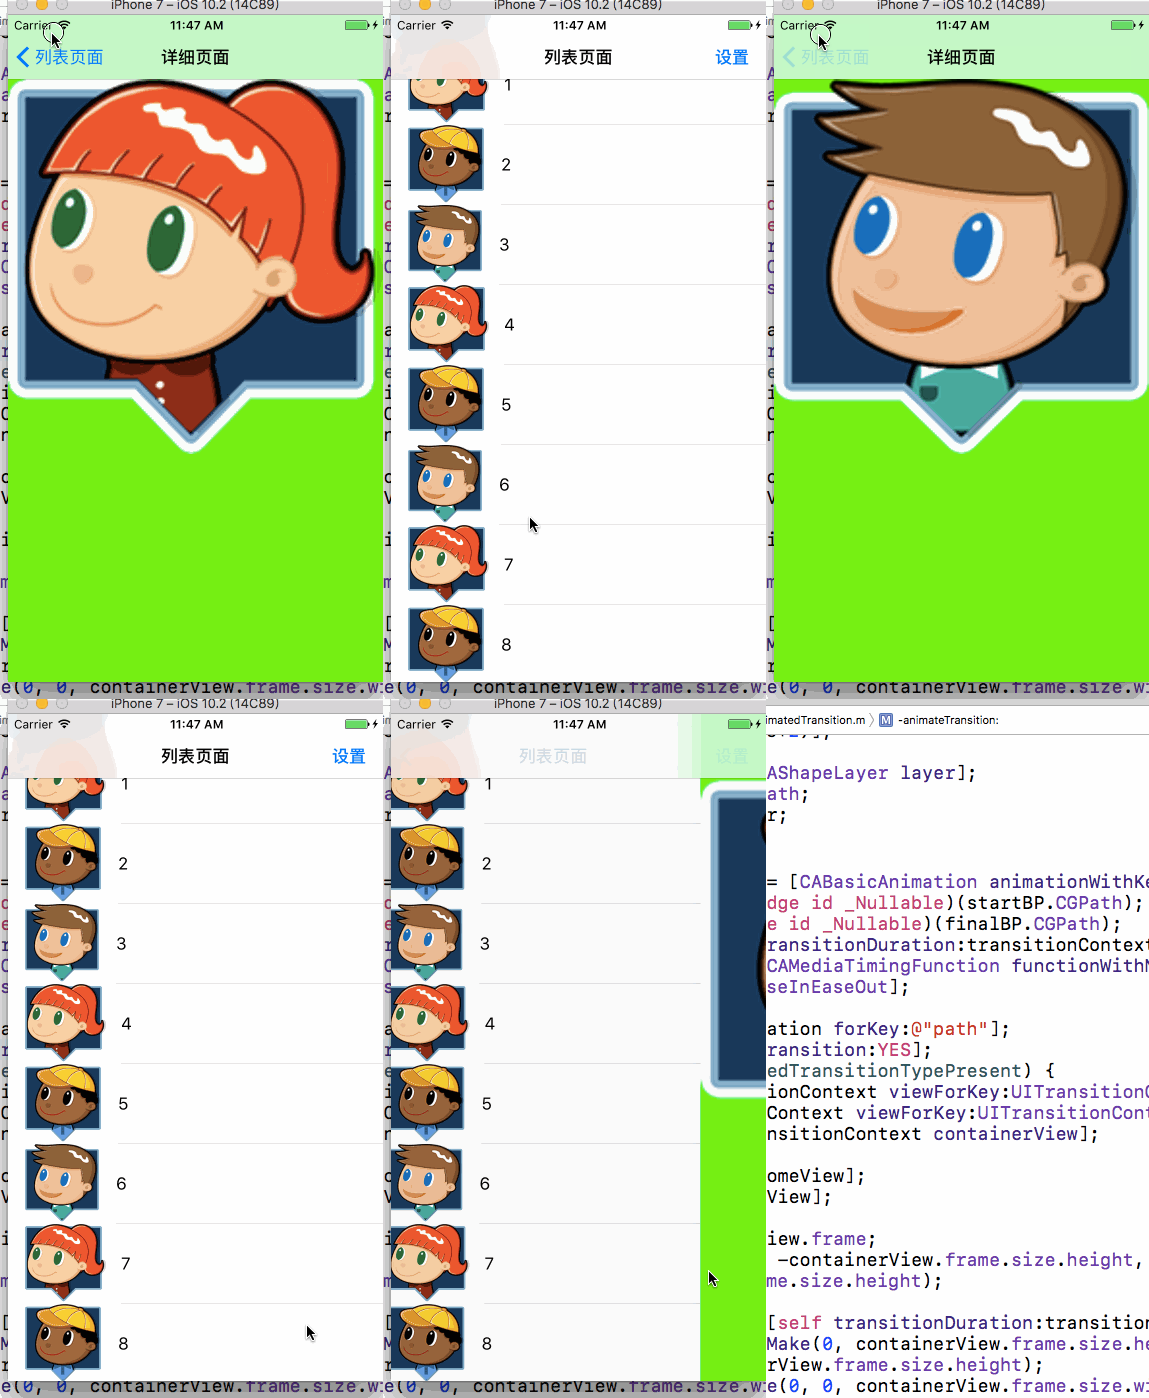
一直看代码和文字也累了吧,先看看现在push的效果好了。(注意哈,这里为了看效果,我已经在控制器写了调用该类的代码了,至于怎么调用,下面会说,先看效果吧~)
首先可以发现一个问题,就是返回不了了。解决办法是:在动画完成后加一行代码
[transitionContext completeTransition:YES];。但是,问题又来了,这行代码加在哪里呢。
直接加在动画设置后面效果:
好像没问题,但是仔细观察发现navBar存在push的太早问题。如果你和我一样觉得这个很丑,那就换一个方法。
给animation设置代理,然后该类监听动画,当动画结束的时候再调用这行代码,这样就没问题啦。当然别忘了遵循动画协议CAAnimationDelegate。
- (void)animationDidStop:(CAAnimation *)anim finished:(BOOL)flag
{
    //告诉系统转场动画完成
    [self.transitionContext completeTransition:YES];
}
这样动画就写好了,至于present,dismiss等,也类似,就不再说啦。
上面动画实现中有一个layer.mask属性,我在本文最后会解释。
3.控制器调用
最后一步就是控制器调用刚写的类了。
a.push/pop方式如下:
在控制器中遵循UINavigationControllerDelegate协议,并实现协议方法:
- (id)navigationController:(UINavigationController *)navigationController animationControllerForOperation:(UINavigationControllerOperation)operation fromViewController:(UIViewController *)fromVC toViewController:(UIViewController *)toVC{

    if (operation == UINavigationControllerOperationPush) {
        YQAnimatedTransition *animatedTransition = [YQAnimatedTransition animatedTransitionWithType:YQAnimatedTransitionTypePush];
        return animatedTransition;
    }
    return nil;
}
b.present/dismiss方式如下:
在控制器中遵循UIViewControllerTransitioningDelegate协议,并实现方法:
- (id)animationControllerForPresentedController:(UIViewController *)presented presentingController:(UIViewController *)presenting sourceController:(UIViewController *)source
{
    return [YQAnimatedTransition animatedTransitionWithType:YQAnimatedTransitionTypePresent];
}


- (id)animationControllerForDismissedController:(UIViewController *)dismissed
{
    return [YQAnimatedTransition animatedTransitionWithType:YQAnimatedTransitionTypeDismiss];
}
到这里,转场动画就实现了。
4.细节补充
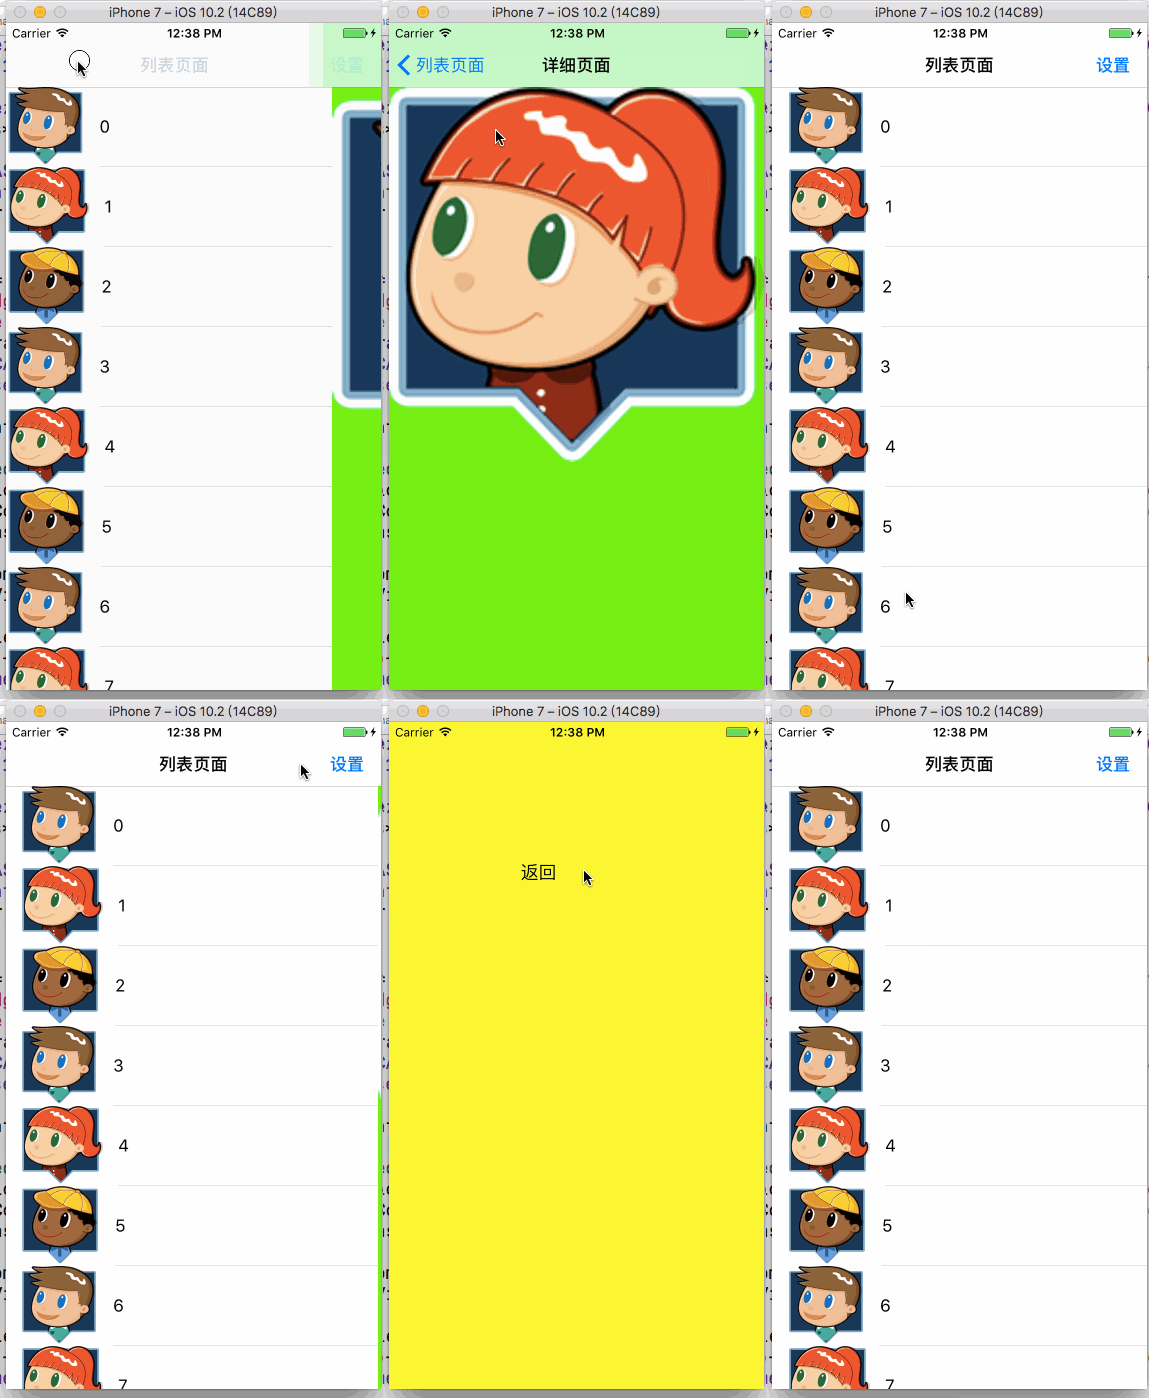
上图和效果图比较还是有差别的,少了一个过渡动画。当用户点击cell的时候,头像会移动且放大到详细页面那个头像那个位置。实现代码:
- (void)tableView:(UITableView *)tableView didSelectRowAtIndexPath:(NSIndexPath *)indexPath
{
    // 获得点击的cell
    UITableViewCell *cell = [tableView cellForRowAtIndexPath:indexPath];
    CGRect rectInTableView = [tableView rectForRowAtIndexPath:indexPath];
    // 获得点击cell的frame
    CGRect rect = [tableView convertRect:rectInTableView toView:[tableView superview]];

   // 设置selectImageView的位置和图片
    self.selectImageView.image = cell.imageView.image;
    self.selectImageView.frame = CGRectMake(cell.imageView.frame.origin.x, rect.origin.y, cell.imageView.frame.size.width, cell.imageView.frame.size.height);
    // 动画
    [UIView animateWithDuration:0.5 animations:^{
        self.selectImageView.frame = CGRectMake(0, 64, self.view.bounds.size.width, self.view.bounds.size.width);
    } completion:^(BOOL finished) {
        [self.navigationController pushViewController:detail animated:YES];
    }];
}
获取当前cell方法以及cell相对屏幕的位置两个方法每次都忘记,所以加粗,方便以后找。
上面代码的效果图:
现在的问题是返回的时候 self.selectImageView还在那里,所以需要在转场结束后使 self.selectImageView消失。
解决方法:
- (void)navigationController:(UINavigationController *)navigationController didShowViewController:(UIViewController *)viewController animated:(BOOL)animated
{
    if (viewController != self) {
        self.selectImageView.frame = CGRectNull;
    }
}
转场后,设置frame为CGRectNull,这样就消失啦~
layer.mask属性
其实这个mask属性用到的地方还是蛮多的。比如新手引导(虽然现在都是图片),还有微信的照片红包。下面说说这个属性。
mask是一个layer层,并且作为背景层和组成层之间的一个遮罩层通道,默认是nil。
还是在这个项目中,在列表控制器的- (void)viewDidLoad方法中加如下代码
    CAShapeLayer *shapeLayer = [CAShapeLayer layer];
    shapeLayer.path = [UIBezierPath bezierPathWithOvalInRect:CGRectMake(100, 100, 200, 200)].CGPath;
    self.view.layer.mask = shapeLayer;
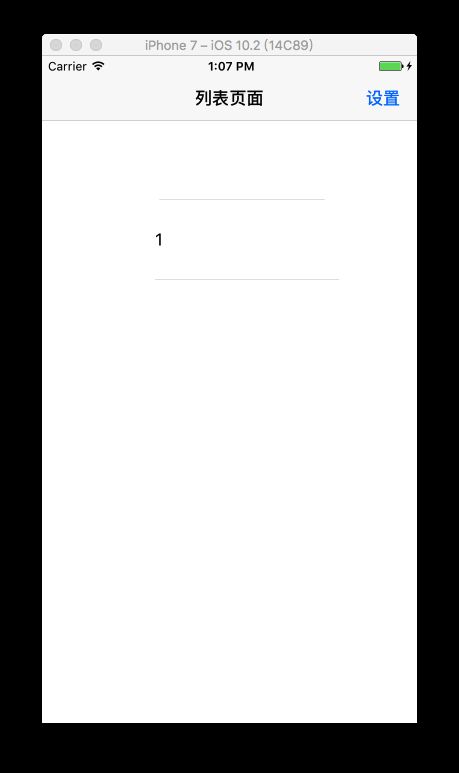
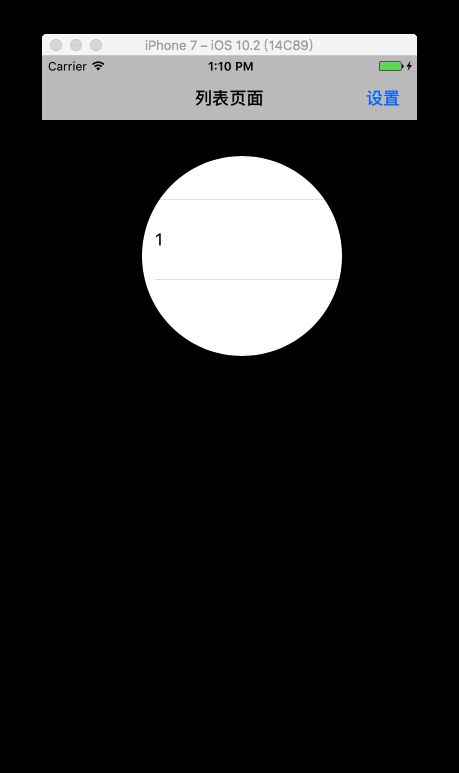
效果图:
发现就只有layer那一块显示出来,其余全部白色了。至于其余部分的颜色 是由 window.backgroundColor控制。
改成黑色:
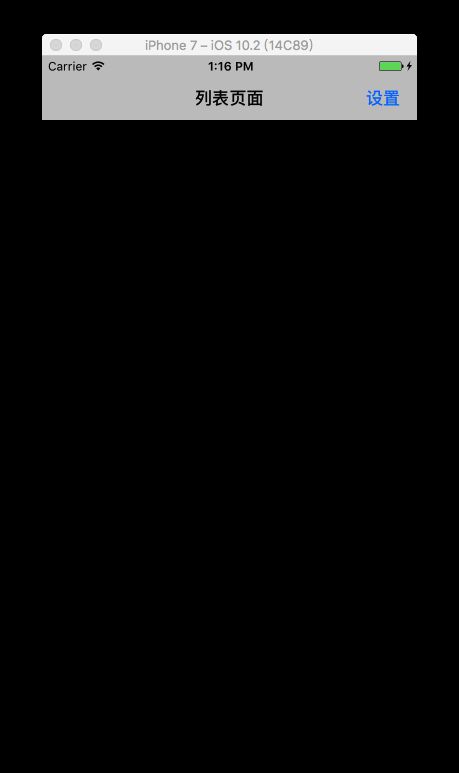
当我代码改成这样:(一条线的时候)
    UIBezierPath *path = [UIBezierPath bezierPath];
    [path moveToPoint:CGPointMake(100, 100)];
    [path addLineToPoint:CGPointMake(100, 500)];

    CAShapeLayer *shapeLayer = [CAShapeLayer layer];
    shapeLayer.path = path.CGPath;
    shapeLayer.lineWidth = 20;
    self.view.layer.mask = shapeLayer;
发现不起作用,即使线宽为20。
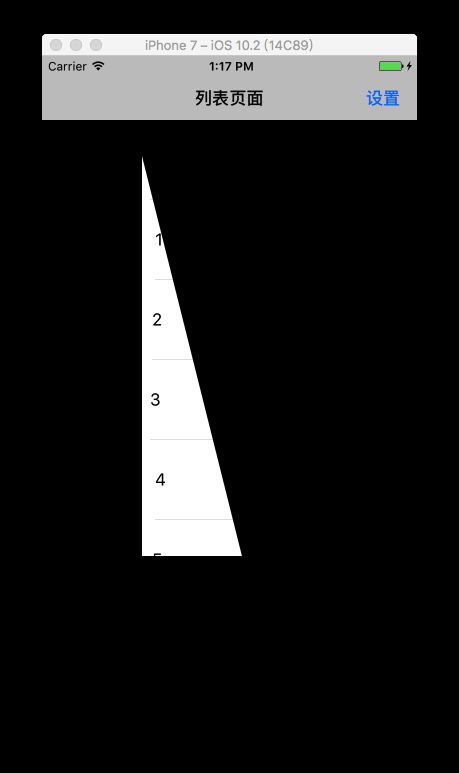
当代码为三角形:
    UIBezierPath *path = [UIBezierPath bezierPath];
    [path moveToPoint:CGPointMake(100, 100)];
    [path addLineToPoint:CGPointMake(100, 500)];
    [path addLineToPoint:CGPointMake(200, 500)];
    [path closePath];

    CAShapeLayer *shapeLayer = [CAShapeLayer layer];
    shapeLayer.path = path.CGPath;
    shapeLayer.lineWidth = 20;
    self.view.layer.mask = shapeLayer;
综上可以说明:layer的路径必须要封闭才能起作用。
最后
本文github地址:https://github.com/JabberYQ/animatedTransitionDemo
