Nginx的反向代理和缓存功能
1、代理:
正向代理:即以客户为中心,客户所有的请求都发给一个代理服务器,由代理服务器去代我们请求web资源,然后返回给我们;
反向代理:即以服务器为中心,所有的客户端请求都必须要先经过一个代理服务器,然后由代理服务器去后端请求指定的web服务器,请求完成之后再把资源返回给客户端;
Nginx的强大之处之一就是具有非常强的代理功能,有丰富的调度算法。
2、实现反向代理的模块
ngx_http_proxy_module模块:
server {
 			listen
			server_name
			location / {
					proxy_pass http://servername|server_ip;
			}
		}
实验介绍:
代理server:192.168.126.137
webserver:192.168.126.135;192.168.126.131
1)修改nginx代理server的配置文件
[root@proxy ~]#vim /usr/local/nginx/conf/nginx.conf
 location / {
          proxy_pass http://192.168.126.135:80;   //客户端请求的任何内容都会代理至192.168.126.135这个webserver
        }
2)重载nginx服务
[root@proxy ~]# nginx -t -c /usr/local/nginx/conf/nginx.conf
nginx: the configuration file /usr/local/nginx/conf/nginx.conf syntax is ok
nginx: configuration file /usr/local/nginx/conf/nginx.conf test is successful
[root@proxy ~]# /usr/local/nginx/sbin/nginx
[root@proxy ~]# /usr/local/nginx/sbin/nginx -s reload
3)编辑后端server的web主页
[root@web1 ~]#vim /var/www/html/index.html
Page form  web1
[root@web1 ~]# systemctl start httpd
[root@web1 ~]#
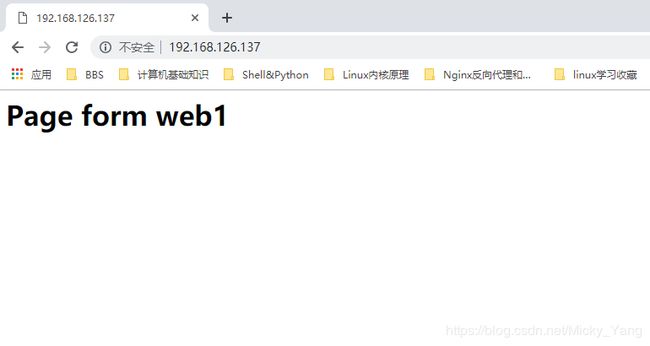
4)测试,在浏览器中请求代理服务器的ip地址,查看是否可以代理至后端server

3、对客户端请求的路径资源做代理
1)修改代理服务器的nginx主配置文件
[root@proxy ~]#vim /usr/local/nginx/conf/nginx.conf
        location / {
          proxy_pass http://192.168.126.135:80;
        }

        location /www {
          proxy_pass http://192.168.126.135/bbs;     //当用户请求代理服务器的/www路径时,代理服务器会去请求192.168.126.135的/bbs资源
        }
[root@proxy ~]# /usr/local/nginx/sbin/nginx -s reload
[root@proxy ~]#
2)在后端server中添加相应的资源目录和主页
[root@web1 ~]#mkdir /var/www/html/bbs
[root@web1 ~]#vim /var/www/html/bbs/index.html
Page from web1/bbs
[root@web1 ~]# systemctl restart httpd
[root@web1 ~]#
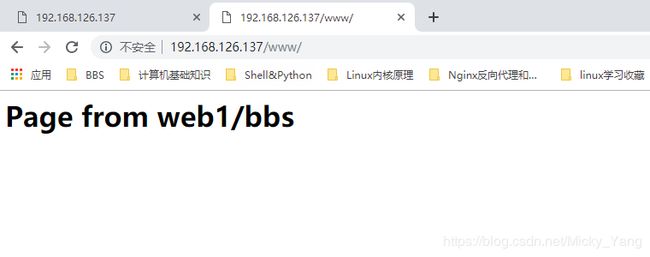
3)测试,请求代理服务器ip的/www路径是否可以代理至后端server的/bbs中

4、修改后端web server所记录的日志为客户端ip地址
因为所有的请求资源都是由代理服务器所请求的,所以客户端服务器的日志记录中只会记录代理服务器的ip地址,这非常不利于做用户日志统计分析,所以,我们需要把真实的客户端ip地址记录到web server服务器上。
1)修改代理服务器的主配置文件
[root@proxy ~]#vim /usr/local/nginx/conf/nginx.conf
       location /www {
          proxy_pass http://192.168.126.135/bbs;
          proxy_set_header Host $host;     //设置自定义响应头信息,Host为$host变量的内容;
          proxy_set_header X-Real-IP $remote_addr;    //设置X-Real-IP为远端客户端ip地址;
        }
[root@proxy ~]# nginx -t -c /usr/local/nginx/conf/nginx.conf
nginx: the configuration file /usr/local/nginx/conf/nginx.conf syntax is ok
nginx: configuration file /usr/local/nginx/conf/nginx.conf test is successful
[root@proxy ~]# /usr/local/nginx/sbin/nginx -s reload
[root@proxy ~]#
2)修改后端web server的日志格式
[root@web1 ~]# vim /etc/httpd/conf/httpd.conf

    #
    # The following directives define some format nicknames for use with
    # a CustomLog directive (see below).
    #
    LogFormat "%{X-Real-IP} %l %u %t \"%r\" %>s %b \"%{Referer}i\" \"%{User-Agent}i\"" combined
	//修改LogFormat :把%h改为%{X-Real-IP}i
[root@web1 ~]# systemctl restart httpd
[root@web1 ~]#
3)再请求几次并查看后端web日志
192.168.126.137 - - [06/Apr/2019:11:49:45 -0400] "GET /bbs HTTP/1.0" 301 235 "-" "Mozilla/5.0 (Windows NT 10.0; Win64; x64) AppleWebKit/537.36 (KHTML, like Gecko) Chrome/73.0.3683.86 Safari/537.36"
192.168.126.137 - - [06/Apr/2019:11:49:45 -0400] "GET /bbs/ HTTP/1.0" 200 29 "-" "Mozilla/5.0 (Windows NT 10.0; Win64; x64) AppleWebKit/537.36 (KHTML, like Gecko) Chrome/73.0.3683.86 Safari/537.36"
192.168.126.1 - - [06/Apr/2019:12:04:51 -0400] "GET /bbs/ HTTP/1.0" 304 - "-" "Mozilla/5.0 (Windows NT 10.0; Win64; x64) AppleWebKit/537.36 (KHTML, like Gecko) Chrome/73.0.3683.86 Safari/537.36"
192.168.126.1 - - [06/Apr/2019:12:04:52 -0400] "GET /bbs/ HTTP/1.0" 304 - "-" "Mozilla/5.0 (Windows NT 10.0; Win64; x64) AppleWebKit/537.36 (KHTML, like Gecko) Chrome/73.0.3683.86 Safari/537.36"
192.168.126.1 - - [06/Apr/2019:12:04:52 -0400] "GET /bbs/ HTTP/1.0" 304 - "-" "Mozilla/5.0 (Windows NT 10.0; Win64; x64) AppleWebKit/537.36 (KHTML, like Gecko) Chrome/73.0.3683.86 Safari/537.36"
192.168.126.1 - - [06/Apr/2019:12:04:52 -0400] "GET /bbs/ HTTP/1.0" 304 - "-" "Mozilla/5.0 (Windows NT 10.0; Win64; x64) AppleWebKit/537.36 (KHTML, like Gecko) Chrome/73.0.3683.86 Safari/537.36"
//后端服务器日志所记录的ip地址已经由原来代理服务器的192.128.126.137变为192.168.126.1
5、定义缓存功能
1)编辑代理服务器的主配置文件
注意:此配置只能在http块中配置
http {
    include       mime.types;
    default_type  application/octet-stream;
    proxy_cache_path /cache/nginx/ levels=1:1 keys_zone=mycache:32m;
	//定义缓存的路径目录;levels说明的是有几级子目录,1和1表示每级子目录有几个字符
然后在server块中引用名称为mycache的缓存功能:
        location / {
          proxy_cache  mycache;    //使用名称为mycache缓存;
          proxy_cache_valid 200 1d;      //响应状态码为200的资源缓存期限为1天;
          proxy_cache_valid 301 302 10m;    //响应状态码为301,302的资源缓存10分钟;
          proxy_cache_valid any 1m;    //其他的状态码只缓存1分钟;
          proxy_cache_use_stale error timeout http_500 http_502 http_503 http_504; //声明在哪种场景使用过期缓存;
          proxy_pass http://192.168.126.135;
          proxy_set_header Host $host;
          proxy_set_header X-Real-IP $remote_addr;
        }
2)创建缓存目录
[root@proxy ~]# mkdir /cache/nginx -pv
mkdir: created directory ‘/cache’
mkdir: created directory ‘/cache/nginx’
[root@proxy ~]# nginx -t -c /usr/local/nginx/conf/nginx.conf
nginx: the configuration file /usr/local/nginx/conf/nginx.conf syntax is ok
nginx: configuration file /usr/local/nginx/conf/nginx.conf test is successful
[root@proxy ~]# /usr/local/nginx/sbin/nginx -s reload
[root@proxy ~]#
3)请求主页内容

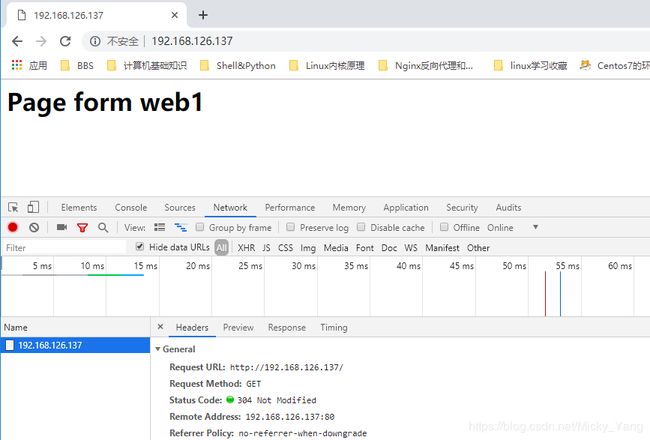
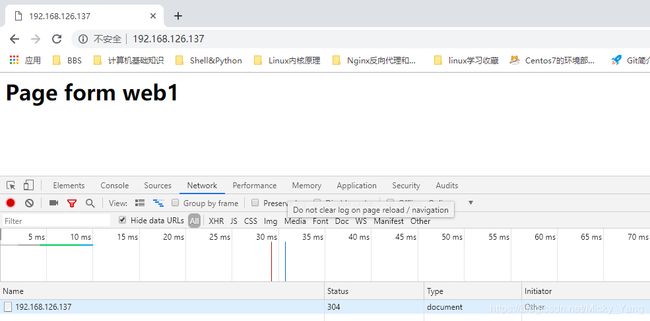
此时请求的内容已被浏览器和代理服务器同时缓存了
我们查看缓存目录当中是否有缓存内容
[root@proxy nginx]# ll
total 0
drwx------ 3 nobody nobody 14 Apr  6 15:37 e
[root@proxy nginx]# cd e
[root@proxy e]# ll
total 0
drwx------ 2 nobody nobody 45 Apr  6 15:37 c
[root@proxy e]# cd c/
[root@proxy c]# ll
total 4
-rw------- 1 nobody nobody 470 Apr  6 15:37 5d7d667bd62705e646c98f84c4d88dce
//这便是代理服务器所缓存的key值
4)修改后端服务器内容,再次请求查看内容是否发生改变
[root@web1 ~]#vim /var/www/html/index.html
Page from web1/bbs hello world

此时我们请求的资源内容并没有发生改变,这是因为我们的请求在到达代理服务器时,其资源缓存期限并没有过期,所以资源并没有发生任何变化;我们把缓存的目录当中的内容删除再次请求查看。
[root@proxy c]# cd ../../
[root@proxy nginx]# ls
e
[root@proxy nginx]# rm -rf /cache/nginx/*
[root@proxy nginx]# ls
[root@proxy nginx]#
