在光谱链上实现一个Dapp,就是合约部署完之后(有一个我们可以直接与他交互的后端),然后做这个应用层的代码和后端的交互,给DApp加上前端数据交互、读取的界面。
本例以truffle 官方的宠物店demo为例实现光谱链上运行。
开发流程:
1,首先准备并部署开发环境
2,其次编写并部署智能合约
3,最后测试合约并创建交互
开发环境准备
OS:本地环境Mac
开发环境:node.js, npm (node version, v9.11.1 npm version v5.6.0)
编译部署环境:truffle (version 4.1.5, solidity 0.4.21)
光谱测试链:smc (version 0.5.1)
安装开发环境:
npm install -g truffle
安装光谱测试链本地节点:
git clone https://github.com/SmartMeshFoundation/Spectrum.git
make all
启动节点:
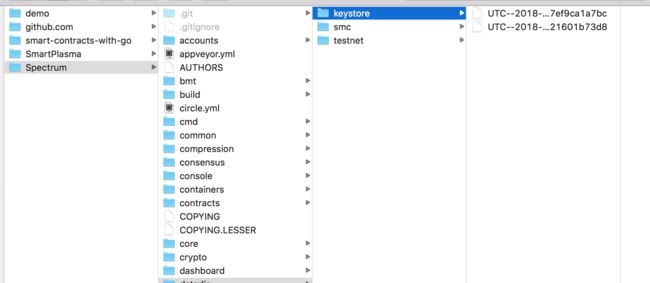
./smc --testnet --port 30308 --rpc --rpccorsdomain "*" --rpcaddr "0.0.0.0" --rpcapi db,eth,net,web3,personal,admin,miner,txpool --ws --wsapi admin,eth,mine,debug,personal,txpool,web3,net --wsorigins="*" --wsaddr="0.0.0.0" --datadir /Users/a212/Desktop/Spectrum/build/bin/datadir --rpcport 18545 console
从Truffle box创建项目
ben:Desktop a212$ mkdir petShop
ben:Desktop a212$ cd petShop/
ben:petShop a212$ truffle unbox pet-shop
Downloading...
Unpacking...
Setting up...
Unbox successful. Sweet!

Commands:

  Compile:        truffle compile
  Migrate:        truffle migrate
  Test contracts: truffle test
  Run dev server: npm run dev
ben:petShop a212$ ls
LICENSE         contracts       package.json
box-img-lg.png      migrations      src
box-img-sm.png      node_modules        test
bs-config.json      package-lock.json   truffle.js
truffle框架目录介绍:
contracts/ : 智能合约文件存在这里,后缀.sol (solidity)
migrations/ : 部署脚本
test/ : 测试脚本
truffle.js :truffle的配置文件
修改truffle.js配置文件:
光谱链的端口是18545.
module.exports = {
  // See
  // to customize your Truffle configuration!
  networks: {
    development: {
        host:"127.0.0.1",
        port:18545,
        network_id:"*",
                gas:2000000,
    }
  }
};
遇到的问题:
1,Error: authentication needed: password or unlock
2,Error: Could not find artifacts for MyDapp from any sources
编写智能合约
在 contracts/ 目录下创建 Adoption.sol 文件,内容如下:

pragma solidity ^0.4.17;

contract Adoption {
   address[16] public adopters;

   //adopting a pet
   function adopt(uint petId) public returns (uint) {
     require(petId >= 0 && petId <= 15);
     adopters[petId] = msg.sender;
     return petId;
   }

   //retrieve the adopters
   function getAdopters() public view returns (address[16]) {
     return adopters;
   }
}
编译部署合约
确保安装好测试链运行,并且开启另外一个console。
编译合约
 truffle compile
Compiling ./contracts/Adoption.sol...
Compiling ./contracts/Migrations.sol...
Writing artifacts to ./build/contracts
部署合约
1,在 migratios/ 目录内创建新文件 2_deploy_contracts.js 内容如下:

var Adoption = artifacts.require("Adoption");

module.exports = function(deployer) {
   deployer.deploy(Adoption);
};


2,truffle migrate
Using network 'development'.

Running migration: 1_initial_migration.js
  Deploying Migrations...
  ... 0xef22f2f0353a5cabe49fa7a7476cde27e67c49ec7467a9083172f678706637d2
  Migrations: 0x0a78600a15663629b6a70cf5844d92155a239604
Saving successful migration to network...
  ... 0x9e5a22772939ad111bfbee556440db677c3c90c28ddb61862145a7939f39e687
Saving artifacts...
Running migration: 2_deploy_migration.js
测试链节点打包:
INFO [10-18|11:54:43] Submitted contract creation fullhash=0xef22f2f0353a5cabe49fa7a7476cde27e67c49ec7467a9083172f678706637d2 contract=0x0a78600a15663629B6A70cF5844D92155a239604
查看测试链的区块浏览器:
https://chain.smartmesh.io/tx.html?hash=0x70d24956b7627b98415762a2d02c4d71715c244f57838b6c95467e9815b6ed16
测试智能合约
智能合约可以也可以用测试类来进行断言(assert)验证。例如在 test/ 目录内创建新文件 TestAdoption.sol 内容如下:
pragma solidity ^0.4.17;

import "truffle/Assert.sol";
import "truffle/DeployedAddresses.sol";
import "../contracts/Adoption.sol";

contract TestAdoption {
   Adoption adoption = Adoption(DeployedAddresses.Adoption());

   //test adopt() function
   function testUserCanAdoptPet() public {
     uint returnedId = adoption.adopt(8);

     uint expected = 8;

     Assert.equal(returnedId, expected, "Adoption of Pet ID 8 should be recorded.");
   }

   //test retrieve of a single pet owner
   function testGetAdopterAddressByPetId() public {
     //expected owner is this contract
     address expected = this;
     address adopter = adoption.adopters(8);
     Assert.equal(adopter, expected, "owner of pet id 8 should be recorded.");
   }

   //test retrive of all pet owners
   function testGetAdopterAddressByPetIdInArray() public {
     //expected owner is this contract
     address expected = this;
     address[16] memory adopters = adoption.getAdopters();

     Assert.equal(adopters[8], expected, "owner of pet id 8 should be recorded.");
   }
}
truffle test
Using network 'development'.

Compiling ./contracts/Adoption.sol...
Compiling ./test/TestAdoption.sol...
Compiling truffle/Assert.sol...
Compiling truffle/DeployedAddresses.sol...
上面Assert.sol里面有警告,忽略掉。
前端界面与智能合约的交互
用户界面(UI)是前端工作,这里用的javascript。主要文件是app.js,存在目录 /src/js/app.js 中。其实就是web3.js通过RPC与智能合约交互,文件内容如下:
App = {
 web3Provider: null,
 contracts: {},

 init: function() {
   // Load pets.
   $.getJSON('../pets.json', function(data) {
     var petsRow = $('#petsRow');
     var petTemplate = $('#petTemplate');

     for (i = 0; i < data.length; i ++) {
       petTemplate.find('.panel-title').text(data[i].name);
       petTemplate.find('img').attr('src', data[i].picture);
       petTemplate.find('.pet-breed').text(data[i].breed);
       petTemplate.find('.pet-age').text(data[i].age);
       petTemplate.find('.pet-location').text(data[i].location);
       petTemplate.find('.btn-adopt').attr('data-id', data[i].id);

       petsRow.append(petTemplate.html());
     }
   });

   return App.initWeb3();
 },

 initWeb3: function() {

  /*
     * Replace me...
     */


   // Is there an injected web3 instance?
if (typeof web3 !== 'undefined') {
 App.web3Provider = web3.currentProvider;
} else {
 // If no injected web3 instance is detected, fall back to Ganache
 App.web3Provider = new Web3.providers.HttpProvider('http://localhost:7545');
}
web3 = new Web3(App.web3Provider);

   return App.initContract();
 },

 initContract: function() {

  /*
     * Replace me...
     */

   $.getJSON('Adoption.json', function(data) {
 // Get the necessary contract artifact file and instantiate it with truffle-contract
 var AdoptionArtifact = data;
 App.contracts.Adoption = TruffleContract(AdoptionArtifact);

 // Set the provider for our contract
 App.contracts.Adoption.setProvider(App.web3Provider);

 // Use our contract to retrieve and mark the adopted pets
 return App.markAdopted();
});

   return App.bindEvents();
 },

 bindEvents: function() {
   $(document).on('click', '.btn-adopt', App.handleAdopt);
 },

  /*
     * Replace me...
     */

 markAdopted: function(adopters, account) {
   var adoptionInstance;

App.contracts.Adoption.deployed().then(function(instance) {
 adoptionInstance = instance;

 return adoptionInstance.getAdopters.call();
}).then(function(adopters) {
 for (i = 0; i < adopters.length; i++) {
   if (adopters[i] !== '0x0000000000000000000000000000000000000000') {
     $('.panel-pet').eq(i).find('button').text('Success').attr('disabled', true);
   }
 }
}).catch(function(err) {
 console.log(err.message);
});
 },

 handleAdopt: function(event) {
   event.preventDefault();

   var petId = parseInt($(event.target).data('id'));

   var adoptionInstance;

web3.eth.getAccounts(function(error, accounts) {
 if (error) {
   console.log(error);
 }

 var account = accounts[0];

 App.contracts.Adoption.deployed().then(function(instance) {
   adoptionInstance = instance;

   // Execute adopt as a transaction by sending account
   return adoptionInstance.adopt(petId, {from: account});
 }).then(function(result) {
   return App.markAdopted();
 }).catch(function(err) {
   console.log(err.message);
 });
});
 }

};

$(function() {
 $(window).load(function() {
   App.init();
 });
});
安装配置 lite-server
在解开的目录内,有 bs-config.jscon 和 package.json 两个配置文件,不必要修改。(这里定义了lite server,一会儿浏览器访问dapp用)
命令行启动lite-server:
命令:
npm run dev
npm run dev

> [email protected] dev /Users/a212/Desktop/petShop
> lite-server

** browser-sync config **
{ injectChanges: false,
  files: [ './**/*.{html,htm,css,js}' ],
  watchOptions: { ignored: 'node_modules' },
  server:
   { baseDir: [ './src', './build/contracts' ],
     middleware: [ [Function], [Function] ] } }
[Browsersync] Access URLs:
 --------------------------------------
       Local: http://localhost:3000
    External: http://192.168.0.171:3000
 --------------------------------------
          UI: http://localhost:3001
 UI External: http://localhost:3001
 --------------------------------------
[Browsersync] Serving files from: ./src
[Browsersync] Serving files from: ./build/contracts
[Browsersync] Watching files...
18.10.18 15:08:26 200 GET /index.html
18.10.18 15:08:26 200 GET /css/bootstrap.min.css
18.10.18 15:08:26 200 GET /js/app.js
18.10.18 15:08:26 200 GET /js/bootstrap.min.js
18.10.18 15:08:27 200 GET /js/web3.min.js
18.10.18 15:08:27 200 GET /js/truffle-contract.js
18.10.18 15:08:33 404 GET /favicon.ico
18.10.18 15:09:58 200 GET /index.html
自动打开宠物店: http://localhost:3000
安装配置MetaMask
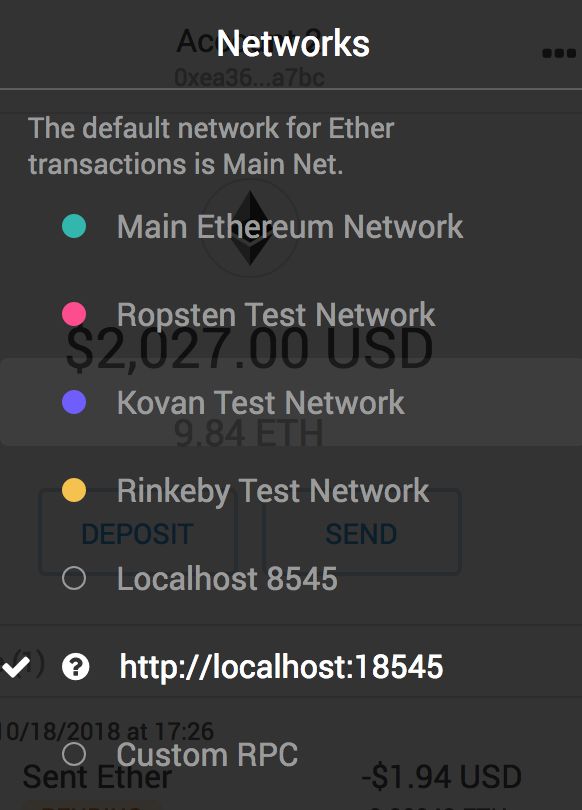
与Dapp互动的最容易的方式是通过 MetaMask,Spectrum目前与MetaMask兼容。
(地址:https://metamask.io/)
1、在浏览器内安装MetaMask
2、装好后,以Chrome浏览器插件形式存在
3、同意,接受条款
4、如下图,点击"Import Existing DEN"
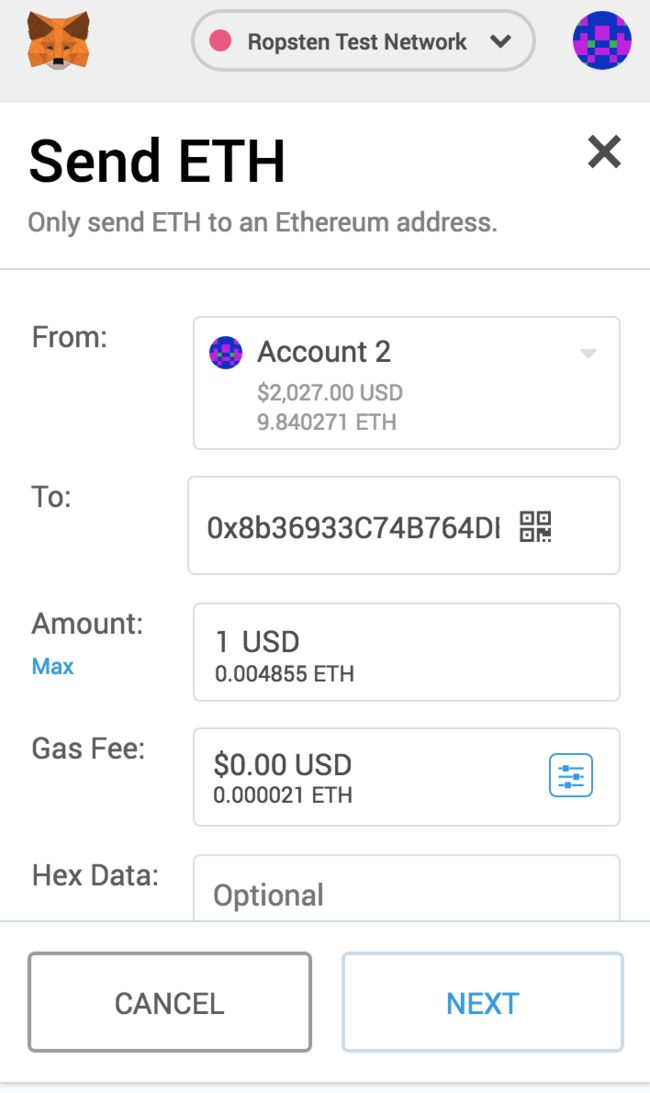
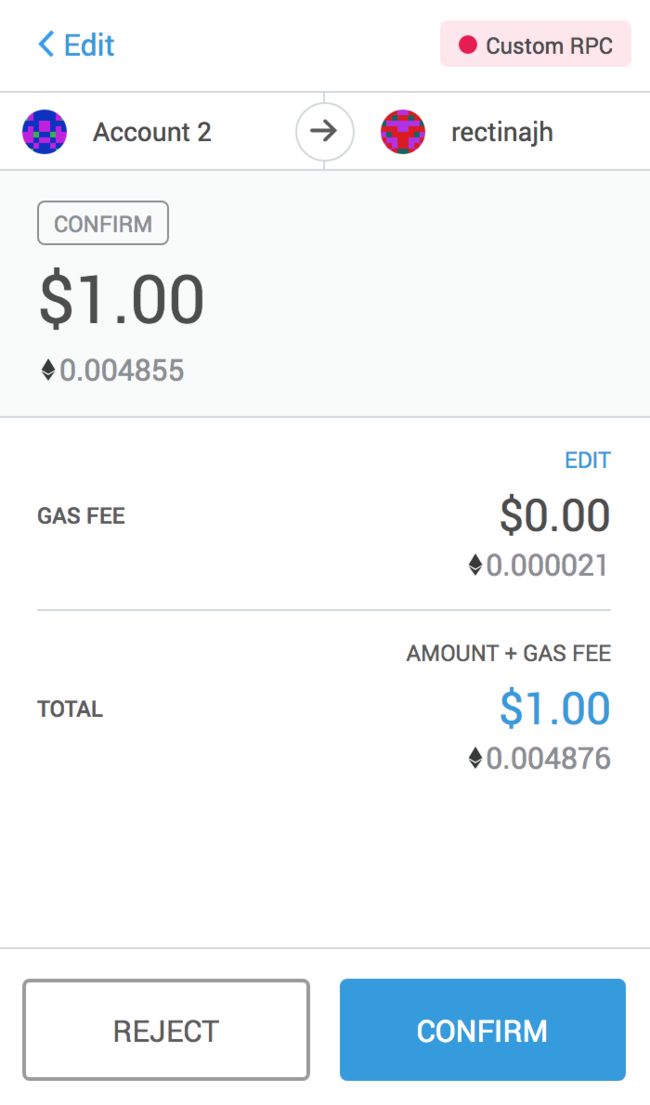
发送交易:
区块浏览器:
https://chain.smartmesh.io/tx.html?hash=0x39521ea0b445403cf59142c1b7c3b10b3baa04ae20603c5c24a098edd4041732


