Ubuntu16.04.5 配置英伟达NVIDIA 显卡 驱动实现GPU加速
标签(空格分隔): 运维系列
- 一:系统环境初始化与系统包准备
- 二:安装测试步骤
一:系统环境初始化与系统包准备
apt-get update
apt-get install vim openssh-server
准备系统所需要的安装包
NVIDIA-Linux-x86_64-440.44.run
cuda_10.2.89_440.33.01_linux.run
二:安装测试步骤
1.1 安装Nvidia显卡驱动
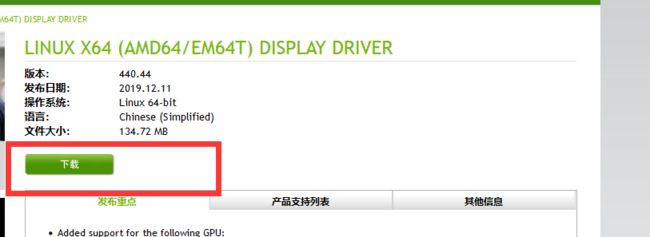
1. 到官网上下载自己GPU对应版本的显卡驱动。

下载地址:https://www.nvidia.cn/Download/index.aspx?lang=cn

选择你的显卡驱动版本 点击搜索下载即可
1.2 安装NVIDIA-Linux-x86_64-440.44.run
屏蔽自带的显卡驱动

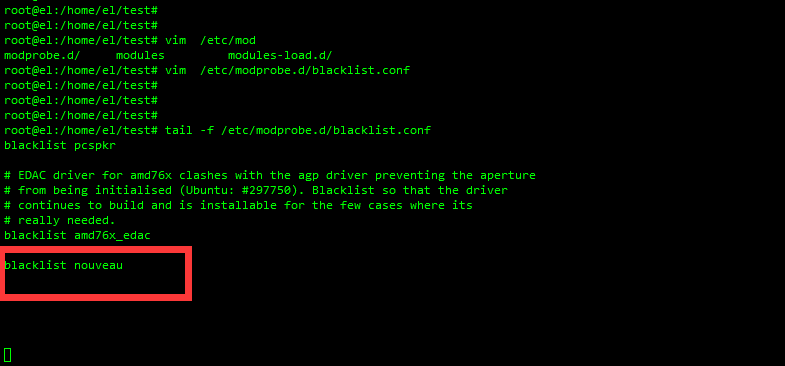
1) vim /etc/modprobe.d/blacklist.conf

2) 在最后一行加上:blacklist nouveau  ,这里是将Ubuntu自带的显卡驱动加入黑名单

3) 在终端输入:update-initramfs –u,使修改生效

4 ) 从新启动系统: reboot

5)打开终端输入lsmod | grep nouveau,没有输出,则屏蔽成功

6 ) service lightdm stop
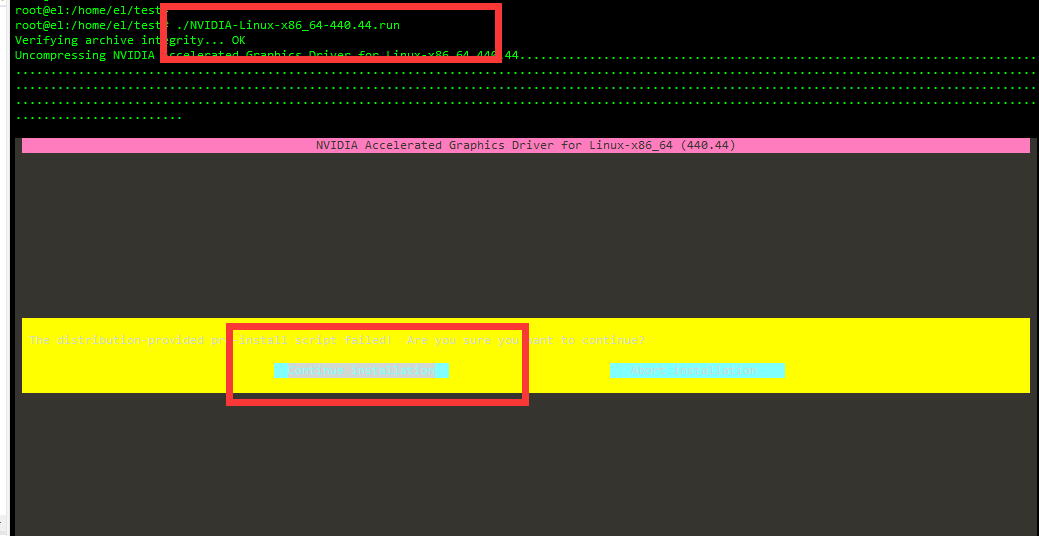
安装 NVIDIA-Linux-x86_64-440.44.run

./NVIDIA-Linux-x86_64-440.44.run
1.3 安装cuda_10.2.89_440.33.01_linux.run
1. 下载CUDA

下载地址:https://developer.nvidia.com/cuda-downloads

cuda_10.2.89_440.33.01_linux.run

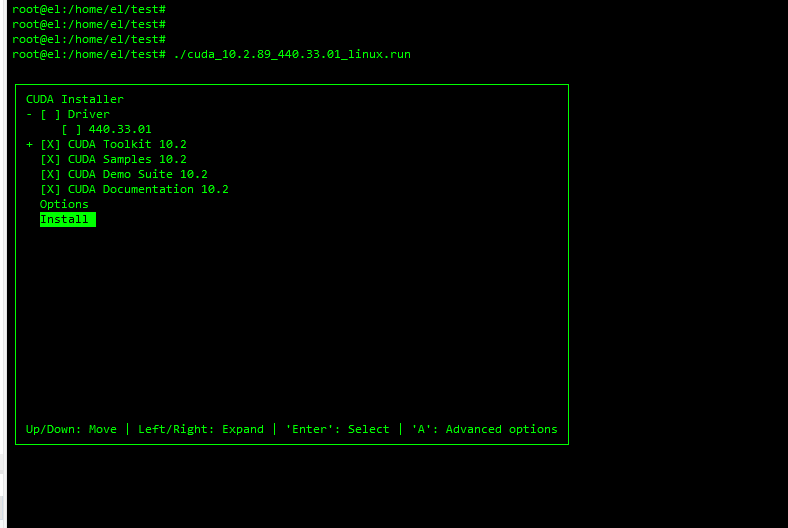
./cuda_10.2.89_440.33.01_linux.run
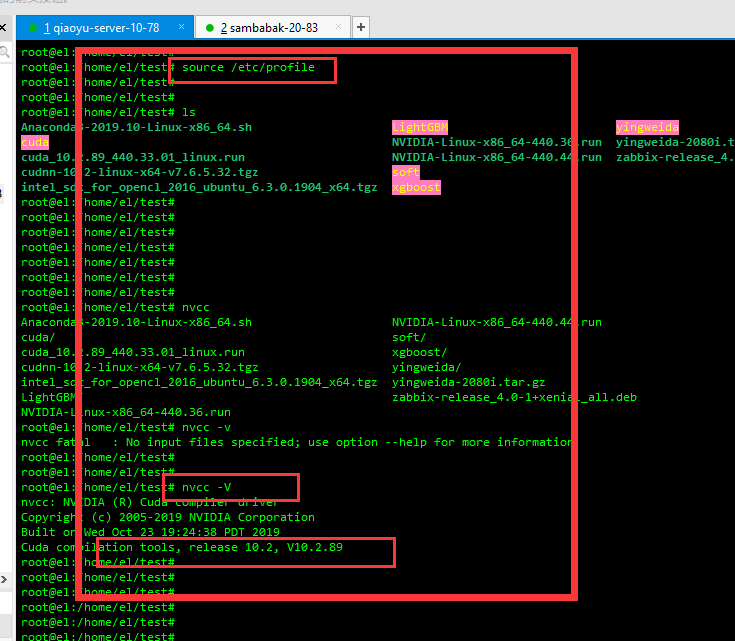
配置环境变量

vim /etc/profile

----
到最后加上

export PATH=/usr/local/cuda/bin:$PATH
export LD_LIBRARY_PATH=/usr/local/cuda/lib64:$PATH
----
source /etc/profile
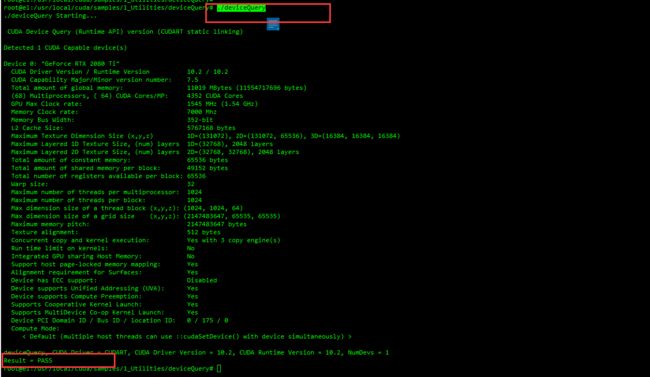
测试是否安装成功
cd /usr/local/cuda/samples/1_Utilities/deviceQuery
make
./deviceQuery
1.4 安装CuDNN
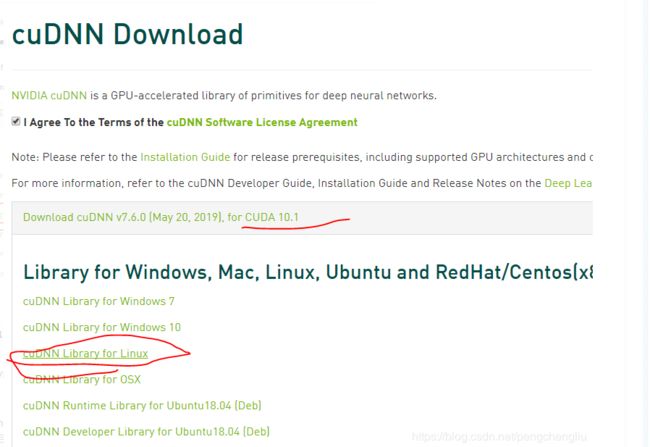
1. 下载

网址:https://developer.nvidia.com/rdp/cudnn-download

需要自己注册用户名与密码登录 才能下载
cudnn-10.2-linux-x64-v7.6.5.32.tgz
测试所需包
 tar -zxvf cudnn-10.2-linux-x64-v7.6.5.32.tgz

cd cuda/
cp include/cudnn.h /usr/local/cuda/include/
cp lib64/lib* /usr/local/cuda/lib64/
sudo chmod a+r /usr/local/cuda/include/cudnn.h
sudo chmod a+r /usr/local/cuda/lib64/libcudnn*
验证是否安装成功

网址:https://developer.nvidia.com/rdp/cudnn-download
下载
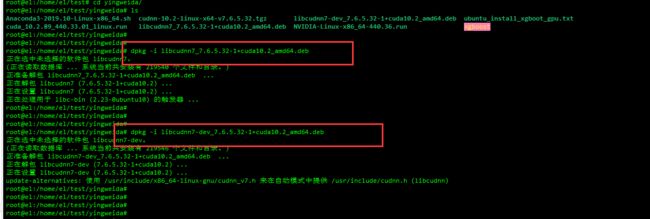
libcudnn7_7.6.5.32-1+cuda10.2_amd64.deb
libcudnn7-dev_7.6.5.32-1+cuda10.2_amd64.deb
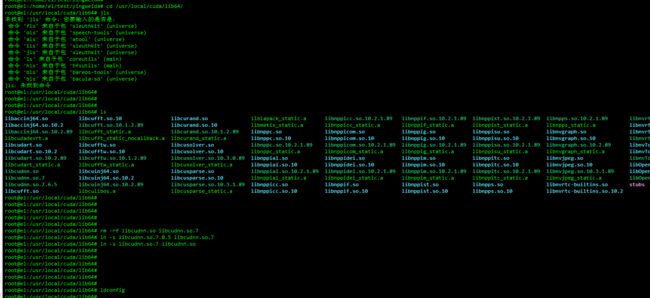
cd /usr/local/cuda/lib64/
sudo rm -rf libcudnn.so libcudnn.so.7
sudo ln -s libcudnn.so.7.0.5 libcudnn.so.7
sudo ln -s libcudnn.so.7 libcudnn.so
sudo ldconfig
dpkg -i libcudnn7_7.6.5.32-1+cuda10.2_amd64.deb

dpkg -i libcudnn7-dev_7.6.5.32-1+cuda10.2_amd64.deb

dpkg -i libcudnn7-doc_7.6.5.32-1+cuda10.2_amd64.deb
cp -r /usr/src/cudnn_samples_v7/ /home/el/
cd /home/el/cudnn_samples_v7/mnistCUDNN
make clean && make
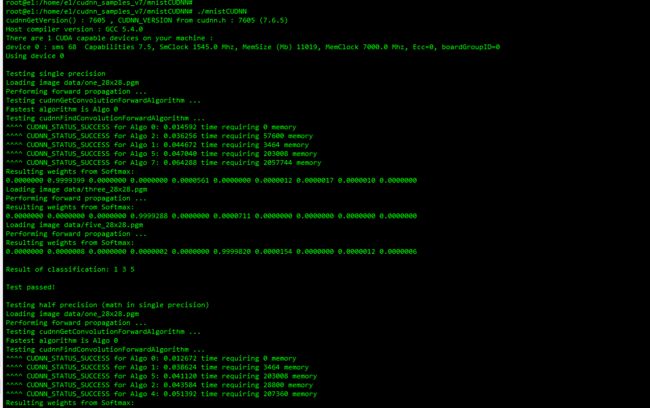
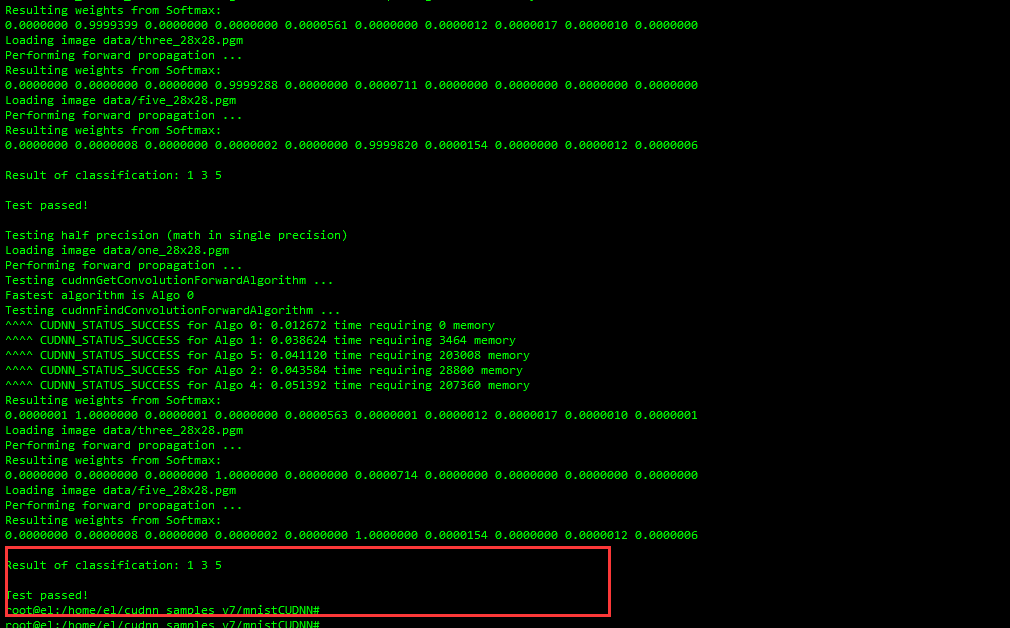
./mnistCUDNN
1.5 安装anaconda3
Anaconda3-2019.10-Linux-x86_64.sh

chmod +x Anaconda3-2019.10-Linux-x86_64.sh

vim /etc/profile

------
增加

export PATH=/opt/anaconda3/bin:$PATH
------

conda -V
1.6 安装opencv
1. 下载

网址:https://pypi.org/project/opencv-python/#files

因为安装的python是3.7的,所以opencv名字中要是"cp37"的。
想要安装opencv3,所以名字中要为opencv_python-3.****
我的系统是linux 64位的的,所以名字要是***linux1_x86_64**

软件:
opencv_python-4.1.2.30-cp37-cp37m-manylinux1_x86_64.whl

pip install opencv_python-4.1.2.30-cp37-cp37m-manylinux1_x86_64.whl

conda list |grep opencv
1.7更新系统cmake版本
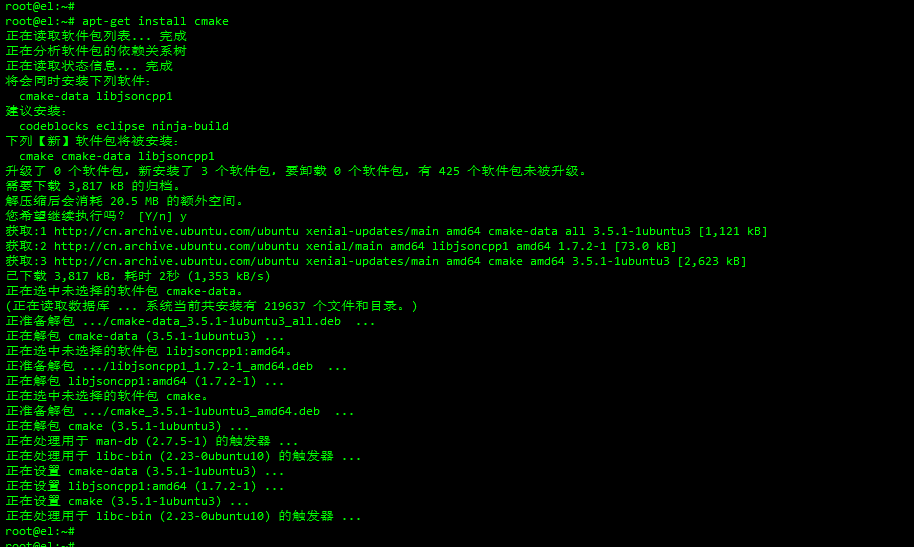
apt-get install cmake
cmake --version
在Ubuntu16.04默认安装的cmake版本为3.5.x,可通过一下命令,查看版本。
cmake --version
有时需要安装高版本的cmake。
1.卸载旧版本
apt-get autoremove cmake
2.以安装3.12.3版本为例
$ sudo apt-get install build-essential
$ wget http://www.cmake.org/files/v3.12/cmake-3.12.3.tar.gz
3.解压、安装
$ tar xf cmake-3.12.3.tar.gz
$ cd cmake-3.11.3
$ ./configure
$ make
$ sudo make install
4.解决路径问题
export PATH=/usr/local/bin:$PATH
export LD_LIBRARY_PATH=/usr/local/lib:$LD_LIBRARY_PATH
cmake
5.查看,安装成功
cmake --version1.8 配置xgboost 支持
1. 下载源代码

apt-get install git

git clone --recursive https://github.com/dmlc/xgboost

2. 编译GPU共享库

cd xgboost
mkdir build
cd build
cmake .. -DUSE_CUDA=ON
make -j

3. 安装Python包
在xgboost根目录下

cd python-package
sudo python3 setup.py install

测试GPU加速

python3 tests/benchmark/benchmark.py


