HTML5 Canvas;
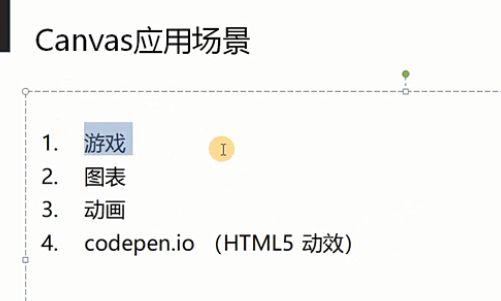
echarts;
CodePen
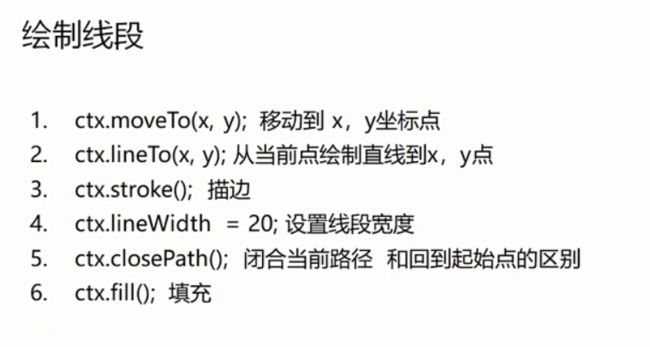
可以对同一个形状进行多次描绘.
// 画布
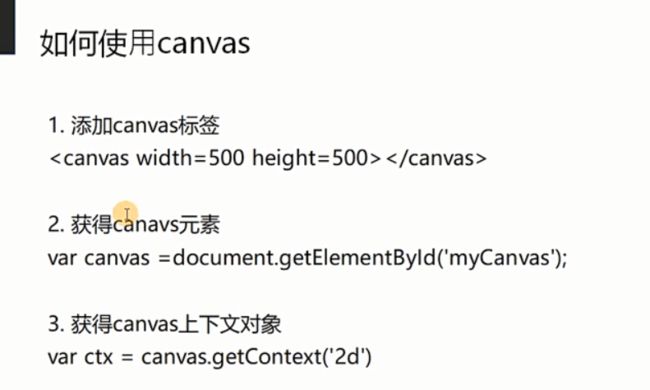
      var myCanvas = document.getElementById("myCanvas");
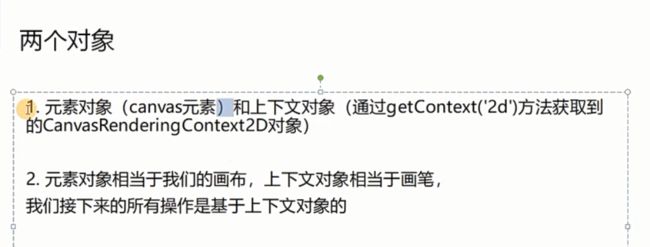
      // 创建画笔, 上下文
      var ctx = myCanvas.getContext("2d");


      // 一条路径
        // 落笔
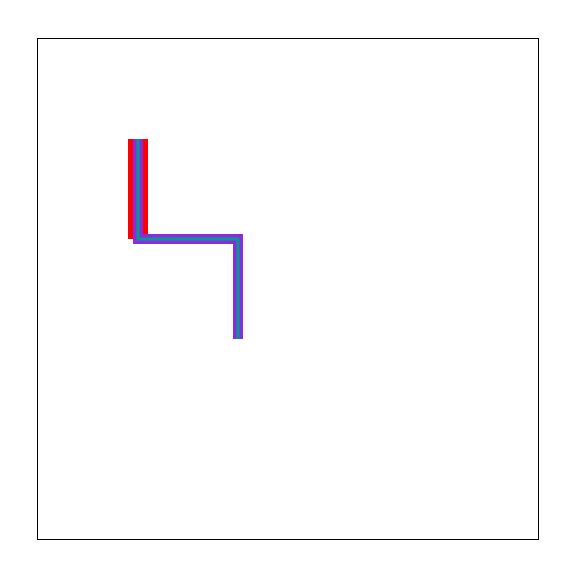
        ctx.moveTo(100,100);
        // 画直线
        ctx.lineTo(100,200);
        // 线宽
        ctx.lineWidth = 20;// 对已经画了的 线条进行装饰
        // 线颜色
        ctx.strokeStyle = 'red';//// 对已经画了的 线条进行装饰
        //描边
        ctx.stroke();
        ctx.lineTo(200,200);// 可以一直接着画直线
        ctx.lineTo(200,300);// 可以一直接着画直线
        // 线宽 // 线颜色 // 描边.
        ctx.lineWidth = 10;
        ctx.strokeStyle = "blueviolet";
        ctx.stroke();
        // 记住此时,我们不只是对新的线条进行了修饰,还对最上面的边也进行了修饰.
        ctx.lineWidth = 3;
        ctx.strokeStyle = "#009E86";
        ctx.stroke();
        // 也就是,我们可以对已经画了的线条,形状, 可以进行多次修饰.
        // 即使另起一行, 也是会进行对此修饰.
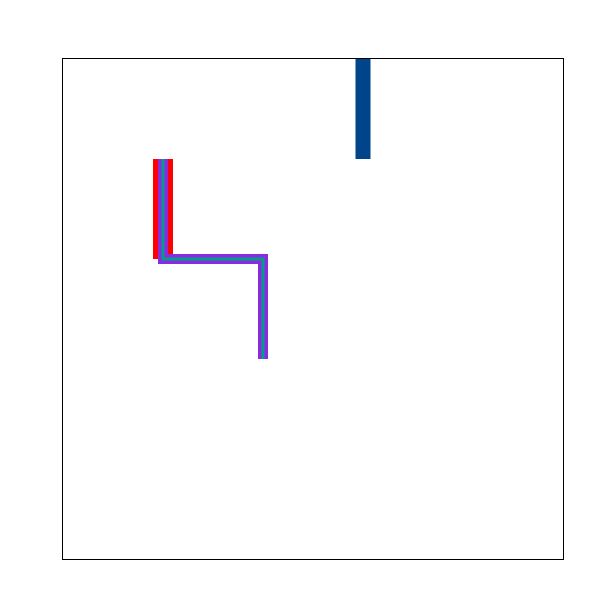
如何换一层? beginpath();
...
        ctx.beginPath();
        ctx.moveTo(300,100);
        ctx.lineTo(300,0);
        ctx.lineWidth = 15;
        ctx.strokeStyle = "#00458A";
        ctx.stroke();
        // 此时不会对beginPath() 前面的形状产生影响, 就好像另起一层
closePath() 闭合线路,回到movoTo 落笔处.
        ctx.moveTo(100,100);
        // 画直线
        ctx.lineTo(100,200);
        // 线宽
        ctx.lineWidth = 20;// 对已经画了的 线条进行装饰
        // 线颜色
        ctx.strokeStyle = 'red';//// 对已经画了的 线条进行装饰
        //描边
        ctx.stroke();
        ctx.lineTo(200,200);// 可以一直接着画直线
        ctx.lineTo(200,300);// 可以一直接着画直线
        // 线宽 // 线颜色 // 描边.
        ctx.lineWidth = 10;
        ctx.strokeStyle = "blueviolet";
        ctx.stroke();
        // 记住此时,我们不只是对新的线条进行了修饰,还对最上面的边也进行了修饰.
        ctx.lineWidth = 3;
        ctx.strokeStyle = "#009E86";
        ctx.closePath();
        ctx.stroke();
同样效果
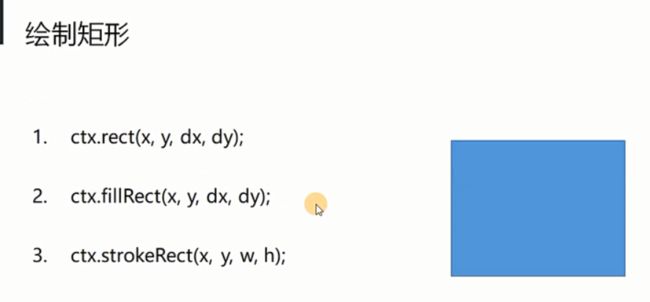
        ctx.rect(0,0,100,100);
        ctx.strokeStyle = "#f00";
        ctx.stroke();
        ctx.strokeStyle = "#000000";
        ctx.strokeRect(0,0,100,100);
同样效果
        ctx.rect(0,0,100,100);
        ctx.fillStyle = "red";
        ctx.fill();
        ctx.fillStyle = "red";
        ctx.fillRect(0,0,100,100);
所以能看出来,只是为了让你更方便, 没必要觉得更复杂.
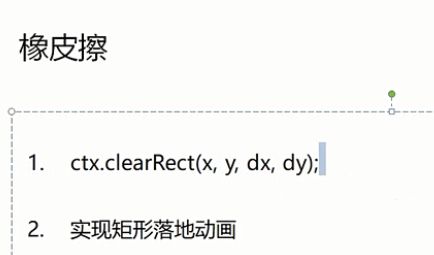
唯一的橡皮擦
矩形落地小demo
 ctx.fillRect(100,100,100,100);
        var y = 100;
        var timer = setInterval(function () {
          ctx.clearRect(0,0,500,500);
            ctx.fillRect(100,y,100,100);
            if (y >= 400) {
                clearInterval(timer);
            }
            y += 10;
        },50);
javascript三角函数的使用
html5 作业 canvas 雪花飘落
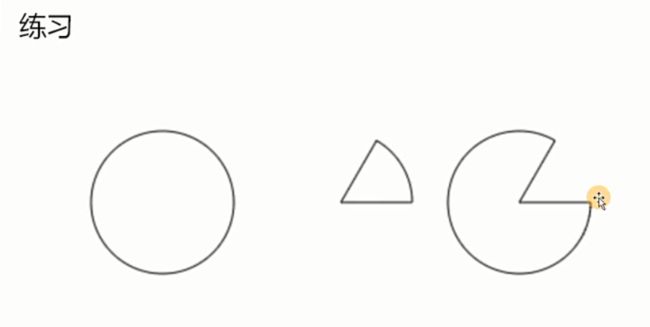
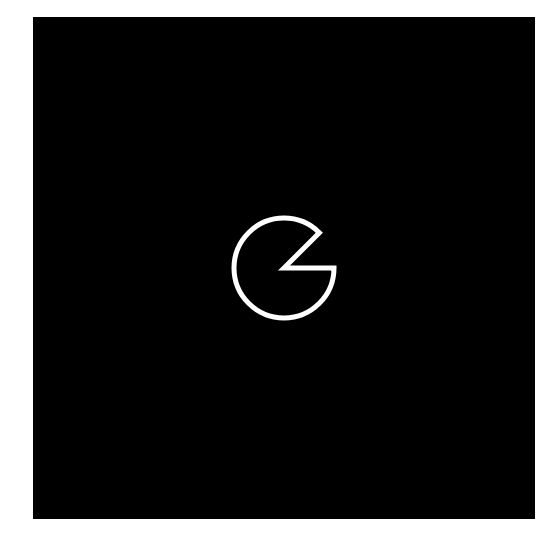
        ctx.arc(250,250,50,0,2*Math.PI,0);
        ctx.strokeStyle = "white"
        ctx.lineWidth = 5;
        ctx.stroke();
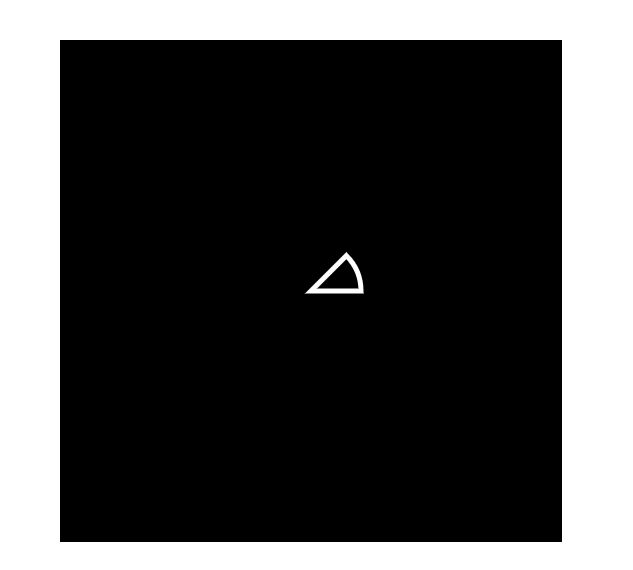
        ctx.moveTo(250,250);
        ctx.arc(250,250,50,0,-Math.PI/4,1);
        ctx.strokeStyle = "white"
        ctx.lineWidth = 5;
        ctx.closePath();
        ctx.stroke();
        ctx.moveTo(250,250);
        ctx.arc(250,250,50,0,-Math.PI/4,0);
        ctx.strokeStyle = "white"
        ctx.lineWidth = 5;
        ctx.closePath();
        ctx.stroke();
        ctx.moveTo(100,100);
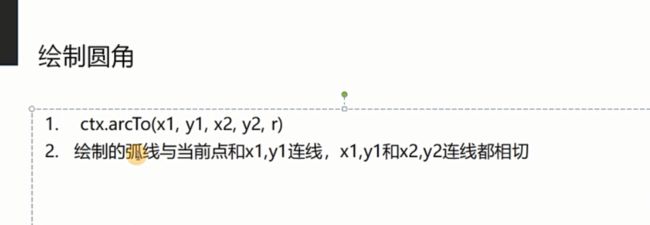
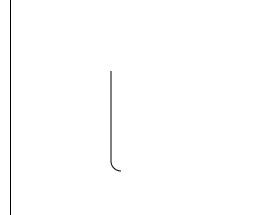
        ctx.arcTo(100,200,200,200,10);
        ctx.stroke();
注意,
画弧结束后的笔不是,弧度的第二个坐标, 而是半径和第二条线的切线处.
        ctx.moveTo(100,100);
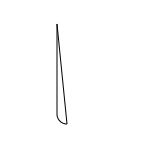
        ctx.arcTo(100,200,200,200,10);
        ctx.closePath();
        ctx.stroke();
画一个有圆角的矩形.
        ctx.moveTo(100,110);
        ctx.arcTo(100,200,200,200,10);
        ctx.arcTo(200,200,200,100,10);
        ctx.arcTo(200,100,100,100,10);
        ctx.arcTo(100,100,100,200,10);

        ctx.stroke();
如何画曲线?
具体数学上怎么实现的暂时不用理会,不用理解.
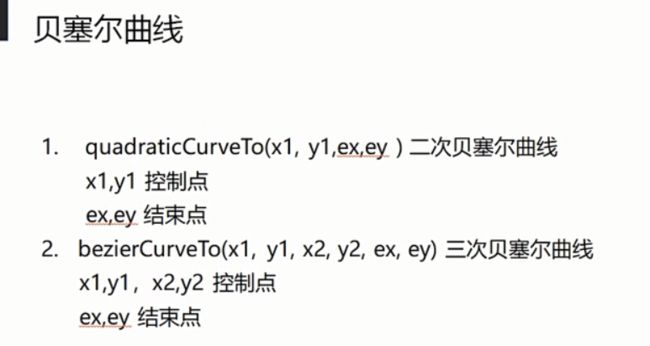
我们只需要知道, 可以设置控制点的方式,绘制曲线.
先确定起点,和终点,起始点不是由 quadraticCurveTo 来决定,
而是看上一次落笔在哪里.
然后调整中间点,就可以控制曲线了
        ctx.moveTo(100,100);
        ctx.quadraticCurveTo(200,200,300,100);
        ctx.stroke();
ctx.quadraticCurveTo(200,400,300,100);
三次也类似.
        ctx.moveTo(100,100);
        ctx.lineTo(100,200);
        ctx.lineTo(200,200);
        ctx.lineWidth = 10;
        ctx.stroke();

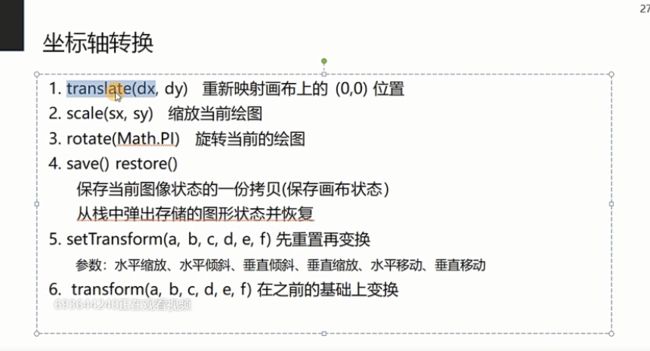
        ctx.translate(200,200);
        ctx.lineWidth = 5;
        ctx.strokeStyle = "red";
        // 必须重新落笔, 上一个坐标系中的 终点,不是这个坐标系中的默认起点.
        ctx.moveTo(0,0)
        ctx.lineTo(100,100);
        ctx.stroke();
        // 可以看到 坐标系的变换, 并不能替代 beginpath的作用
        // 后面的样式,依然会影响前面的线条.
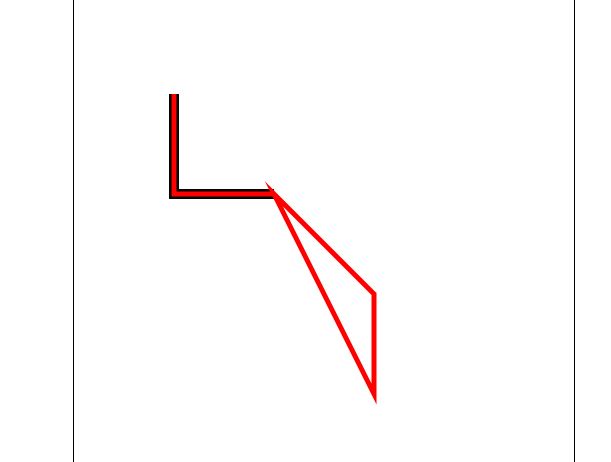
        ctx.moveTo(100,100);
        ctx.lineTo(100,200);
        ctx.lineTo(200,200);
        ctx.lineWidth = 10;
        ctx.stroke();

        ctx.translate(200,200);
        ctx.lineWidth = 5;
        ctx.strokeStyle = "red";
        ctx.moveTo(0,0)
        ctx.lineTo(100,100);
        ctx.lineTo(100,200);
        ctx.closePath();
        // closePath 只会影响这个坐标系的线条,不会影响上一个坐标系
        ctx.stroke();
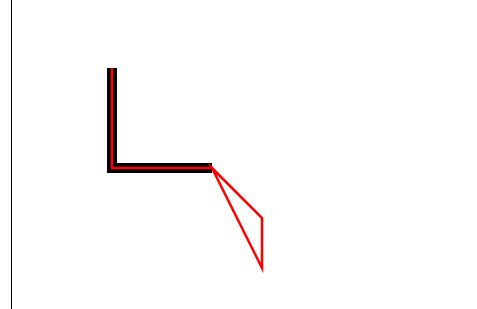
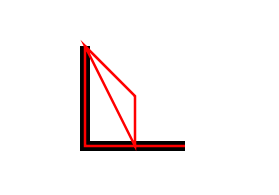
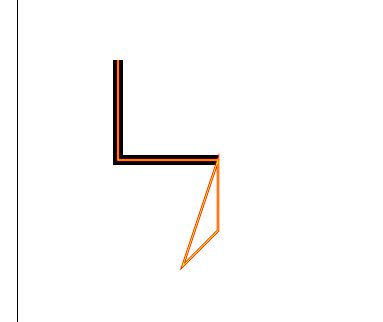
        ctx.moveTo(100,100);
        ctx.lineTo(100,200);
        ctx.lineTo(200,200);
        ctx.lineWidth = 10;
        ctx.stroke();

        ctx.translate(200,200);
        ctx.scale(0.5,0.5);
        // scale 和 translate 一样也是对坐标系的伸缩
        // 注意 scale 和 translate 顺序是对效果有影响的.
        ctx.lineWidth = 5;
        ctx.strokeStyle = "red";
        ctx.moveTo(0,0)
        ctx.lineTo(100,100);
        ctx.lineTo(100,200);
        ctx.closePath();
        ctx.stroke();
调换scale,translate 顺序
        ctx.moveTo(100,100);
        ctx.lineTo(100,200);
        ctx.lineTo(200,200);
        ctx.lineWidth = 10;
        ctx.stroke();

        ctx.scale(0.5,0.5);
        // 注意 scale,translate,rotate 的顺序 对坐标系是有影响的.
        ctx.translate(200,200);
        ctx.lineWidth = 5;
        ctx.strokeStyle = "red";
        ctx.moveTo(0,0)
        ctx.lineTo(100,100);
        ctx.lineTo(100,200);
        ctx.closePath();
        ctx.stroke();
rotate(Math.PI) 也是对坐标系的操作
        ctx.moveTo(100,100);
        ctx.lineTo(100,200);
        ctx.lineTo(200,200);
        ctx.lineWidth = 10;
        ctx.stroke();

        ctx.translate(200,200);
        ctx.scale(0.5,0.5);
        ctx.rotate(Math.PI/4);
        // 与css3不同, css3可以通过transform-origin 来调整旋转轴坐标,默认为center
        // 而这里的默认转轴为 坐标系原点,想要进行精确旋转,
        // 就要在设置图形的时候, 设定好与 远点的关系.
        ctx.lineWidth = 5;
        ctx.strokeStyle = "red";
        ctx.moveTo(0,0)
        ctx.lineTo(100,100);
        ctx.lineTo(100,200);
        ctx.closePath();
        ctx.stroke();
ctx.save()
首先 ctx.save() 不能代替 beginpath()
换言之, 不管你设置几个ctx.save() 只要没设置 ctx.beginpath()
那么后面的样式会依旧影响前面所有坐标系的样式.

        ctx.moveTo(100,100);
        ctx.lineTo(100,200);
        ctx.lineTo(200,200);
        ctx.lineWidth = 10;
        ctx.stroke();

        ctx.translate(200,200);
        ctx.scale(0.5,0.5);
        ctx.rotate(Math.PI/4);
        ctx.lineWidth = 5;
        ctx.strokeStyle = "red";
        ctx.moveTo(0,0)
        ctx.lineTo(100,100);
        ctx.lineTo(100,200);
        ctx.closePath();
        ctx.stroke();
        ctx.save();

        ctx.lineWidth = 2;
        ctx.strokeStyle = "yellow";
        ctx.stroke();
ctx.save() 可以理解为 坐标系的 时间戳, 或者画布层?
用ctx.restore() 配合进行在不同坐标系之间的切换.
(而beginpath() 则没有相应的切换到前面状态的方式.)
注意 save 和 restore
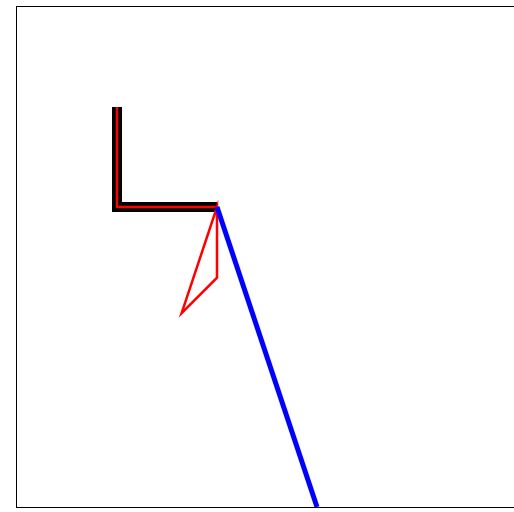
        ctx.moveTo(100,100);
        ctx.lineTo(100,200);
        ctx.lineTo(200,200);
        ctx.lineWidth = 10;
        ctx.stroke();
        ctx.save();//第一状态坐标系

        ctx.translate(200,200);
        ctx.save();// 第二状态坐标系

        ctx.scale(0.5,0.5);
        ctx.save();// 第三状态坐标系

        ctx.rotate(Math.PI/4);
        ctx.lineWidth = 5;
        ctx.strokeStyle = "red";
        ctx.moveTo(0,0)
        ctx.lineTo(100,100);
        ctx.lineTo(100,200);
        ctx.closePath();
        ctx.stroke();

        ctx.restore();// 回到第三状态坐标系, 也就是现在
        ctx.beginPath();
        ctx.moveTo(0,0);
        ctx.lineTo(100,300);
        ctx.lineWidth = 5;
        ctx.strokeStyle = 'blue';
        ctx.stroke();
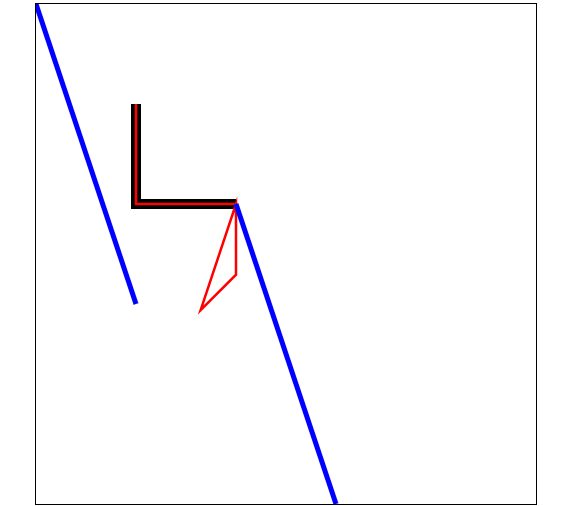
再来一次
...
        ctx.restore();// 回到第三状态坐标系, 也就是现在
        ctx.beginPath();
        ctx.moveTo(0,0);
        ctx.lineTo(100,300);
        ctx.lineWidth = 5;
        ctx.strokeStyle = 'blue';
        ctx.stroke();


        ctx.restore();// 回到第二状态坐标系,
        ctx.beginPath();
        ctx.moveTo(0,0);
        ctx.lineTo(100,300);
        ctx.lineWidth = 5;
        ctx.strokeStyle = 'blue';
        ctx.stroke();
再来一次
...
        ctx.restore();// 回到第三状态坐标系, 也就是现在
        ctx.beginPath();
        ctx.moveTo(0,0);
        ctx.lineTo(100,300);
        ctx.lineWidth = 5;
        ctx.strokeStyle = 'blue';
        ctx.stroke();


        ctx.restore();// 回到第二状态坐标系,
        ctx.beginPath();
        ctx.moveTo(0,0);
        ctx.lineTo(100,300);
        ctx.lineWidth = 5;
        ctx.strokeStyle = 'blue';
        ctx.stroke();


        ctx.restore();// 回到第一状态坐标系,
        ctx.beginPath();
        ctx.moveTo(0,0);
        ctx.lineTo(100,300);
        ctx.lineWidth = 5;
        ctx.strokeStyle = 'blue';
        ctx.stroke();
每次restore() 都会寻找上一个save() 对应的 坐标系.
restore 的方向只能是往后切换, 无法往前切换.
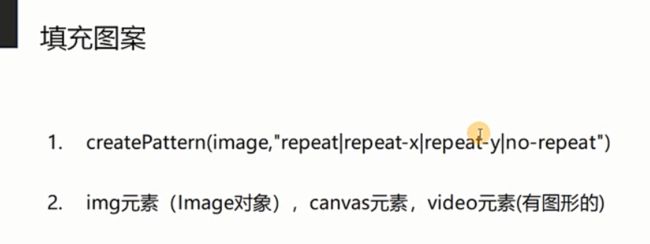
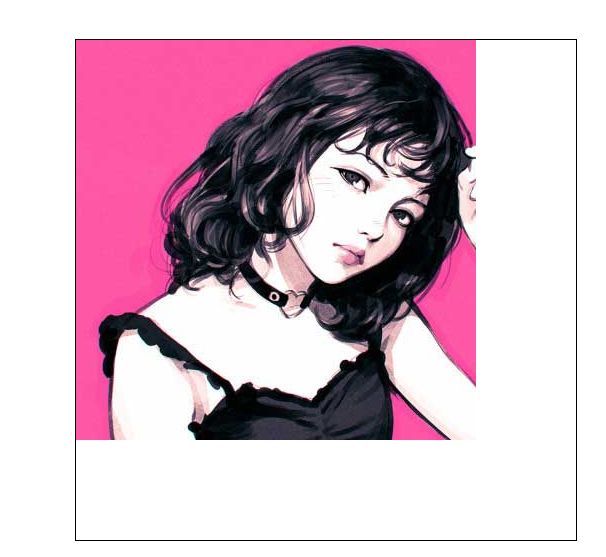
        var img = new Image();
        img.src = "img/2test.jpg";
        img.onload = function () {
          console.log(123);
          var bg = ctx.createPattern(img,"no-repeat");
          ctx.strokeStyle = bg;
          ctx.moveTo(0,0);
          ctx.lineTo(0,400);
          ctx.lineWidth = 800;
          ctx.stroke();
        }
var bg = ctx.createPattern(img,"no-repeat");
创建的是一个"颜色",可以用于fillstyle,strokestyle,两个参数一个都不能少.
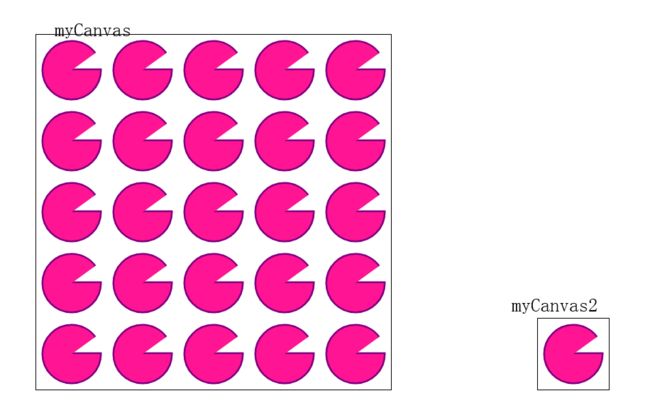
        var myCanvas = document.getElementById("myCanvas");
        var myCanvas2 = document.getElementById("myCanvas2");
        var ctx = myCanvas.getContext("2d");
        var ctx2 = myCanvas2.getContext("2d");

          // 用于充当 "颜色的" canvas
          ctx2.moveTo(50,50);
          ctx2.arc(50,50,40,0,1.8 * Math.PI,0);
          ctx2.lineWidth = 5;
          ctx2.fillStyle = "deeppink";
          ctx2.strokeStyle = "purple";
          ctx2.stroke();
          ctx2.fill();

          // 把颜色 拿过来.
          var bg = ctx.createPattern(myCanvas2,"repeat");
          ctx.fillStyle = bg;
          ctx.fillRect(0,0,500,500);
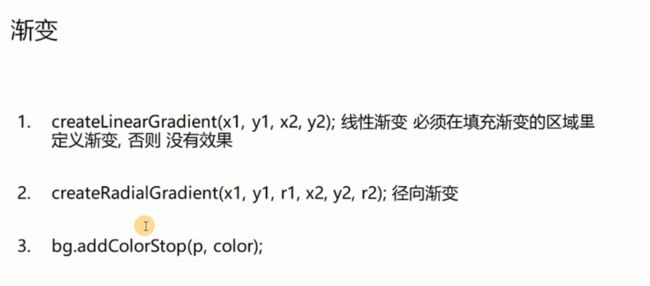
跟createPattern 一样, 最后也是成为一个颜色.
        var myCanvas = document.getElementById("myCanvas");
        var ctx = myCanvas.getContext("2d");

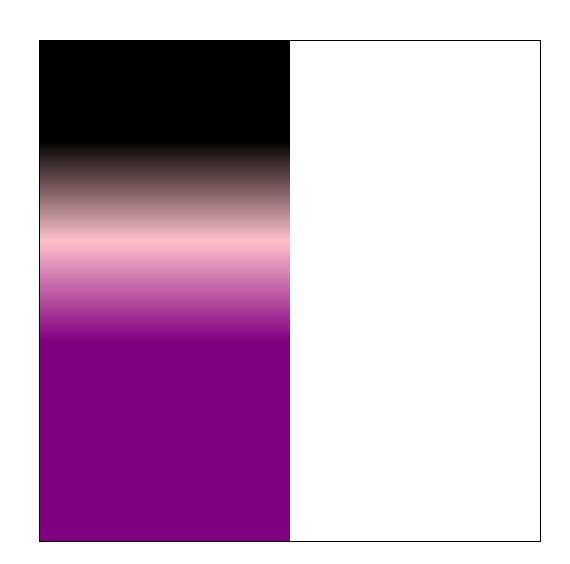
        var bg = ctx.createLinearGradient(100,100,100,300);
        // 中间 可以有多个渐变 颜色
        bg.addColorStop(0,"black");
        bg.addColorStop(0.5,"pink");
        bg.addColorStop(1,"purple");
//        ctx.fillStyle = bg;
//        ctx.fillRect(0,0,500,500);

          ctx.strokeStyle = bg;
          ctx.lineWidth = 500;
          ctx.moveTo(0,0);
          ctx.lineTo(0,500);
          ctx.stroke();
        var myCanvas = document.getElementById("myCanvas");
        var ctx = myCanvas.getContext("2d");

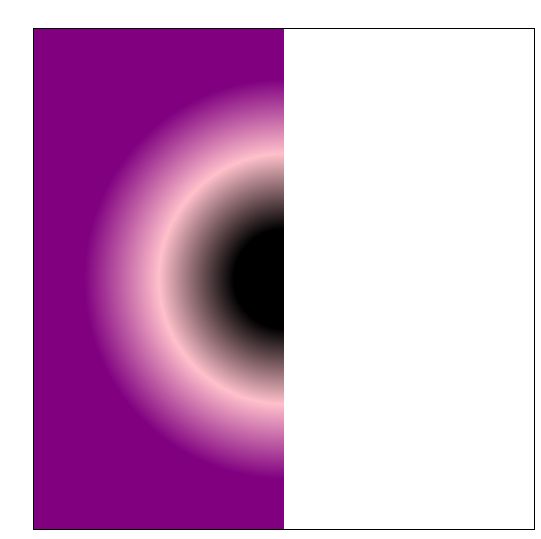
        var bg = ctx.createRadialGradient(250,250,50,250,250,200);
        // 中间 可以有多个渐变 颜色
        bg.addColorStop(0,"black");
        bg.addColorStop(0.5,"pink");
        bg.addColorStop(1,"purple");
//        ctx.fillStyle = bg;
//        ctx.fillRect(0,0,500,500);

          ctx.strokeStyle = bg;
          ctx.lineWidth = 500;
          ctx.moveTo(0,0);
          ctx.lineTo(0,500);
          ctx.stroke();
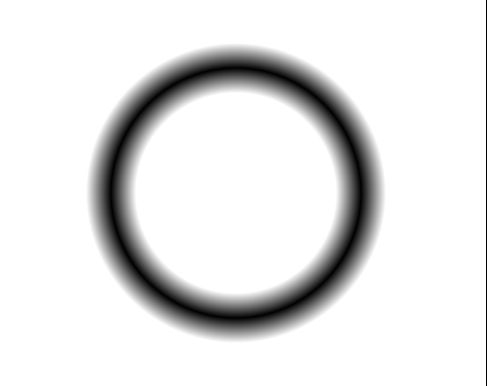
        var bg = ctx.createRadialGradient(250,250,100,250,250,150);
        // 中间 可以有多个渐变 颜色
        bg.addColorStop(0,"white");
        bg.addColorStop(0.5,"black");
        bg.addColorStop(1,"white");
          ctx.fillStyle = bg;
          ctx.fillRect(0,0,500,500);
        var bg = ctx.createLinearGradient(0,0,0,100);
        // 中间 可以有多个渐变 颜色
        bg.addColorStop(0,"black");
        bg.addColorStop(1,"white");
          ctx.fillStyle = bg;
          ctx.fillRect(0,0,500,500);
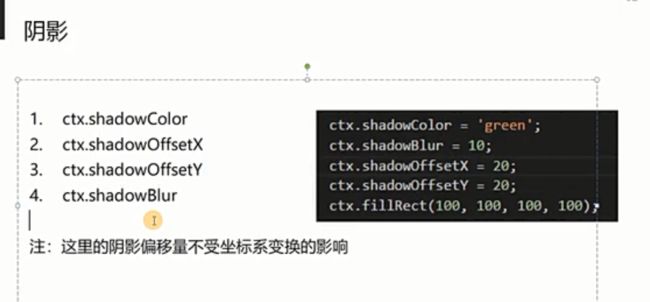
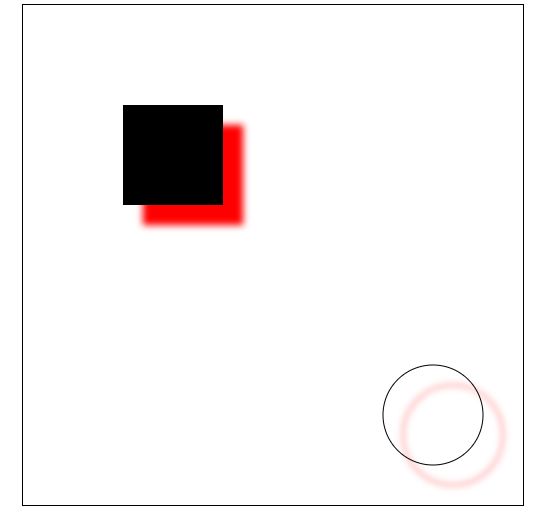
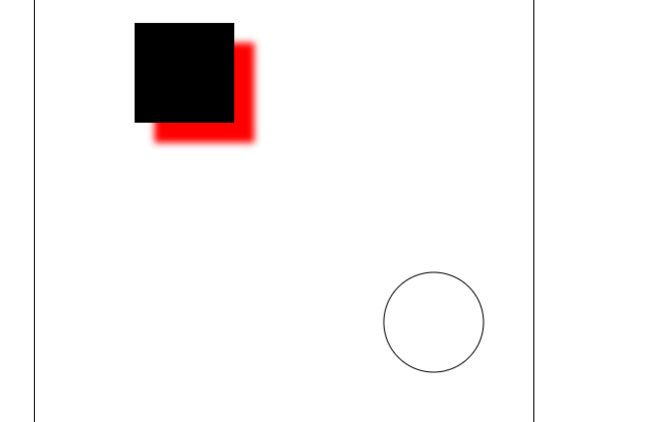
        ctx.shadowColor = "red";
        ctx.shadowBlur = 10;
        ctx.shadowOffsetX = 20;
        ctx.shadowOffsetY = 20;
        ctx.fillRect(100,100,100,100);


        ctx.beginPath();// 结束落笔
        ctx.translate(10,10);// 更换坐标系
        ctx.arc(400,400,50,0,2 * Math.PI,1);
        ctx.stroke();
发现,beginPath(), translate 都无法影响,
换言之, 所有 生成的图形都会生成 阴影.
除非,
        ctx.shadowColor = "red";
        ctx.shadowBlur = 10;
        ctx.shadowOffsetX = 20;
        ctx.shadowOffsetY = 20;
        ctx.fillRect(100,100,100,100);

        ctx.shadowBlur = 0;
        ctx.shadowOffsetX = 0;
        ctx.shadowOffsetY = 0;
        ctx.arc(400,400,50,0,2 * Math.PI,1);
        ctx.stroke();
问题: 如果我希望为一个元素, 增加多个阴影怎么办?
找到一个不是很好的方法
        ctx.shadowColor = "red";
        ctx.shadowBlur = 10;
        ctx.shadowOffsetX = 20;
        ctx.shadowOffsetY = 20;
        ctx.fillRect(100,100,100,100);

        再画一次.
        ctx.shadowColor = "red";
        ctx.shadowBlur = 10;
        ctx.shadowOffsetX = -20;
        ctx.shadowOffsetY = -20;
        ctx.fillRect(100,100,100,100);
文字居中
                ctx.textAlign = "center";
                ctx.verticalAlign = "middle";
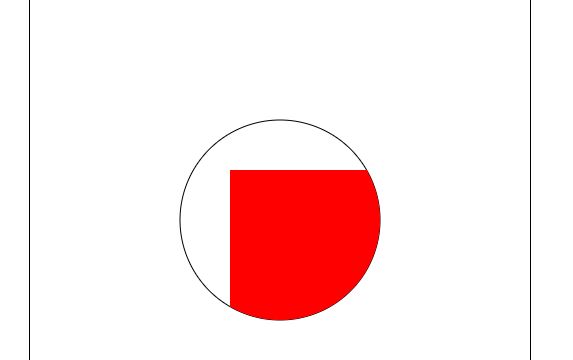
        ctx.beginPath();
        ctx.arc(250,250,100,0, 2 * Math.PI,1);
        ctx.stroke();
        ctx.closePath();
        ctx.clip();

        ctx.fillStyle = "red";
        ctx.fillRect(200,200,300,300);
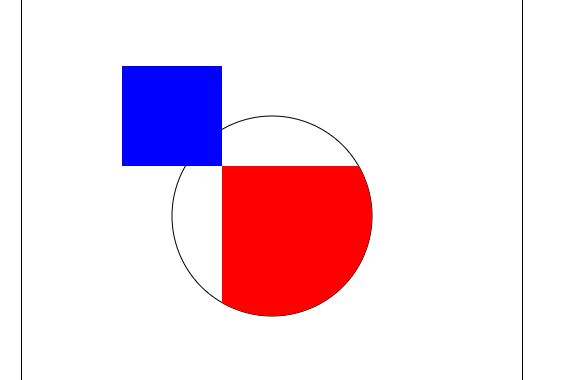
问题 : 怎么才能摆脱clip() 效果? 用 save() + restore()
        ctx.beginPath();
        ctx.arc(250,250,100,0, 2 * Math.PI,1);
        ctx.stroke();
        ctx.closePath();
        ctx.save();
        ctx.clip();

        ctx.fillStyle = "red";
        ctx.fillRect(200,200,300,300);

        ctx.restore();
        ctx.fillStyle = "blue";
        ctx.fillRect(100,100,100,100);
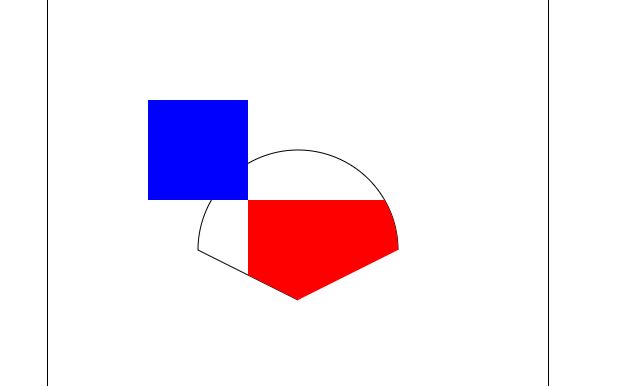
问题 必须加上 closepath, 完成封闭区间嘛? 不必,
        ctx.beginPath();
        ctx.arc(250,250,100,0, Math.PI,1);
        ctx.lineTo(250,300);
        ctx.stroke();
        ctx.save();
        ctx.clip();

        ctx.fillStyle = "red";
        ctx.fillRect(200,200,300,300);

        ctx.restore();
        ctx.fillStyle = "blue";
        ctx.fillRect(100,100,100,100);
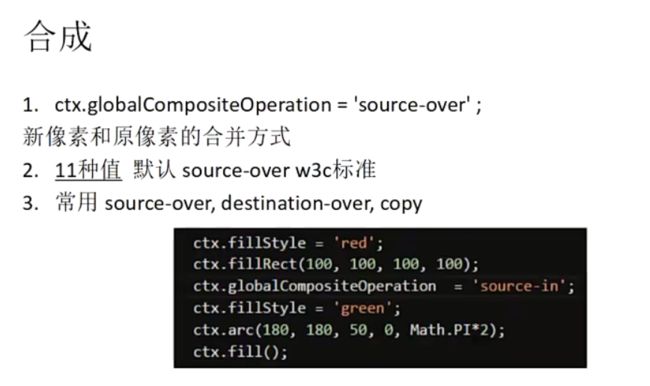
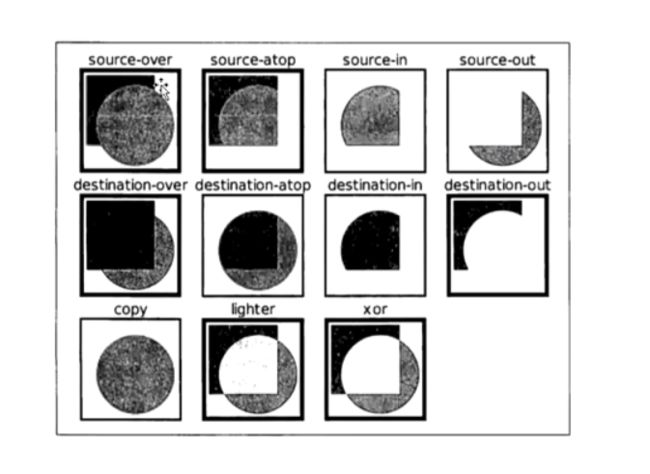
解决 新旧像素(形状重合,重叠时的情况)
只会影响, 该语句后面的所有像素.
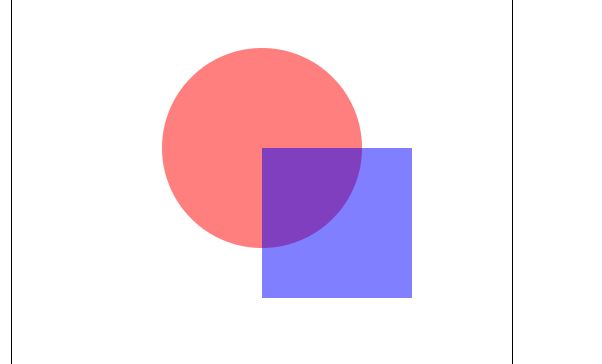
        ctx.beginPath();
        ctx.arc(250,250,100,0, 2*Math.PI,1);
        ctx.fillStyle = "red";
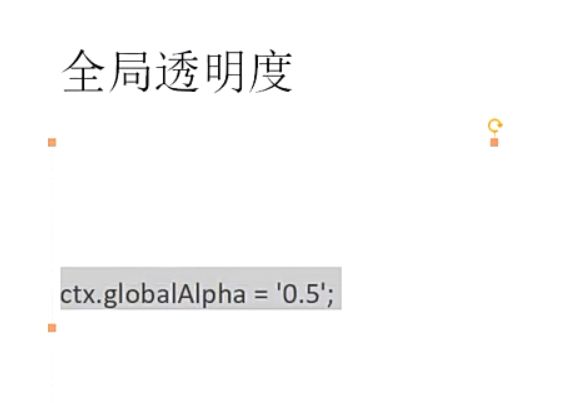
        ctx.globalAlpha = '0.5';
        ctx.fill();
        ctx.fillStyle = "blue";
        ctx.fillRect(250,250,150,150);
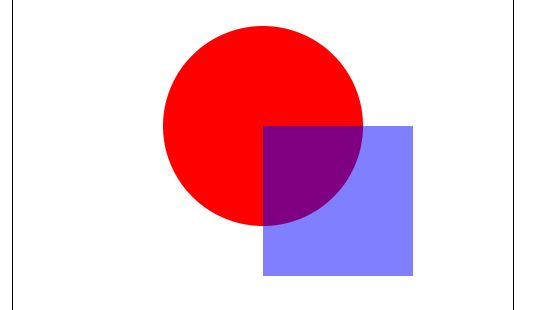
        ctx.beginPath();
        ctx.arc(250,250,100,0, 2*Math.PI,1);
        ctx.fillStyle = "red";
        ctx.fill();
        ctx.globalAlpha = '0.5';
        ctx.fillStyle = "blue";
        ctx.fillRect(250,250,150,150);
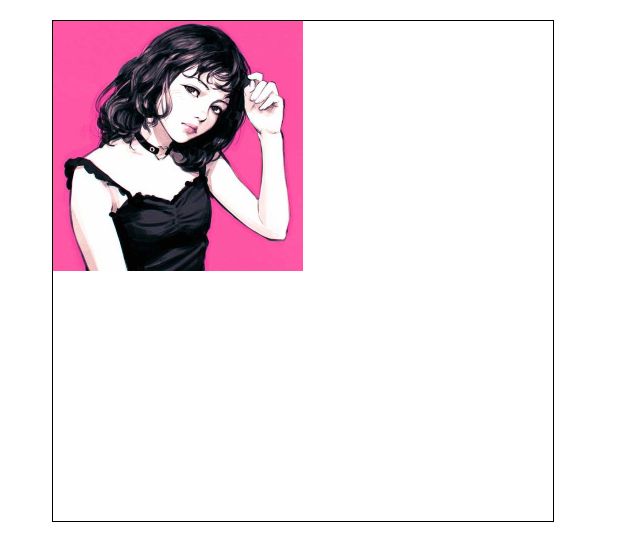
三个参数时,图片会按自身大小显示.
        var img = new Image();
        img.src = "img/2test.jpg";
        img.onload = function () {
            ctx.drawImage(img,0,0);
        }
五个参数时,限制范围, 图片会按比例缩小(或放大?).
ctx.drawImage(img,0,0,250,250);
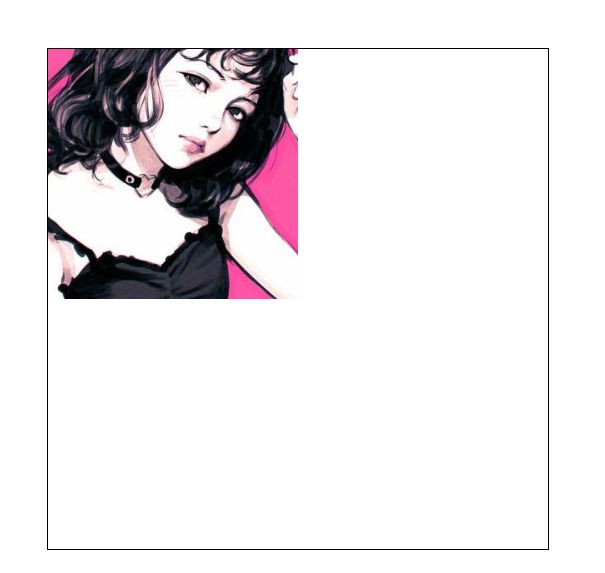
九个参数时, 前四个数字,是截取图片, 后四个参数是 决定位置和大小.
ctx.drawImage(img,100,100,300,300,0,0,250,250);
        var myCanvas = document.getElementById("myCanvas");
        var ctx = myCanvas.getContext("2d");

        var img = new Image();
        img.src = "img/2test.jpg";
        img.onload = function () {
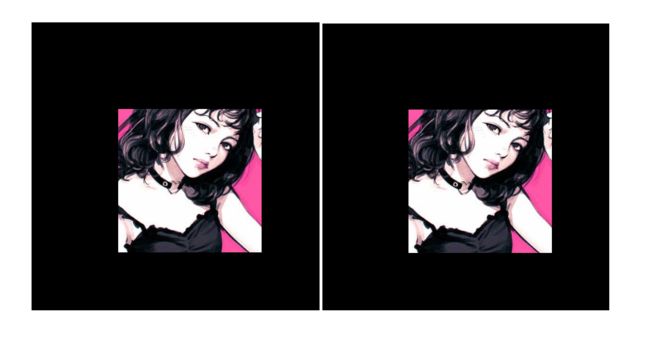
          ctx.fillRect(0,0,500,500);
            ctx.drawImage(img,100,100,300,300,150,150,250,250);

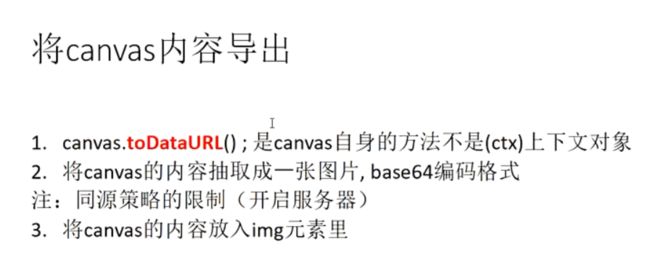
            var canvasUrl = myCanvas.toDataURL();

            var oImg = new Image();
            oImg.src = canvasUrl;
            oImg.onload = function () {
                document.body.appendChild(oImg);
            }
        }
问题 toDataUrl() 方法 , img有没有该方法?
只有canvas 才有.
图片高斯模糊处理的方法.
获取一张图片
利用ctx.dragImage() 方式放进一个画布里.
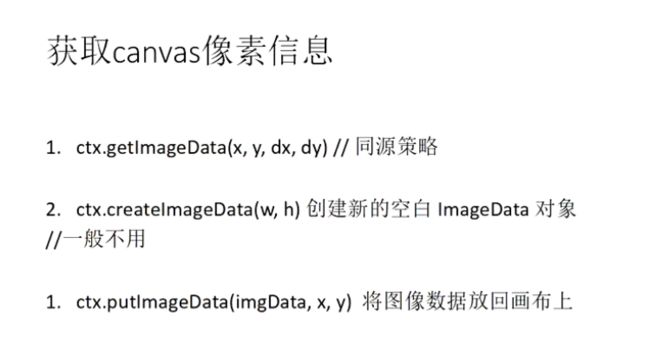
利用ctx.getImageData(x,y,dx,dy) 得到像素对象.
对像素对象中的数据进行处理,
利用ctx.putImageData(imgData,x,y),重新放进画布
可以利用 canvas.toDataUrl 转换成图片.
          ctx.fillRect(0,0,500,500);
            ctx.drawImage(img,100,100,300,300,150,150,250,250);
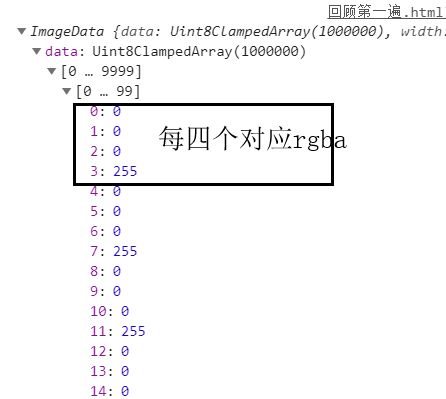
            console.log(ctx.getImageData(0,0,500,500));
        var myCanvas = document.getElementById("myCanvas");
        var ctx = myCanvas.getContext("2d");

        ctx.fillRect(0,0,500,500);

        function changeGray () {
          var imageData = ctx.getImageData(0,0,500,500);
          imageData.data.forEach(function (item,index,self) {
            if (((index+1)%4) != 0) {
                self[index] = 100;
            }
          });
          ctx.putImageData(imageData,0,0);

        }
