Using Update Manager to perform the ESXi 5.5 upgrade to 6.0 procedure is the best option to retain the host configuration and settings in place.
To upgrade the hosts in your network, the ESXi installation p_w_picpath is available in two formats:
ISO file (i.e. VMware-VMvisor-Installer-201507001-2809209.x86_64.iso) used to install or upgrade the host.
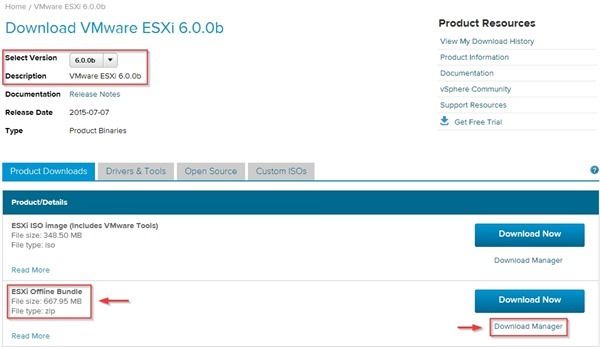
Offline Bundle (i.e. ESXi600-201507001.zip) used to upgrade the ESXi from the command line, VUM or to create custom p_w_picpath/ISO generation for ESXi deployments.
From VMware website download the ESXi 6.0.0b Offline Bundle file.
Check installed hardware
From version 5.5 VMware decided to drop from the ESXi installation some NIC drivers commonly used at consumer level: Realtek r8168 and r8169, Marvell Sky2. Also in version 6.0 these drivers are not included in the ESXi installation.
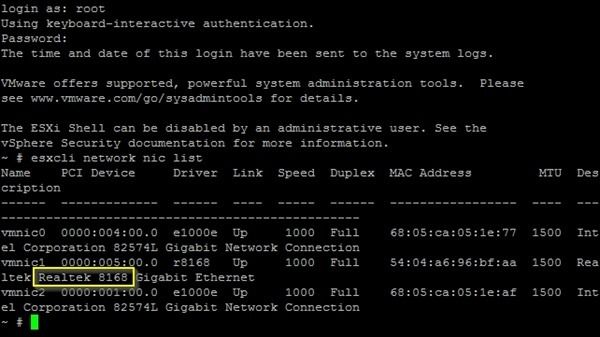
To check if you have such NICs installed in your system, from ESXi console run the command:
~ # esxcli network nic list
In the example the Realtek 8168 NIC is installed in the ESXi.
Create a custom ESXi 6.0 ISO p_w_picpath
Andreas Peetz made an excellent job in documenting the procedure to customize the ESXi p_w_picpath.
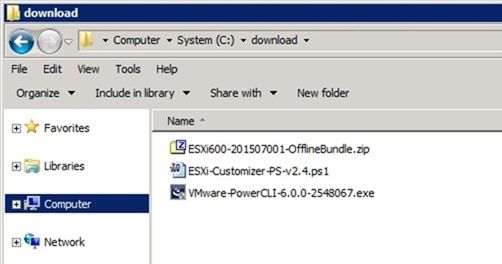
To create the custom ISO p_w_picpath file you need the following:
Andreas’ script ESXi-Customizer-PS-v2.4.ps1
VMware ESXi 6.0 Offline Bundle
VMware PowerCLI 6.0
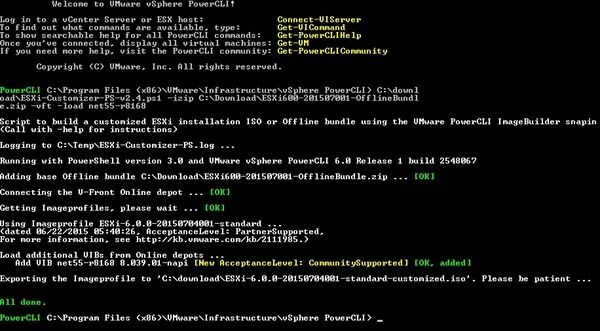
In a PowerCLI session run the command:
PowerCLI C:\download\ESXi-Customizer-PS-v2.4.ps1 -izip C:\Download\ESXi600-201507001-OfflineBundle.zip -vft -load net55-r8168
The script creates a custom ISO p_w_picpath file including the drivers specified in the command.
Upgrade the ESXi host
Before upgrading it’s necessary to create the Baseline VUM will use to check the ESXi compliance.
Create the Baseline
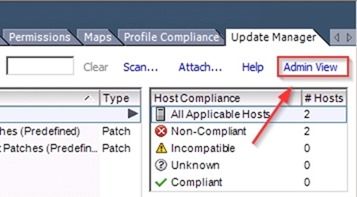
Open vSphere Client, go to Update Manager tab and click the Admin View link.
Select ESXi Images tab and click Import ESXi Image option to create the new baseline.
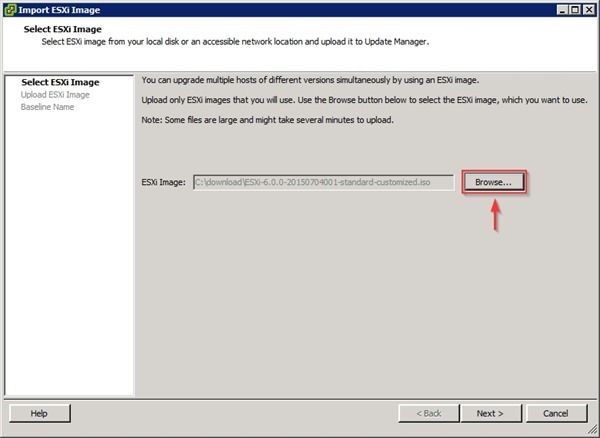
Click Browse to select the custom ESXi 6.0 .ISO file to use and click Next.
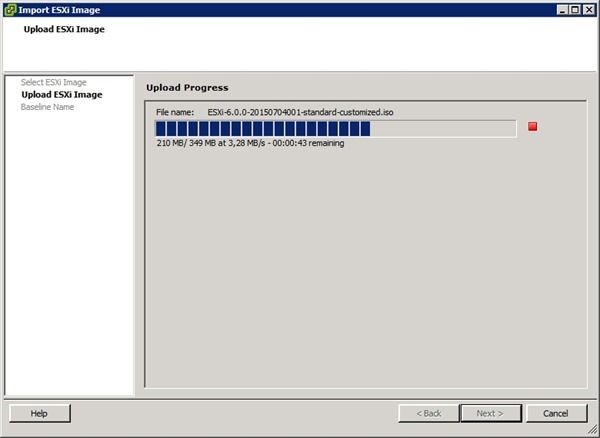
The .ISO file is uploaded to VUM server.
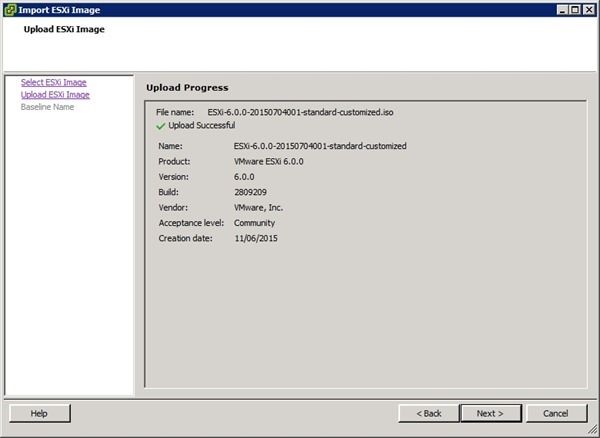
When the upload has completed, click Next to continue.
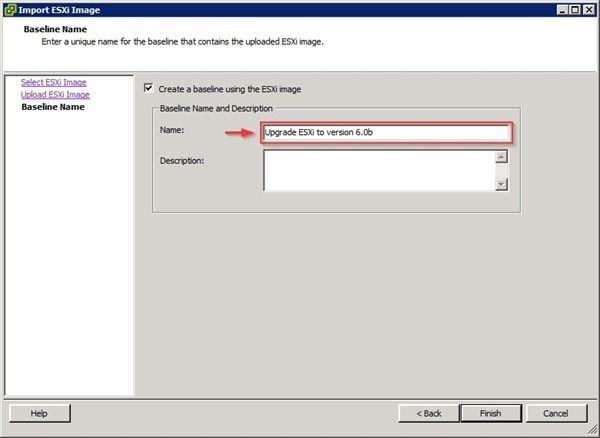
Create a new baseline assigning a Name and a Description then click Finish.
The ESXi p_w_picpath has been imported and available for deployment. Click the Compliance View to perform the upgrade.
Attach the Baseline
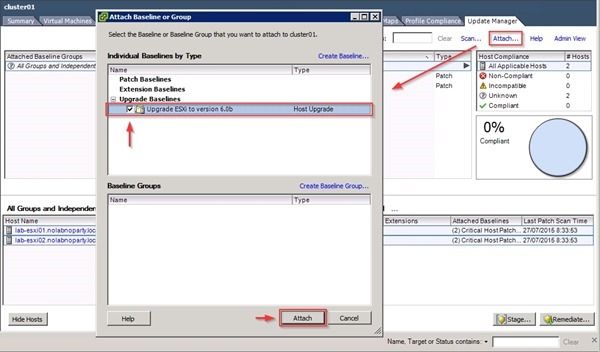
From the Update Manager tab click the Attach link and select the new created baseline. Click on Attach button to confirm the selection.
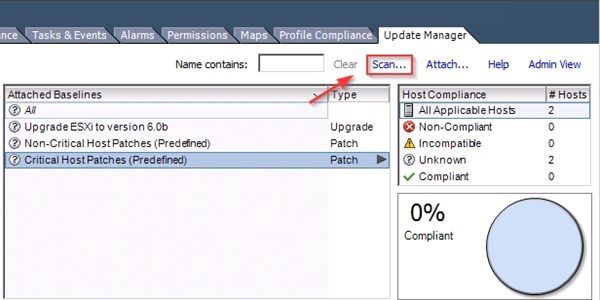
Click Scan to check if the hosts are compliant.
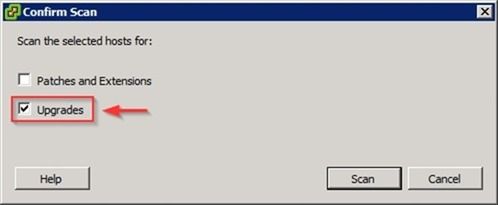
Select Upgrades option only and click Scan.
The system scans the selected hosts.
Upgrade the ESXi
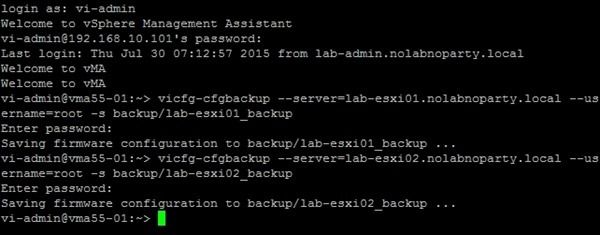
Before starting the procedure, backup the current ESXi 5.5 configuration in case something goes wrong with the upgrade allowing a faster restore of the hypervisor.
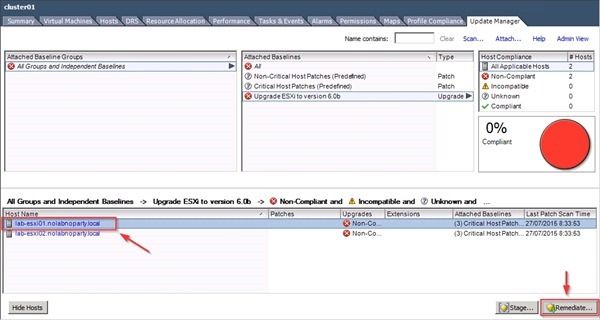
It’s strongly recommended to upgrade one host at time to prevent cluster failure in case of problems. Click on Remediate button to start the upgrade.
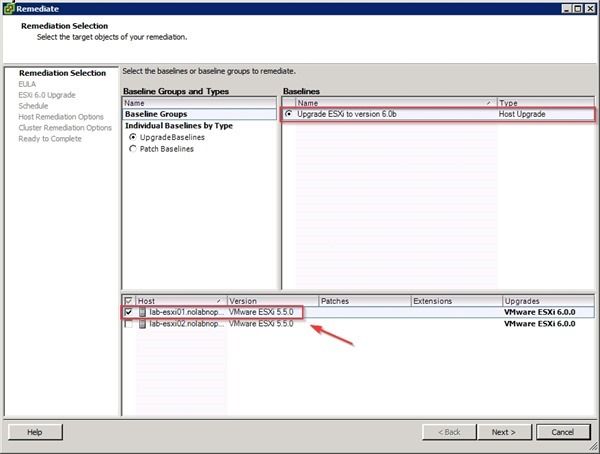
Make sure only one host in the cluster is selected then click Next.
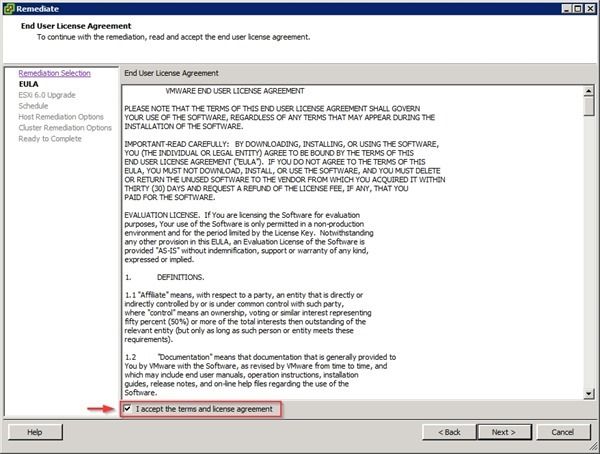
Accept the EULA and click Next.
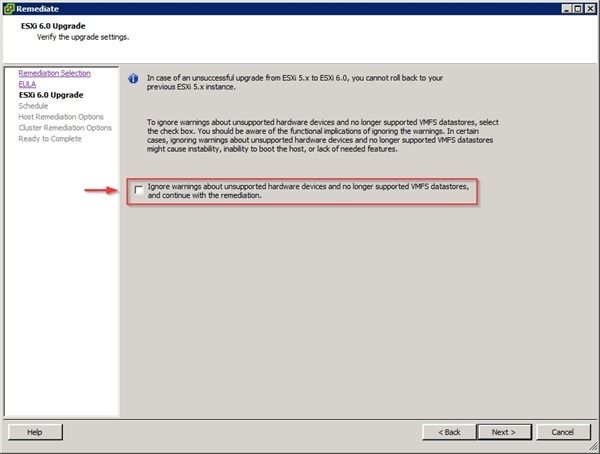
Leave Ignore warnings about unsupported hardware… option unchecked in order to be aware of problems due to unsupported hardware. Click Next.
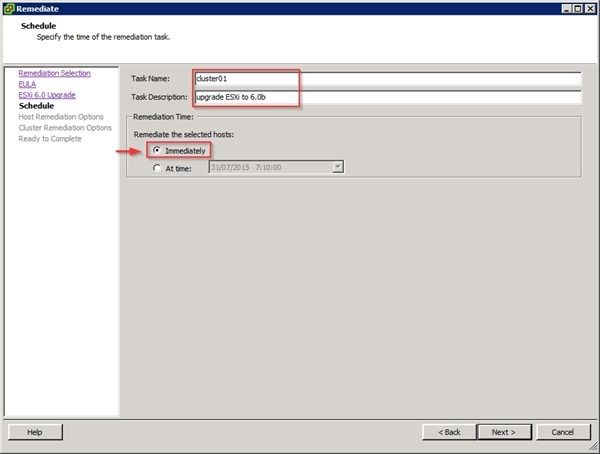
Type a Task Name, a Task Description and choose the Remediation Time. Click Next to continue.
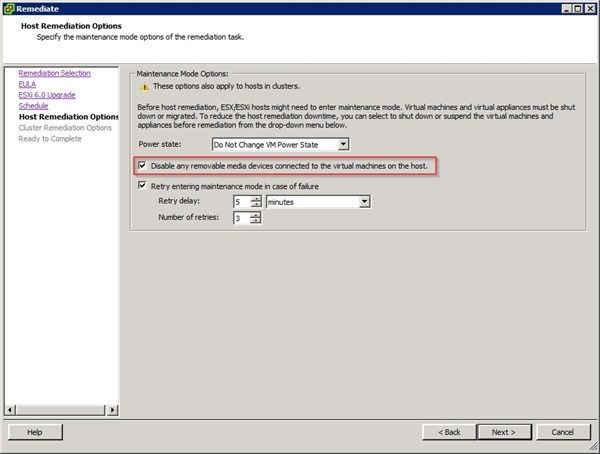
Specify the Host Remediation Options and click Next.
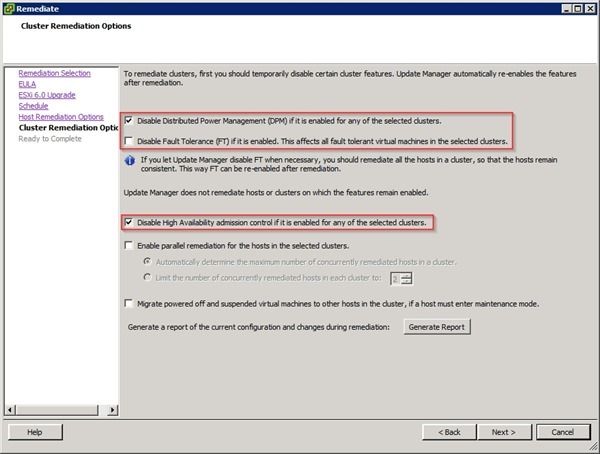
Select the Cluster Remediation Options that match your environment then click Next.
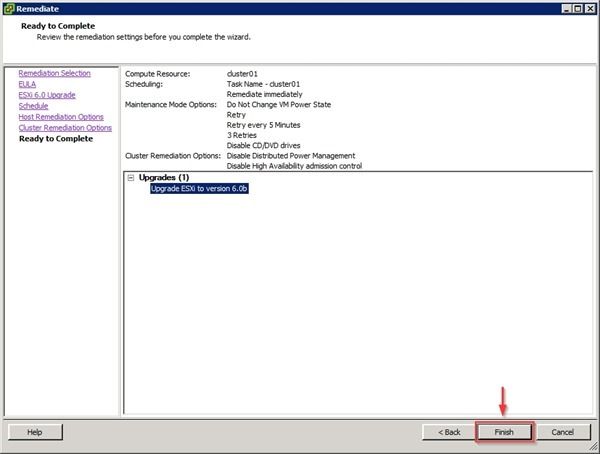
When ready, click Finish to begin the ESXi upgrade process.
The procedure begins by migrating the hosted VMs to other ESXi available in the cluster.
Then the ESXi is put in Maintenance Mode to install the upgrade. The procedure takes several minutes to complete.
When the remediation has been completed, the host is rebooted to finalize the upgrade.
Rebooted and finalized the ESXi, the system starts balancing the load migrating the VMs across the cluster.
The ESXi has been upgraded successfully to version 6.0b.
The host settings have been retained and the host is fully functional. No additional configuration is required.
