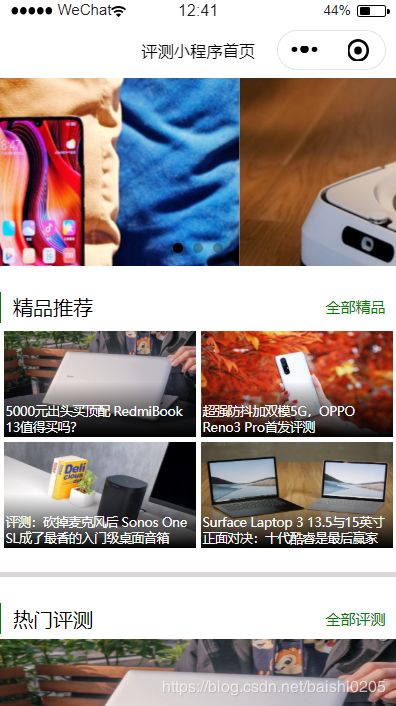
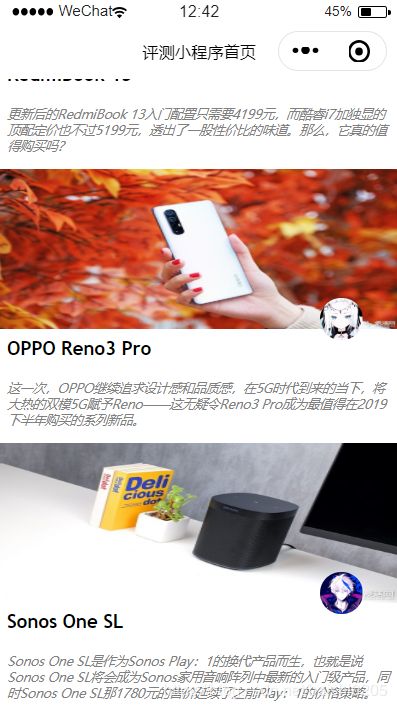
微信小程序实例——【评测首页】
实例步骤:
【1】 删除所有的样式文件
【2】 用swip组件添加首页轮播图
data: {
    background: [
      'https://file.evolife.cn/2019/11/3-17.jpg',
      'https://file.evolife.cn/2019/11/4-11.jpg',
      'https://file.evolife.cn/2019/11/43.jpg'
      ]
  }
<view class="container">
<swiper indicator-dots="true" autoplay="true" interval="3000" duration="1000">
        <block wx:for="{{background}}">
          <swiper-item>
            <image src="{{item}}" width="355" height="150"></image>
          </swiper-item>
        </block>
</swiper>
</view>
【3】 设置文字样式
.header{
  border-left-width: 2px;
  border-left-color: green;
  border-left-style: solid;
  display: flex;
  justify-content: space-between;
  align-items: center;
}
.header-right{
  color: green;
  font-size: 12px;
}
  <view class="header">
    <text>精品推荐</text>
    <text class="header-right">全部精品</text>
  </view>
【4】 开辟图片存放空间
.content{
  display: flex;
  flex-wrap: wrap;
  justify-content:center;
}

.content-item{
  height: 200rpx;
  width: 48%;
  background: red;
  margin: 2px;
}
<view class="content">
    <view class="content-item">1</view>
    <view class="content-item">2</view>
    <view class="content-item">3</view>
    <view class="content-item">4</view>
  </view>
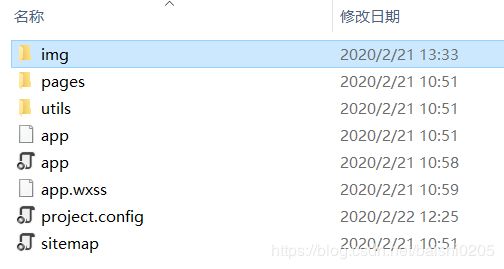
【5】 放入图片并设置文字和图片属性。将图片放入文件夹,文件夹放入和pages同级位置
.content{
  display: flex;
  flex-wrap: wrap;           /**换行**/
  justify-content:center;
}

.content-item{
  height: 200rpx;
  width: 48%;
  margin: 2px;
  position: relative;       /**定位**/
}

.content-item image{
  height: 100%;
  width: 100%;
}

.content-item-text{
  position: absolute;      /**相对父定位**/
  bottom: 0;
  color: white;
  font-size: 10px;
  background: -webkit-linear-gradient(bottom,rgba(0,0,0,1),rgba(0,0,0,0));    /**从哪里开始以什么颜色渐变,"a"为透明度**/
  height: 100rpx;
  display: flex;
  flex-direction: column;
  justify-content: flex-end;
  padding-left: 1%;
  padding-bottom: 1%;
  padding-right: 1%;
}
<view class="content-item">
      <image src="../../img/1.jpg"></image>
      <view class="content-item-text">
        <text>5000元出头买顶配 RedmiBook 13值得买吗?</text>
      </view>
    </view>
【6】 设置“热门评测”部分图片、头像图片以及文字。需设置图片和头像的位置关系以及文字属性
.list-item{
  height: 500rpx;
  width: 100%;
}

.list-item-img-all{
  height: 300rpx;
  width: 100%;
  position: relative;     /**定位**/
}
.list-item-img{
  height: 300rpx;
  width: 100%;
}

.avatar{
  height: 80rpx;
  width: 80rpx;
  border-radius: 50%;      /**盒子圆角**/
  position: absolute;      /**相对父定位**/
  bottom: -20rpx;
  right: 70rpx;
}

.list-item-text{
  height: 200rpx;
  width: 96%;
  margin-top: 15rpx;
  padding-left: 2%;
  padding-right: 2%;
}

.list-item-text-title{
  font-family: 'Trebuchet MS', 'Lucida Sans Unicode', 'Lucida Grande', 'Lucida Sans', Arial, sans-serif;
  font-weight: bold;
  font-size: 15px;
}
.list-item-text-content{
  font-size: 10px;
  color: grey;
  margin-top: 10rpx;
  font-style: italic;
}
<view class="list-item-img-all">
      <image src="../../img/1.jpg" class="list-item-img"></image>
      <image src="../../img/头像1.jpg" class="avatar"></image>
    </view>
    <view class="list-item-text">
      <view class="list-item-text-title">
        <text>RedmiBook 13</text>
      </view>
      <view class="list-item-text-content">
      <text>
      更新后的RedmiBook 13入门配置只需要4199元,而酷睿i7加独显的顶配定价也不过5199元,透出了一股性价比的味道。那么,它真的值得购买吗?
      </text>
      </view>
    </view>
【7】进一步完善,调整所有文字位置,增加灰色分割线
.selection{
  border-bottom: 4px solid rgb(219, 215, 215);
  padding-bottom: 40rpx;
}

.header{
  border-left-width: 2px;
  border-left-color: green;
  border-left-style: solid;
  display: flex;
  justify-content: space-between;   /**对齐方式**/
  align-items: center;
  height: 60rpx;
  padding-left: 25rpx;
  padding-right: 25rpx;
  margin-top: 50rpx;
  margin-bottom: 10rpx;
}

.header-right{
  color: green;
  font-size: 12px;
}
实例中遇到的问题以及解决方案:
问题1:轮播图空白无法显示
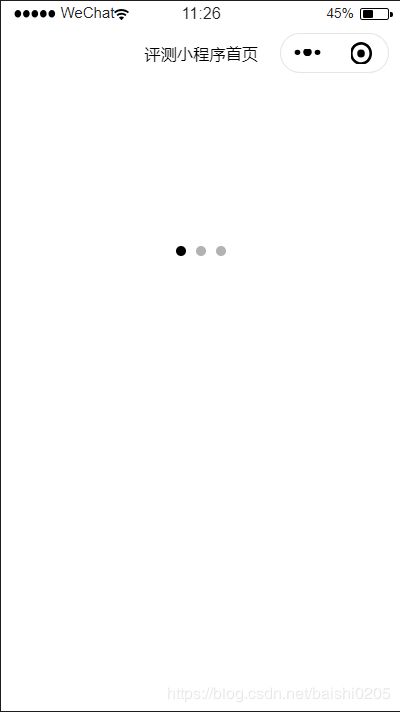
解决方法:swiper-item设置样式宽度
<swiper-item>
  <image src="{{item}}" width="355" height="150"></image>
</swiper-item>
问题2:头像重叠,无法排布
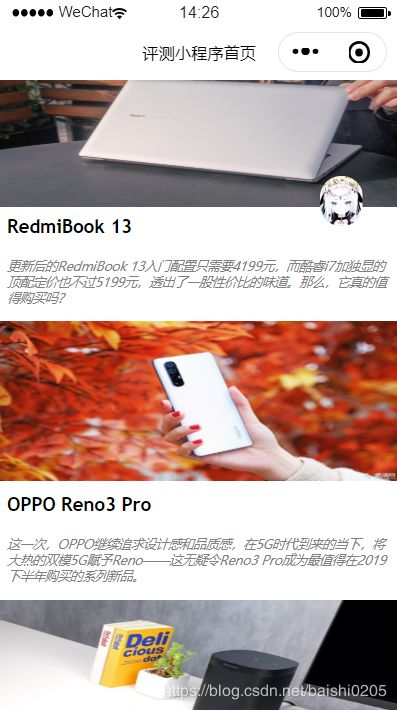
解决办法:将头像图片相对于整体父view进行定位,单独进行大图设置
.list-item-img-all{
  height: 300rpx;
  width: 100%;
  position: relative;     /**定位**/
}
.list-item-img{
  height: 300rpx;
  width: 100%;
}

.avatar{
  height: 80rpx;
  width: 80rpx;
  border-radius: 50%;      /**盒子圆角**/
  position: absolute;      /**相对父定位**/
  bottom: -20rpx;
  right: 70rpx;
}
<view class="list-item-img-all">
      <image src="../../img/2.jpg" class="list-item-img"></image>
      <image src="../../img/头像2.jpg" class="avatar"></image>
    </view>
实验心得:
通过这两星期对微信小程序的短暂学习,我大致了解了微信小程序的编程方法和注意事项。虽然两星期的时间很短,学习不够深,但我仍然受益匪浅。当然,在编写实例时我也遇到了困难,感觉很麻烦,但在最终克服了全部困难,并终于编写出自己的第一个小程序时,我十分有成就感,这大概就是编程的快乐之处吧。

