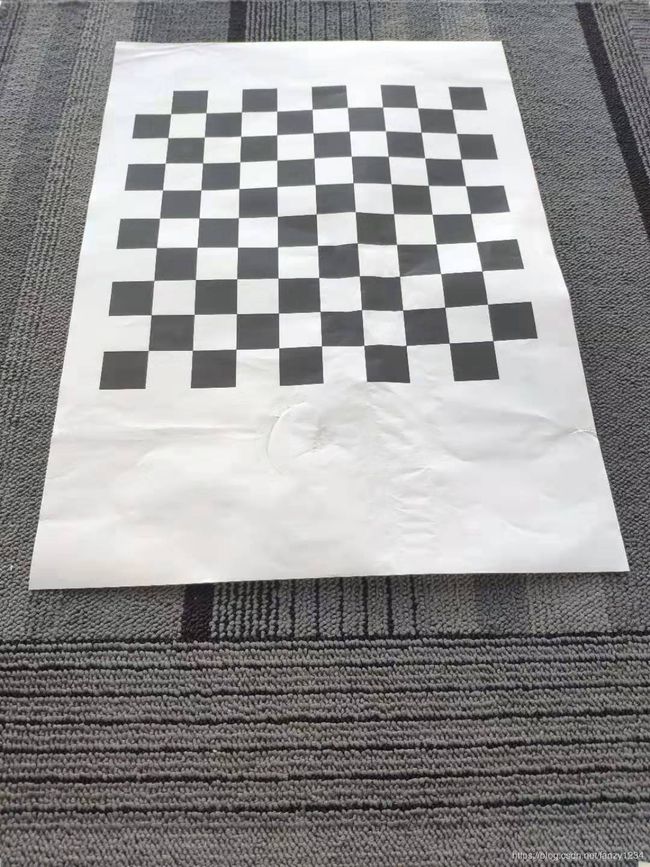
python-opencv实现透视变换细节
透视变换实现鸟瞰图
from imutils import perspective
from skimage.filters import threshold_local
import cv2
import imutils
import numpy as np

# 边缘扫描
image = cv2.imread("chass2.jpeg")
w=image.shape[0]
h=image.shape[1]
ratio = image.shape[0] / 500.0  # 比例
orig = image.copy()
image = imutils.resize(image, height=500)

# 灰度转换及边缘查找
gray = cv2.cvtColor(image, cv2.COLOR_BGR2GRAY)
gray = cv2.GaussianBlur(gray, (5, 5), 0)
edged = cv2.Canny(gray, 75, 200)# 边缘检测

# 只保留轮廓
cnts= cv2.findContours(edged.copy(), cv2.RETR_LIST, cv2.CHAIN_APPROX_SIMPLE)  # 通过边缘图像找到轮廓
cnts = cnts[0] if imutils.is_cv2() else cnts[1]  # 用以区分OpenCV2.4和OpenCV3
cnts = sorted(cnts, key=cv2.contourArea, reverse=True)[:5]  # 保留最大轮廓

for c in cnts:
    peri = cv2.arcLength(c, True)
    approx = cv2.approxPolyDP(c, 0.01 * peri, True)  # 轮廓点
    if len(approx) == 4:         # 表明找到四个轮廓点
        screenCnt = approx
        break


point1=screenCnt.reshape(4,2).astype(np.float32)
# point2 = np.array([[0,0],[0,420],[297,420],[297,0]],dtype = "float32")
point2 = np.array([[104,58],[104,478],[401,478],[401,58]],dtype = "float32")

#实际坐标点和提取的角点必须一一对应呀,
# point1 = np.array([[308,230],[500,230],[308,640],[500,640]],dtype = "float32")
# point2 = np.array([[308,230],[500,230],[155,30],[835,30]],dtype = "float32")
M = cv2.getPerspectiveTransform(point1,point2)
out_img = cv2.warpPerspective(image,M,(image.shape[0],700))
dst=cv2.perspectiveTransform(point2.reshape(1,4,2), M)


cv2.imshow("Original", image)
cv2.imshow("Scanned",cv2.resize(out_img,(image.shape[0],700)))
cv2.waitKey(0)
关键点是point2是实际世界中的坐标
