Haar-Feature分类器和卷积神经网络
交流QQ:452026443
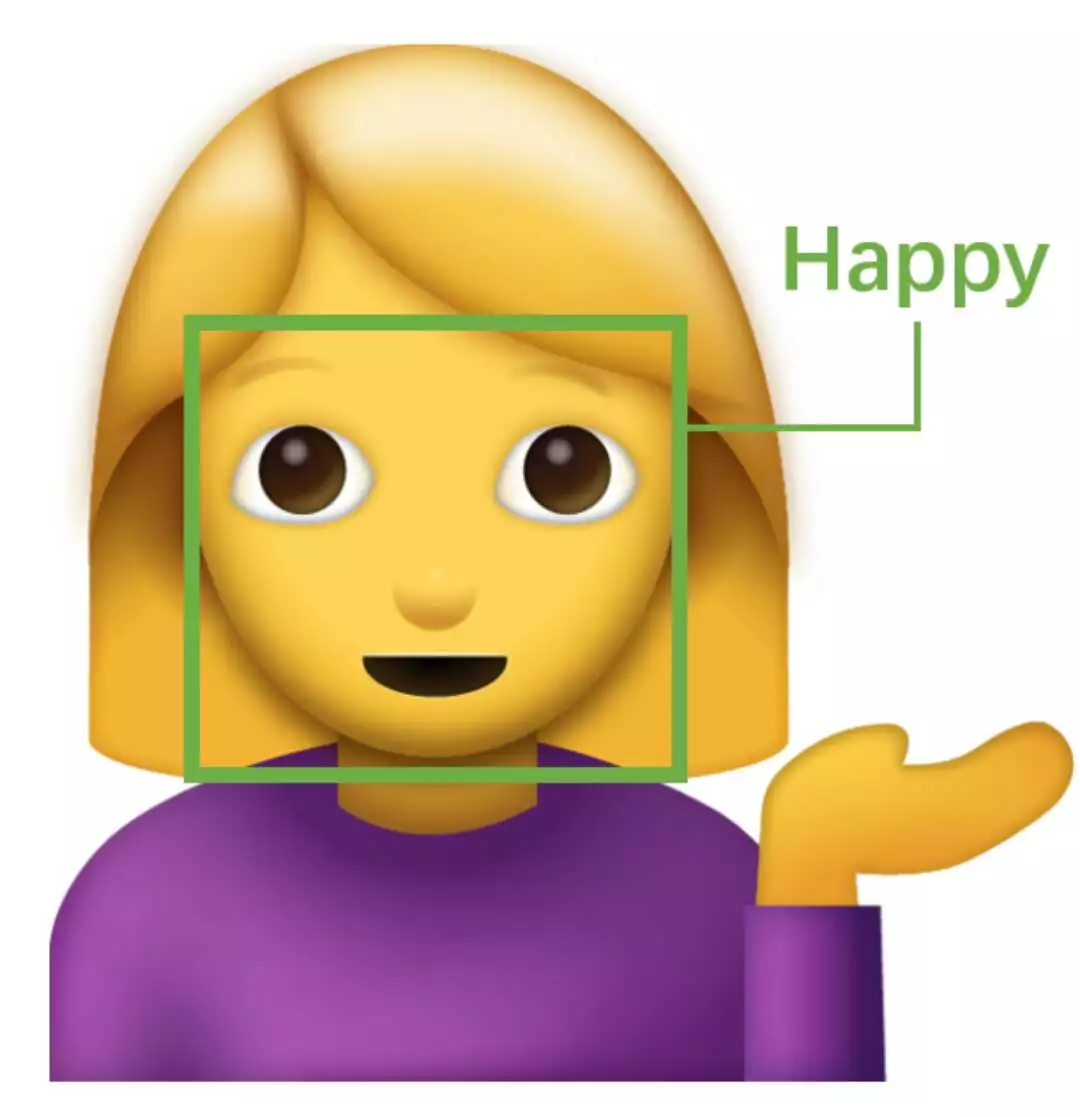
以情感识别模型为例!
我一直都看到它:“基于Haar特征的级联分类器”,“Viola和Jones首先提出的类哈尔特征”......但究竟是什么类似Haar?它与卷积神经网络有什么关系?
Haar-Feature就像CNN中的内核,除了在CNN中,内核的值由训练确定,而Haar-Feature是手动确定的。
以下是一些Haar功能。前两个是“边缘特征”,用于检测边缘。第三个是“线特征”,而第四个是“四个矩形特征”,很可能用于检测斜线。
图1:常见的哈尔特征
在数字上,它们可能看起来像这样:
图2:哈尔特征以数字表示
每一个在图像的3×3内核的动作和做矩阵乘法与图像的每一个3x3的一部分,强调某些功能和平滑等。
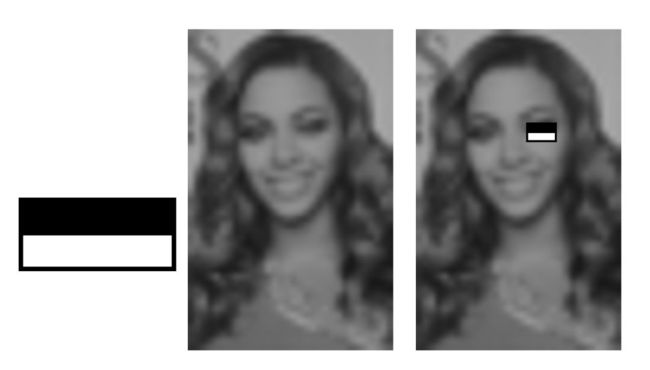
Haar-Features擅长检测边缘和线条。这使得它在面部检测中特别有效。例如,在Beyonce的一个小图像中,这个Haar特征将能够检测到她的眼睛(顶部较暗且下面较亮的区域)。
图3:哈尔特征可用于检测面部标志,例如眼影
但是,由于必须手动确定哈尔特征,因此它可以检测到的事物类型存在一定的限制。如果给分类器(网络或任何检测面的算法)边和线要素,那么它只能检测具有清晰边和线的对象。即使作为面部检测器,如果我们稍微操纵面部(比如用太阳镜遮住眼睛,或者将头部倾斜到一侧),基于Haar的分类器可能无法识别面部。另一方面,卷积核具有更高的自由度(因为它是由训练确定的),并且能够识别部分覆盖的面(取决于训练数据的质量)。
从好的方面来说,因为我们不需要训练Haar-Features,所以我们可以创建一个具有相对较小数据集的分类器。我们所要做的就是训练每个特征的权重(即应该更多地使用哪个哈尔特征?),这样我们就可以在没有大量训练图像的情况下很好地训练分类器。此外,它还具有更高的执行速度,因为基于Haar的分类器通常涉及较少的计算。
触发对基于哈尔的分类器的这种小型调查的原因是这种识别情绪的模型。去年,在一次交易会上,我遇到了情感识别系统。但是,它没有使用神经网络。如果我能找到完全基于CNN的情绪识别算法,我很好奇。
模型:https://github.com/oarriaga/face_classification
简要介绍一下这个模型,我看到它使用OpenCV的基于Haar的级联分类器来检测面部。在找到面孔之后,团队然后训练他们自己的CNN来识别脸上的情绪。
由于它使用基于哈尔的分类,我不能真正称之为基于算法完全卷积神经网络。如果我为MTCNN人脸识别系统更换了基于Haar的分类器怎么办?
MTCNN:https://github.com/ipazc/mtcnn
最初,它装载了基于Haar的分类器。我把它换成MTCNN探测器:
#detection_model_path = '../trained_models/detection_models/haarcascade_frontalface_default.xml'
#face_detection = load_detection_model(detection_model_path)
emotion_model_path = '../trained_models/emotion_models/fer2013_mini_XCEPTION.102-0.66.hdf5'
emotion_labels = get_labels('fer2013')
detector = MTCNN()
然后,我做了一点数据处理,因为他们的基于Haar的分类器输出返回一个方形边界框作为二维数组,而MTCNN模型输出返回字典中的矩形边界框。
bgr_image = video_capture.read()[1]
    gray_image = cv2.cvtColor(bgr_image, cv2.COLOR_BGR2GRAY)
    rgb_image = cv2.cvtColor(bgr_image, cv2.COLOR_BGR2RGB)
    #faces = detect_faces(face_detection, gray_image) <- Their original Haar-based classifier code
    result = detector.detect_faces(bgr_image)
    if result != []:
        boundingbox = result[0]['box']
        #Their Haar-based classifier outputs a square bounding box, while the MTCNN detector doesn't.
        #Therefore, I'll take the whatever's smaller--the width or height--and shift that outwards to become a square
        #Because that might create a not-quite-centered bounding box, I shifted the box back a little to center it again.
        #Boundingbox[0] and [1] are the coordinates of the top left corner of the bounding box
        #Boundingbox[2] and [3] are the width and height of the bounding box
        if boundingbox[2]y
            diff=boundingbox[3]-boundingbox[2]
            boundingbox[3]=boundingbox[2]
            boundingbox[1]=int(boundingbox[1]-(diff/2))
        boundingbox=[boundingbox] #Their original Haar-based classifier output has an extra dimension
当我改变输出和调试时,我保持基于Haar的分类器和MTCNN检测器运行(以比较它们的输出)。有趣的是,似乎我的计算机无法承受如此大的计算量:程序一直在崩溃。
最后,我运行了程序,现在运行MTCNN而不是基于Haar的分类器。以下是一些观察:
-
基于OpenCV Haar的分类器明显更快。在将其切换到MTCNN检测器后,视频开始滞后。它仍然可以实时运行,但质量不是很好。
-
MTCNN检测器能够检测到更多种类的面部。即使我倾斜我的脸,将其部分地远离相机,或用手部分地遮住它,它仍然能够将其识别为脸部。基于OpenCV Haar的分类器只能真正识别完整的前脸。
-
根据基于Haar的分类器训练的情绪识别网络只能准确识别完整的前向脸部上的不同情绪。因此,即使MTCNN检测器允许我们在部分模糊的面部周围绘制边界框,程序也无法真正识别出脸部的情绪。
所有这些观察都与我所发现的一致:虽然训练有素的CNN可以学习更多参数(从而检测更多种类的面部),基于Haar的分类器运行得更快。根据您的任务,一个人可能比另一个人更合适。
在这里下载您的资源:
-
MTCNN Github下载:https://github.com/ipazc/mtcnn
-
情感识别Github下载:https://github.com/oarriaga/face_classification
-
我的代码(将其置于“src”下并记住将MTCNN中的“mtcnn”文件夹放在Emotion Recognition模型的“src”文件夹中,然后运行此代码)代码如下:
from statistics import mode

import cv2
import tensorflow as tf
#from tensorflow.keras.models import load_model
import numpy as np

from utils.datasets import get_labels
from utils.inference import detect_faces
from utils.inference import draw_text
from utils.inference import draw_bounding_box
from utils.inference import apply_offsets
#from utils.inference import load_detection_model
from utils.preprocessor import preprocess_input
from mtcnn.mtcnn import MTCNN

# parameters for loading data and images
#detection_model_path = '../trained_models/detection_models/haarcascade_frontalface_default.xml'
emotion_model_path = '../trained_models/emotion_models/fer2013_mini_XCEPTION.102-0.66.hdf5'
emotion_labels = get_labels('fer2013')
detector = MTCNN()

# hyper-parameters for bounding boxes shape
frame_window = 10
emotion_offsets = (20, 40)

# loading models
#face_detection = load_detection_model(detection_model_path)
model = tf.keras.models.Sequential([
  tf.keras.layers.Flatten(),
  tf.keras.layers.Dense(512, activation=tf.nn.relu),
  tf.keras.layers.Dropout(0.2),
  tf.keras.layers.Dense(10, activation=tf.nn.softmax)
])
emotion_classifier = tf.keras.models.load_model(emotion_model_path, compile=False)

# getting input model shapes for inference
emotion_target_size = emotion_classifier.input_shape[1:3]

# starting lists for calculating modes
emotion_window = []

# starting video streaming
cv2.namedWindow('window_frame')
video_capture = cv2.VideoCapture(0)
while True:
    bgr_image = video_capture.read()[1]
    gray_image = cv2.cvtColor(bgr_image, cv2.COLOR_BGR2GRAY)
    rgb_image = cv2.cvtColor(bgr_image, cv2.COLOR_BGR2RGB)
    #faces = detect_faces(face_detection, gray_image)
    result = detector.detect_faces(bgr_image)
    if result != []:
        boundingbox = result[0]['box']
        if boundingbox[2] frame_window:
                emotion_window.pop(0)
            try:
                emotion_mode = mode(emotion_window)
            except:
                continue

            if emotion_text == 'angry':
                color = emotion_probability * np.asarray((255, 0, 0))
            elif emotion_text == 'sad':
                color = emotion_probability * np.asarray((0, 0, 255))
            elif emotion_text == 'happy':
                color = emotion_probability * np.asarray((255, 255, 0))
            elif emotion_text == 'surprise':
                color = emotion_probability * np.asarray((0, 255, 255))
            else:
                color = emotion_probability * np.asarray((0, 255, 0))

            color = color.astype(int)
            color = color.tolist()

            draw_bounding_box(face_coordinates, rgb_image, color)
            draw_text(face_coordinates, rgb_image, emotion_mode,
                      color, 0, -45, 1, 1)

    bgr_image = cv2.cvtColor(rgb_image, cv2.COLOR_RGB2BGR)
    cv2.imshow('window_frame', bgr_image)
    if cv2.waitKey(1) & 0xFF == ord('q'):
        break


