数字图像处理:频域滤波
要求
对一副图像进行傅立叶变换,显示频谱,取其5,50,150为截至频率,进行频率域平滑,锐化,显示图像
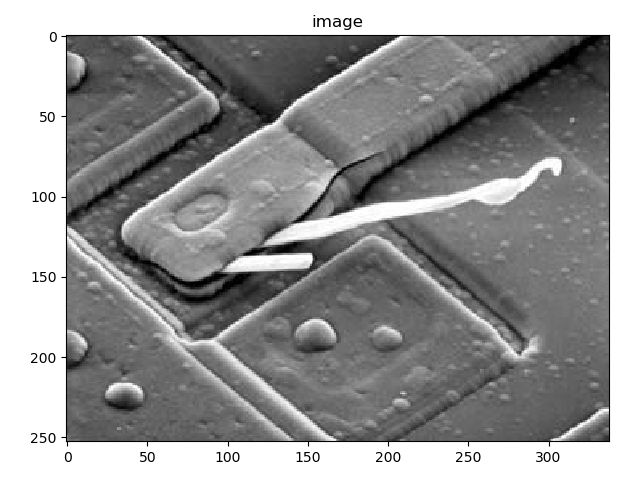
待处理图像:
傅里叶变换和反变换
使用numpy包,进行二维傅里叶变换并将FFT的DC分量移到频谱中心:
def fft(image):
    f = np.fft.fft2(image)
    # move to center
    fshift = np.fft.fftshift(f)
    return fshift
使用numpy包,先将DC分量移回,再进行二维傅里叶反变换,为了图像正常显示,取了绝对值:
def ifft(fshift):
    f1shift = np.fft.ifftshift(fshift)
    image_back = np.fft.ifft2(f1shift)
    image_back = np.abs(image_back)
    return image_back
调用:
img = cv2.imread('4_29_a.jpg', 0)
plt_show_opcv("image", img)

fft_re = fft(img)
show_re = np.log(np.abs(fft_re))
plt_show_opcv("show_re", show_re)

image_back= ifft(fft_re)
plt_show_opcv("image_back", image_back)
结果:
频率域滤波
平滑-理想低通滤波
得到理想低通滤波模板:
def get_mask(shape, r):
    mask_ = np.zeros(shape, np.uint8)
    cv2.circle(mask_, (int(shape[1] / 2), int(shape[0] / 2)), r, 255, -1)
    return mask_
使用模板进行滤波:
img = cv2.imread('4_29_a.jpg', 0)
plt_show_opcv("image", img)

fshift_re = fft(img)
show_re = np.log(np.abs(fshift_re))
plt_show_opcv("show_re", show_re)

mask = get_mask(img.shape, 40)
plt_show_opcv("mask", mask)
re = fshift_re * mask

new_img = ifft(re)
plt_show_opcv("image_back", new_img)
半径5:
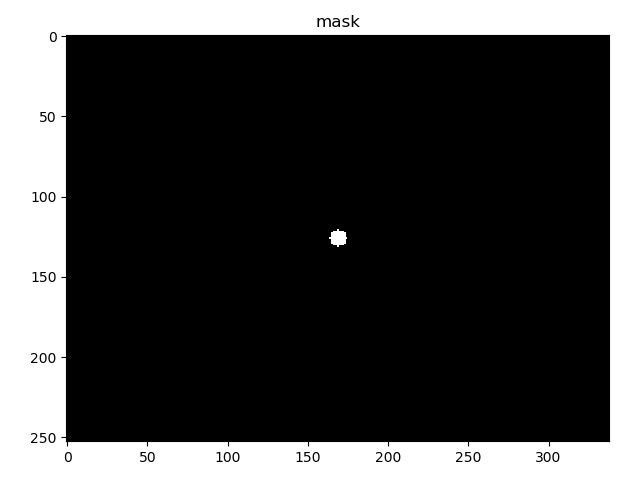
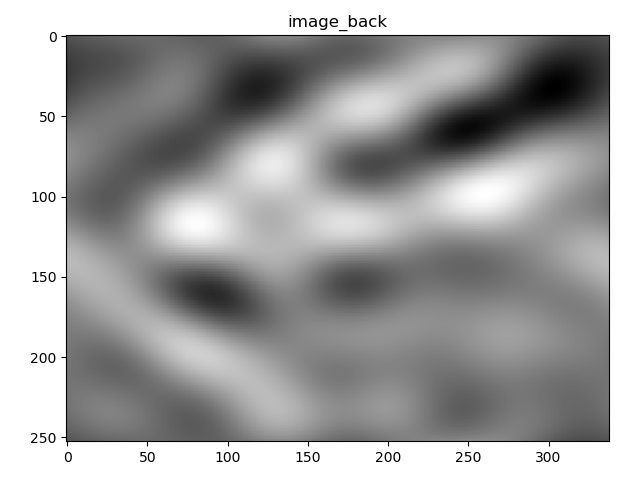
半径50:
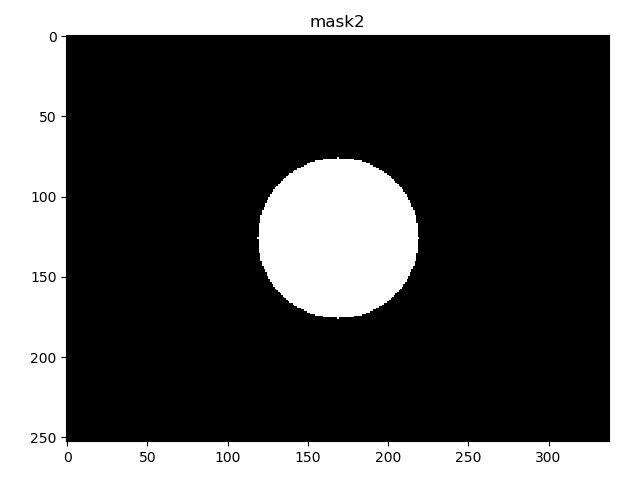
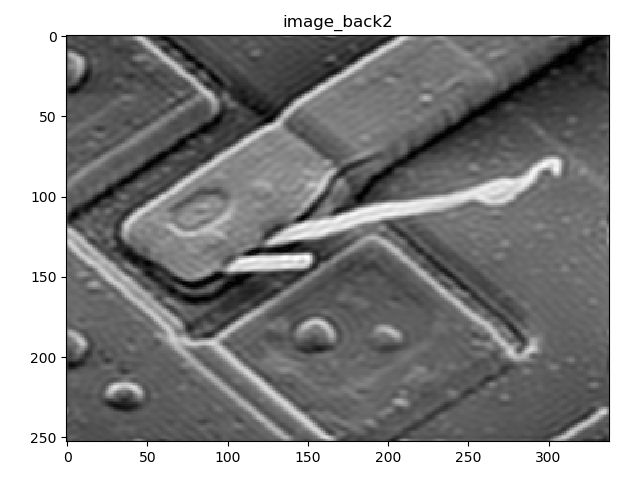
可以大致看到轮廓:
半径150:
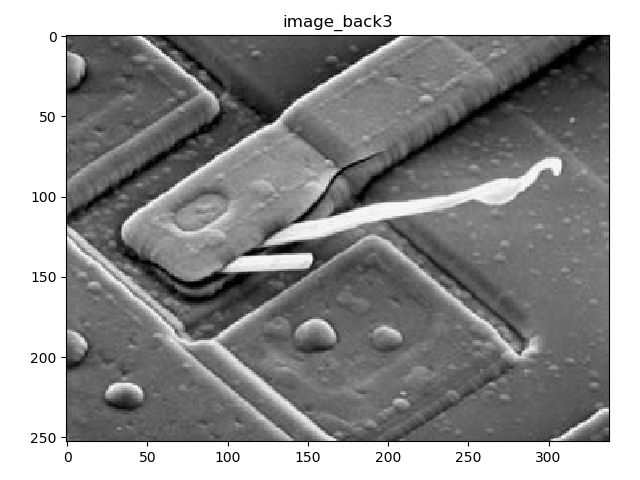
和原图差不多
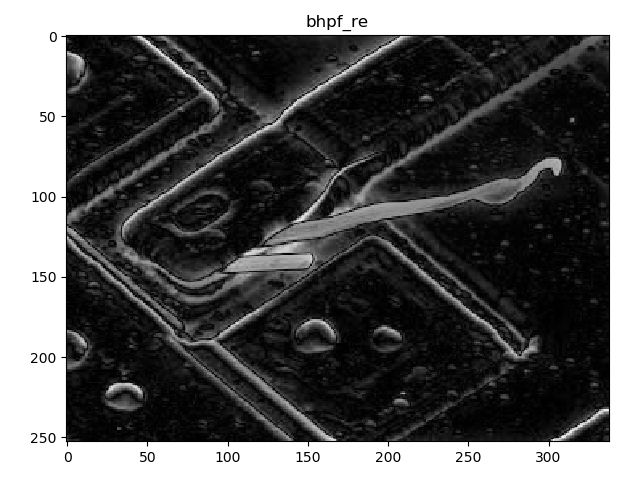
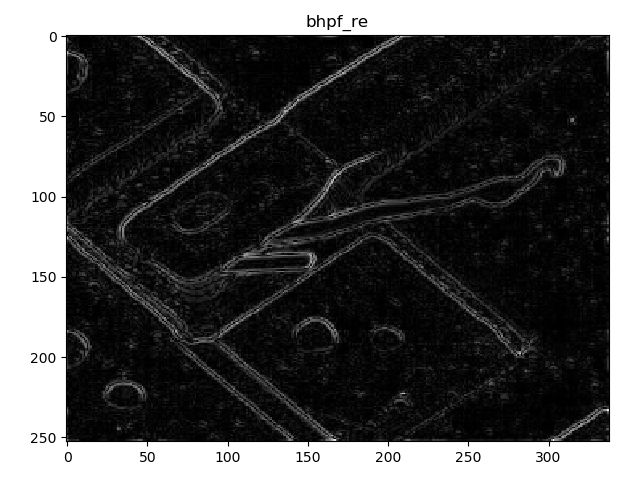
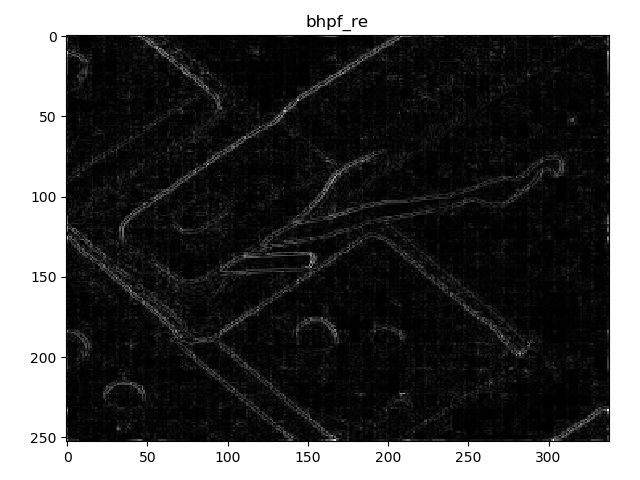
锐化-巴特沃斯高通滤波
d为频率距原点的距离为
def bhpf(image, d):
    f = np.fft.fft2(image)
    fshift = np.fft.fftshift(f)
    transfor_matrix = np.zeros(image.shape)
    M = transfor_matrix.shape[0]
    N = transfor_matrix.shape[1]
    for u in range(M):
        for v in range(N):
            D = np.sqrt((u - M / 2) ** 2 + (v - N / 2) ** 2)
            filter_mat = 1 / (1 + np.power(d / D, 2))
            transfor_matrix[u, v] = filter_mat
    new_img = np.abs(np.fft.ifft2(np.fft.ifftshift(fshift * transfor_matrix)))
    return new_img
参考
图像频域滤波与傅里叶变换
理想滤波 巴特沃兹滤波 高斯滤波
