Ansible系列(一) Centos7 安装ansible ,解决cryptography版本低引起的故障问题
今天我要安装的是三台机子,分别是:
10.0.11.134 ansible机子
10.0.11.135 clinet1
10.0.11.136 clinet2

一、使用root先登录10.0.11.134安装ansible
第一种使用pip安装ansible
#先导入yum源
[root@localhost ~]# rpm -iUvh http://mirrors.neusoft.edu.cn/epel//7/x86_64/Packages/e/epel-release-7-11.noarch.rpm[root@localhost ~]# yum install python-pip python-devel -y
[root@localhost ~]# yum install gcc glbc-devel zlib-devel rpm-build openssl-devel -y
如果没有正常安装pip则通过以下方式
--获取get-pip.py
[root@localhost ~]# curl https://bootstrap.pypa.io/get-pip.py -o get-pip.py
--安装pip
[root@localhost ~]# python get-pip.py
--升级pip至最新
[root@localhost ~]# pip install -U pip
--升级cryptography至最新
[root@localhost ~]# pip install cryptography -U
centos7默认的cryptography的版本为0.8,在被ansible调用的时候会报错,该组件为加密功能,报错信息如:

最后
--安装ansible
pip install ansible --upgrade
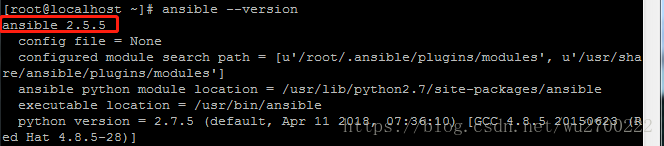
验证一下
[root@localhost ~]# ansible --version
第二种使用yum直接安装
1、 python版本需要2.6以上,不过通过centos7都会默认安装上python2.7.5,查看方法:python-V
2、添加yum 源
[root@zabbix ~]# cd /etc/yum
[root@zabbix ~]# vi ansible
复制以下内容,保存
[epel]
name = all source for ansible
baseurl =https://mirrors.aliyun.com/epel/7/x86_64/
enabled = 1
gpgcheck = 0
[ansible]
name = all source for ansible
baseurl =http://mirrors.aliyun.com/centos/7.3.1611/os/x86_64/
enabled = 1
gpgcheck = 0
3、 yum clean all
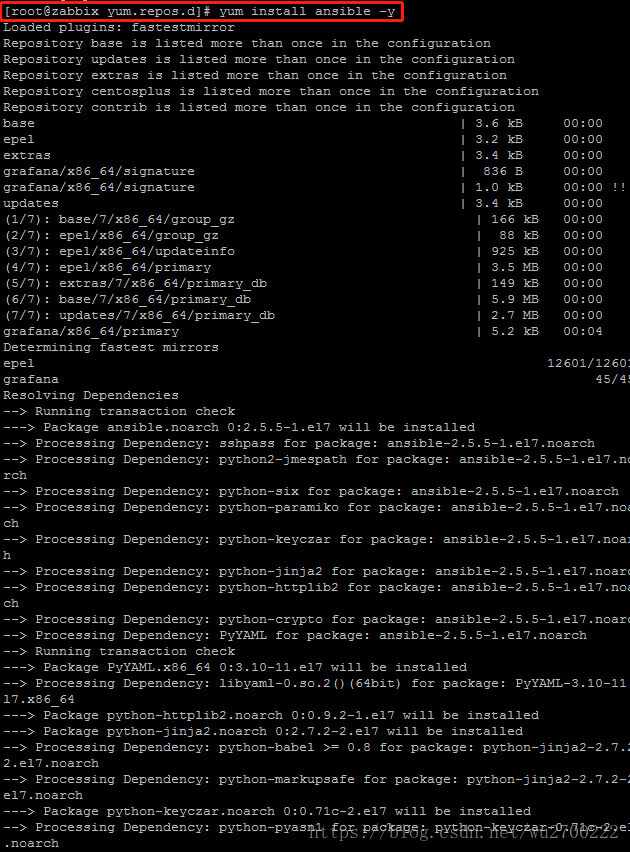
4、安装ansible:yum install ansible -y
验证:
[root@zabbix yum.repos.d]# ansible --version

二、安装ssh免秘钥登录
在10.0.11.134上生成秘钥
[root@localhost ~]# ssh-keygen -P ''
或者指定他的加密格式,默认就是rsa
[root@localhost .ssh]# ssh-keygen -t rsa
之后,会询问你是否需要输入密码。输入密码之后,以后每次都要输入密码。请根据你的安全需要决定是否需要密码,如果不需要,直接回车:

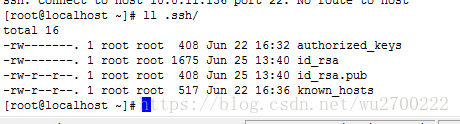
查看生成的秘钥
第一个id_rsa是私钥文件,第二个id_rsa.pub是公钥文件。
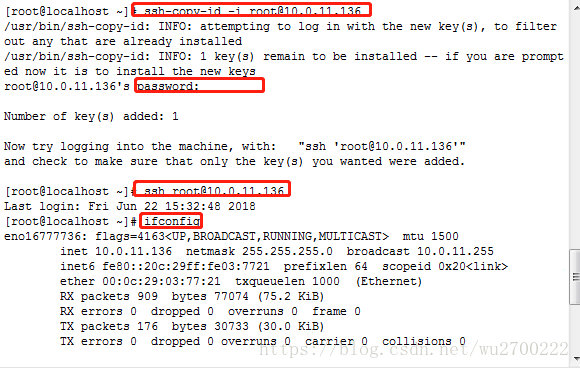
分发到其他机子
[root@localhost ~]# ssh-copy-id -i [email protected]

ok,成功了,我们测算一下是否直接ssh跳转,使用ifconfig查看跳转后的机子ip
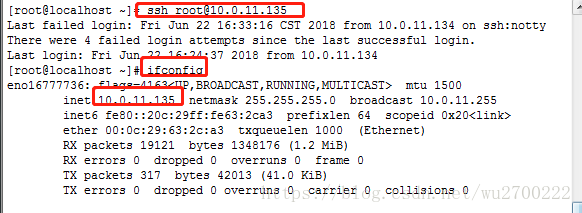
这样就完成了ssh免秘钥,136服务器一样操作
三、配置文件配置
查看配置文件路径ansible.cfg

编辑文件ansible.cfg,我们一般把主机配置改为hosts文件
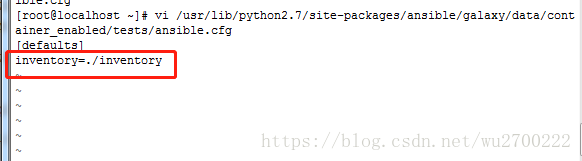
改为:

配置hosts文件
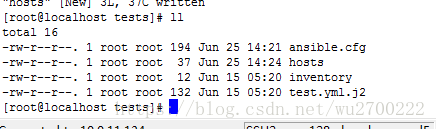
[root@localhost tests]# cd /usr/lib/python2.7/site-packages/ansible/galaxy/data/container_enabled/tests
[root@localhost tests]# ll

[root@localhost tests]# vi hosts
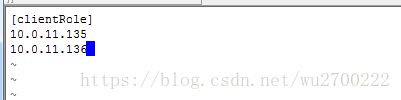
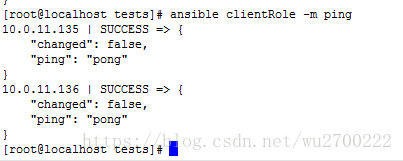
不用重启服务,输入命令测试下是否ok
[root@localhost tests]# ansible clientRole -m ping