绘制形状与文字
画线cv::line(LINE_4\LINE_8\LINE_AA)LINE_AA表示反锯齿
画椭圆cv::ellipse
画矩形cv::rectangle
画圆cv::circle
画填充cv::fillPoly
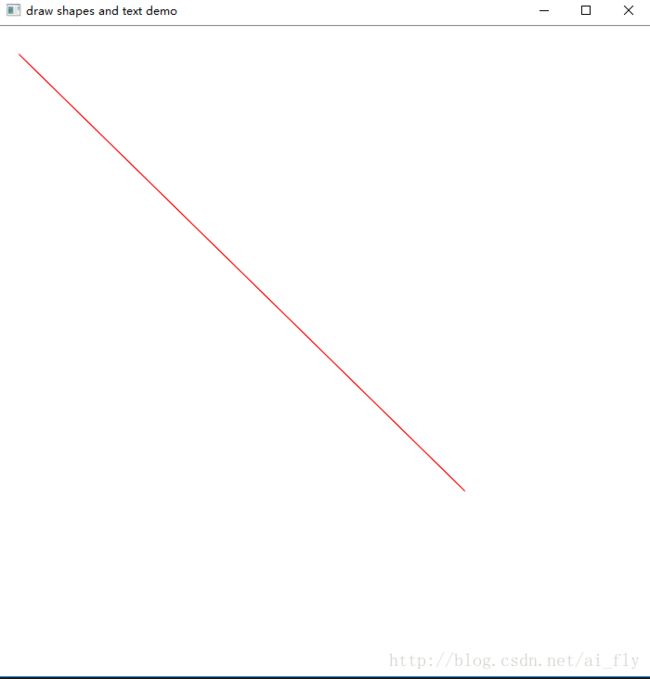
1、画线
CV_EXPORTS_W void line(InputOutputArray img, Point pt1, Point pt2, const Scalar& color,
                     int thickness = 1, int lineType = LINE_8, int shift = 0);
参数img:表示需要绘制到的图像
参数pt1, pt2:表示需要绘制线的起始和终止点
参数color:表示绘制线的颜色
参数thickness :表示绘制线的宽度
参数lineType :表示绘制线的类型
void MyLine()
{
    //point是一个点的表示,点需要有一个x坐标一个y坐标来表示,下面是两种表示方法
    Point p1 = Point(20, 30);
    Point p2;
    p2.x = 500;
    p2.y = 500;
    //定义绘制线的颜色
    Scalar color = Scalar(0, 0, 255);
    line(whiteImage, p1, p2, color, 1, LINE_AA);
}
LINE_AA相较于LINE_8,CPU多了一步渲染的工作,耗时时间相对较多一点。
相较于现在的芯片技术,这一点时间其实可以忽略,但是一般情况下,除非必要,一般还是使用LINE_8的多。
LINE_8类型的线:

LINE_AA类型的线:
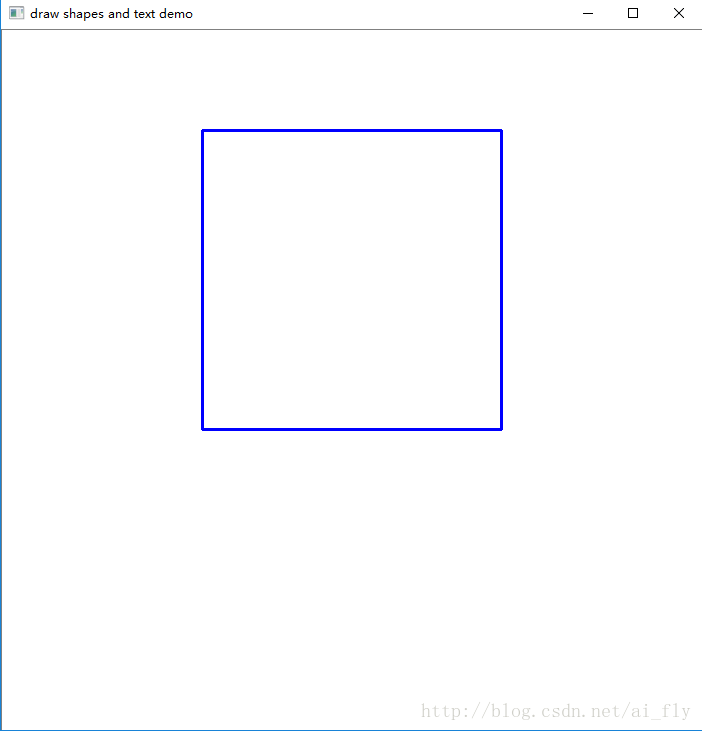
2、画矩形
Rect_<_Tp>::Rect_(_Tp _x, _Tp _y, _Tp _width, _Tp _height)
    : x(_x), y(_y), width(_width), height(_height) {}
Rect表示矩形的坐标和大小,x和y表示矩形的左上点坐标,width表示矩形的宽度,height表示矩形的高度。
CV_EXPORTS void rectangle(CV_IN_OUT Mat& img, Rect rec,
                          const Scalar& color, int thickness = 1,
                          int lineType = LINE_8, int shift = 0);
参数img:表示需要绘制到的图像
参数rec:表示绘制矩形的坐标和大小
参数color:表示绘制矩形边线的颜色
参数thickness:表示绘制矩形边线的宽度
参数lineType:表示绘制矩形边线的类型
void MyRectangle()
{
    Rect rect = Rect(200, 100, 300, 300);
    Scalar color = Scalar(255, 0, 0);
    rectangle(whiteImage, rect, color, 2, LINE_8);
}
3、画椭圆
CV_EXPORTS_W void ellipse(InputOutputArray img, Point center, Size axes,
                        double angle, double startAngle, double endAngle,
                        const Scalar& color, int thickness = 1,
                        int lineType = LINE_8, int shift = 0);
参数img:表示需要绘制到的图像
参数center:表示绘制的椭圆的中心
参数Size:表示绘制椭圆的长短半轴的大小
参数angle:表示绘制椭圆的角度
参数startAngle,endAngle:表示绘制椭圆的起始和终止的角度
参数color:表示绘制椭圆边线的颜色
参数thickness:表示绘制椭圆边线的宽度
参数lineType:表示绘制椭圆边线的类型
void MyEllipse()
{
    Scalar color = Scalar(0, 255, 0);
    ellipse(whiteImage, Point(whiteImage.cols / 2, whiteImage.rows / 2), Size(whiteImage.cols / 4, whiteImage.rows / 8), 90, 0, 360, color, 2, LINE_8);
}
ellipse(whiteImage, Point(whiteImage.cols / 2, whiteImage.rows / 2), Size(whiteImage.cols / 4, whiteImage.rows / 8), 45, 0, 180, color, 2, LINE_8);
4、画圆
CV_EXPORTS_W void circle(InputOutputArray img, Point center, int radius,
                       const Scalar& color, int thickness = 1,
                       int lineType = LINE_8, int shift = 0);
参数img:表示需要绘制到的图像
参数center:表示绘制的圆的中心
参数radius:表示绘制圆的半径
参数color:表示绘制圆边线的颜色
参数thickness:表示绘制圆边线的宽度
参数lineType:表示绘制圆边线的类型
void MyCircle()
{
    Scalar color = Scalar(0, 255, 255);
    Point center = Point(whiteImage.cols / 2, whiteImage.rows / 2);
    circle(whiteImage, center, 150, color, 2, 8);
}
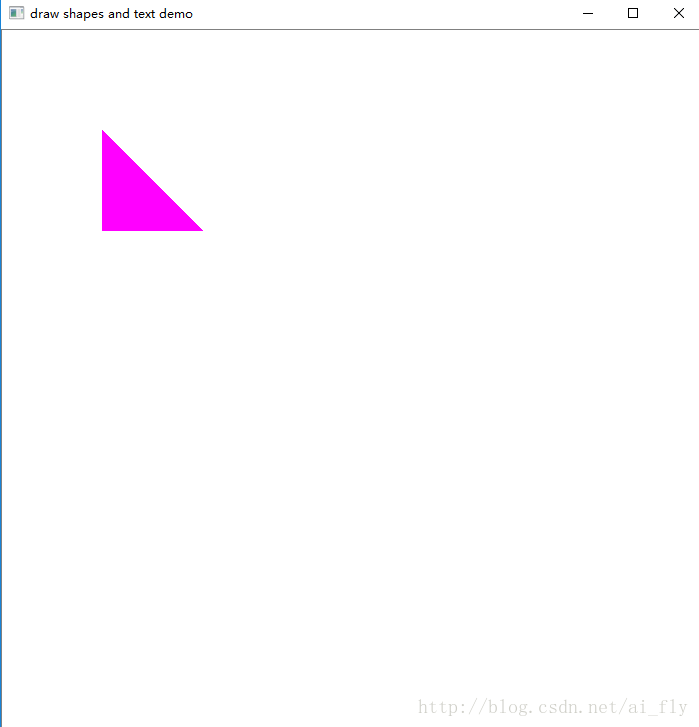
5、多边形填充
CV_EXPORTS void fillPoly(Mat& img, const Point** pts,
                         const int* npts, int ncontours,
                         const Scalar& color, int lineType = LINE_8, int shift = 0,
                         Point offset = Point() );
参数img:表示需要绘制到的图像
参数pts:表示多边形各个点的坐标值(需要二维数组)
参数npts:起始点的指针
参数ncontours:多边形的边的数量
参数color:表示绘制多边形边线的颜色
参数thickness:表示绘制多边形边线的宽度
参数lineType:表示绘制多边形边线的类型
void MyPolygon()
{
    Point pts[1][4];
    pts[0][0] = Point(100, 100);
    pts[0][1] = Point(100, 200);
    pts[0][2] = Point(200, 200);
    pts[0][3] = Point(200, 100);

    const Point* ppts[] = { pts[0] };
    int npt[] = { 4 };
    Scalar color = Scalar(255, 0, 255);

    fillPoly(whiteImage, ppts, npt, 1, color, 8);
}
void MyPolygon()
{
    Point pts[1][4];
    pts[0][0] = Point(100, 100);
    pts[0][1] = Point(100, 200);
    pts[0][2] = Point(200, 200);
    pts[0][3] = Point(200, 100);

    const Point* ppts[] = { pts[0] };
    int npt[] = { 3 };
    Scalar color = Scalar(255, 0, 255);

    fillPoly(whiteImage, ppts, npt, 1, color, 8);
}
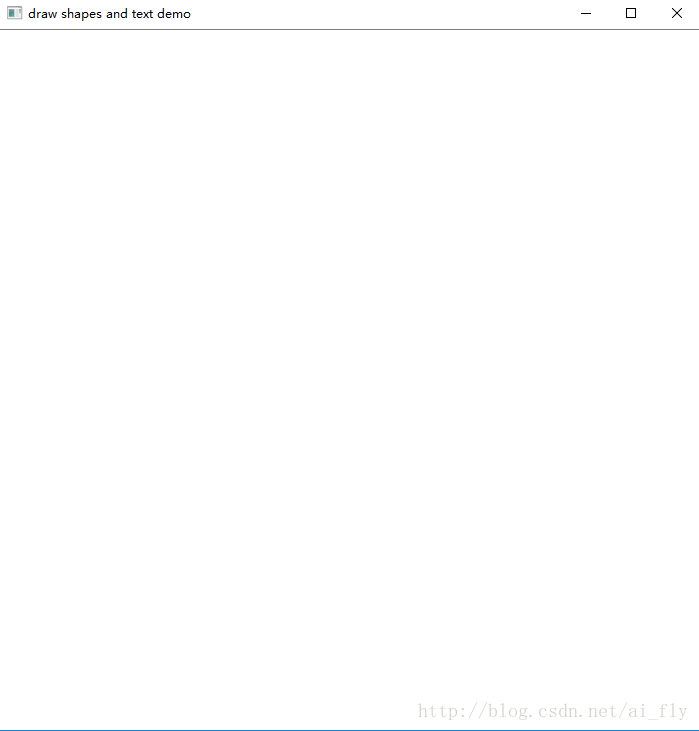
void MyPolygon()
{
    Point pts[1][4];
    pts[0][0] = Point(100, 100);
    pts[0][1] = Point(100, 200);
    pts[0][2] = Point(200, 200);
    pts[0][3] = Point(200, 100);

    const Point* ppts[] = { pts[1] };
    int npt[] = { 4 };
    Scalar color = Scalar(255, 0, 255);

    fillPoly(whiteImage, ppts, npt, 1, color, 8);
}
完全的空白,多边形不闭合。
6、标注文字
CV_EXPORTS_W void putText( InputOutputArray img, const String& text, Point org,
                         int fontFace, double fontScale, Scalar color,
                         int thickness = 1, int lineType = LINE_8,
                         bool bottomLeftOrigin = false );
参数img:表示需要绘制到的图像
参数text:需要表示的文本
参数org:文字左上点的坐标值
参数fontFace:文字类型
参数fontScale:文字缩放大小
参数thickness:表示绘制文字边线的宽度
参数lineType:表示绘制文字边线的类型
putText(whiteImage, "Hello OpenCV", Point(300, 300), CV_FONT_HERSHEY_COMPLEX, 1.0, Scalar(12, 23, 200), 2, 8);
7、绘制随机直线
随机数生成cv::RNG生成高斯随机数gaussian(double sigma),生成正态分布随机数uniform(int a,int b)
void RandomLineDemo()
{
    RNG rng(12345);
    Point pt1;
    Point pt2;
    for (int i = 0; i < 100000; i++)
    {
        //保证随机数不会超过原图像的长和宽
        pt1.x = rng.uniform(0, whiteImage.cols);
        pt2.x = rng.uniform(0, whiteImage.cols);
        pt1.y = rng.uniform(0, whiteImage.rows);
        pt2.y = rng.uniform(0, whiteImage.rows);

        Scalar color = Scalar(rng.uniform(0, 255), rng.uniform(0, 255), rng.uniform(0, 255));
        if (waitKey(50) > 0)
        {
            break;
        }
        line(whiteImage, pt1, pt2, color, 1, 8);
        namedWindow(drawdemo_win, CV_WINDOW_AUTOSIZE);
        imshow(drawdemo_win, whiteImage);
    }
}
(随便画了一部分就停了)