Shader 实现颜色轮盘效果
一、效果
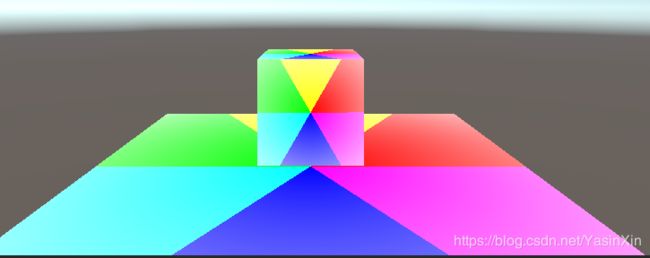
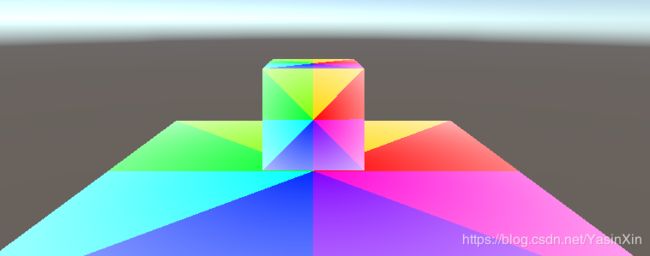
如下,可以根据设置实现颜色的块数
二、实现方法
1.新建一个Unlitshader做模板
2.色轮的变化需要使用hsb的色彩模式,所以先从网上找一个hsb转rgb的函数
			fixed3 hsb2rgb(fixed3 c) {
				fixed3 rgb = clamp(abs(fmod(c.x*6.0 + fixed3(0.0, 4.0, 2.0),
					6.0)-3.0)-1.0,0.0,1.0);
				rgb = rgb * rgb*(3.0 - 2.0 * rgb);
				return c.z * lerp(fixed3(1.0,1.0,1.0), rgb, c.y);
			}
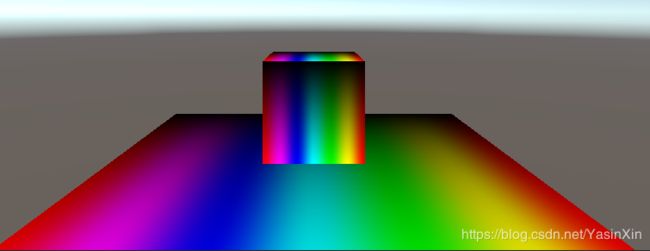
然后再frag函数中把uv对应到hsb的色相和亮度,饱和度默认为1,如下
            fixed4 frag (v2f i) : SV_Target
            {
                fixed4 col = fixed4(hsb2rgb(fixed3(i.uv.x, 1, i.uv.y)), 1);

                return col;
            }
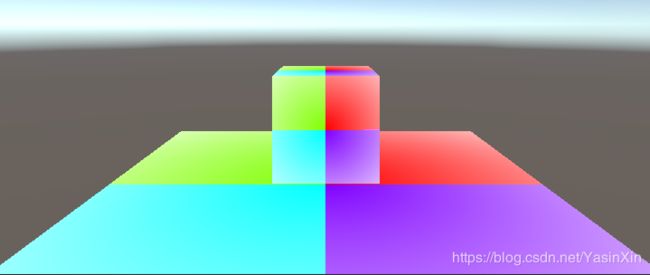
把shader赋给物体,这时的效果如下
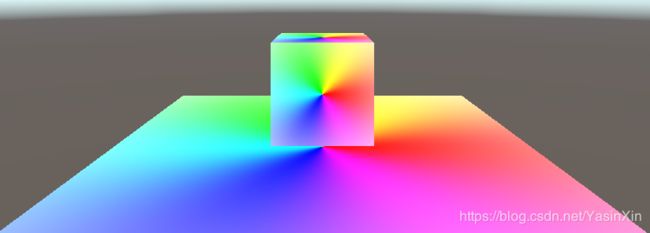
3.把色相的变化转为圆的变换
1)把坐标中心移到(0.5,0.5),即为圆的中心
2)使用 length() 函数得出点再当前坐标的长度,为使离原点越近的地方饱和度越高,所以使用1 - radius
3)利用 atan2() 求得角度
            fixed4 frag (v2f i) : SV_Target
            {
				fixed2 dir = fixed2(i.uv.x, i.uv.y) - fixed2(0.5, 0.5);
				fixed radius = length(dir);
				fixed theta = atan2(dir.y, dir.x);
				fixed s = 1 - radius;
				fixed h = theta / (2 * 3.14) + 0.5;
                fixed4 col = fixed4(hsb2rgb(fixed3(h, s, 1)), 1);

                return col;
            }
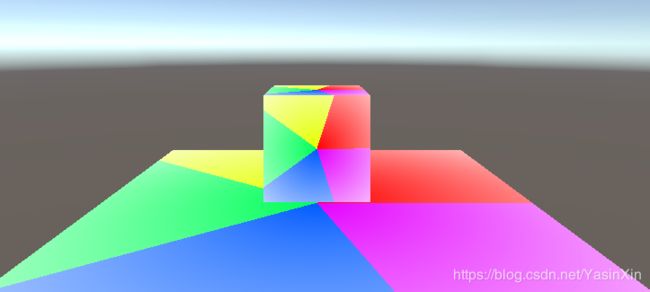
效果如下
4.实现颜色分块效果
在Properties声明一个外部调用的整数ColorPart
_ColorPart("ColorPart", int) = 6
再使用 floor() 函数去尾求整
            fixed4 frag (v2f i) : SV_Target
            {
				fixed2 dir = fixed2(i.uv.x, i.uv.y) - fixed2(0.5, 0.5);
				fixed radius = length(dir);
				fixed theta = atan2(dir.y, dir.x);
				fixed s = 1 - radius;
				fixed h = theta / (2 * 3.14) + 0.5;
                fixed4 col = fixed4(hsb2rgb(fixed3(floor(h * _ColorPart) / _ColorPart, s, 1)), 1);

                return col;
            }
这样只需要设置ColorPart参数就能实现颜色分块了
三、完整代码
Shader "Unlit/ColorWheel"
{
    Properties
    {
        _MainTex ("Texture", 2D) = "white" {}
		_ColorPart("ColorPart", int) = 6
    }
    SubShader
    {
        Tags { "RenderType"="Opaque" }
        LOD 100

        Pass
        {
            CGPROGRAM
            #pragma vertex vert
            #pragma fragment frag

            #include "UnityCG.cginc"

            struct appdata
            {
                float4 vertex : POSITION;
                float2 uv : TEXCOORD0;
            };

            struct v2f
            {
                float2 uv : TEXCOORD0;
                float4 vertex : SV_POSITION;
            };

			fixed3 hsb2rgb(fixed3 c) {
				fixed3 rgb = clamp(abs(fmod(c.x*6.0 + fixed3(0.0, 4.0, 2.0),
					6.0) - 3.0) - 1.0, 0.0, 1.0);
				rgb = rgb * rgb*(3.0 - 2.0 * rgb);
				return c.z * lerp(fixed3(1.0, 1.0, 1.0), rgb, c.y);
			}

            sampler2D _MainTex;
            float4 _MainTex_ST;
			fixed _ColorPart;
            v2f vert (appdata v)
            {
                v2f o;
                o.vertex = UnityObjectToClipPos(v.vertex);
                o.uv = TRANSFORM_TEX(v.uv, _MainTex);
                UNITY_TRANSFER_FOG(o,o.vertex);
                return o;
            }

            fixed4 frag (v2f i) : SV_Target
            {
				fixed2 dir = fixed2(i.uv.x, i.uv.y) - fixed2(0.5, 0.5);
				fixed radius = length(dir);
				fixed theta = atan2(dir.y, dir.x);
				fixed s = 1 - radius;
				fixed h = theta / (2 * 3.14) + 0.5;
                fixed4 col = fixed4(hsb2rgb(fixed3(floor(h * _ColorPart) / _ColorPart, s, 1)), 1);

                return col;
            }
            ENDCG
        }
    }
}
