Proteus8.9 VSM Studio Keil编译器仿真AT89C51RD2系列026_lcdLM4287
一,打开文件(可以随文下载放置在文档中打开)。(如下图1所示)

图1
二,调整原理图大小,适合可视,另存工程文件。(如下图2,3,4所示)
图2

图3
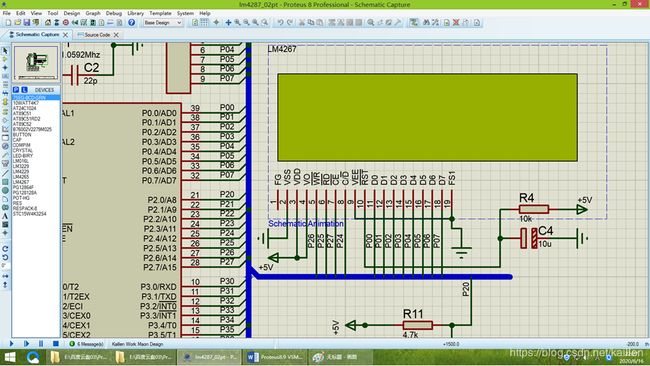
图4
三,点击Source Code标签。(如下图5所示)

图5
四,编辑main.c 代码如Proteus8.9 VSM Studio Keil编译器仿真AT89C51RD2系列026_lcdLM4287 (如下图6所示)
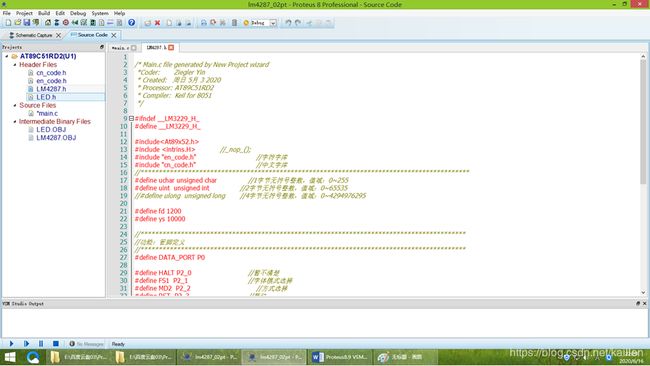
图6
五,Main.c 代码:
/* Main.c file generated by New Project wizard
*Coder: Ziegler Yin
- Created: 周日 5月 3 2020
- Processor: AT89C51RD2
- Compiler: Keil for 8051
*/
#include “LM4287.h”
#include “LED.h”
unsigned char a=0;
void main(void)
{
lcd_init(); //LM4287液晶屏初始化
clr_lcd(0,0,240*128/64); //清屏
while(1)
{
write_lcd(2,0, “按钮及LED灯状态:”);
if(S10) {
delay(1000);
if(S10) {a++;delay(20000);}
}
switch(a){
case 0:P1=0xff;write_lcd(20,0, “初始状态”);break;
case 1:P1=0x00;write_lcd(40,0, “按1下:全亮”);break;
case 2:case1();write_lcd(40,0, “按2下:全部闪烁”);break;
case 3:case3();write_lcd(40,0, “按3下:左右流水灯”);break;
case 4:case2();write_lcd(40,0, “按4下:右左流水灯”);break;
case 5:case4();write_lcd(40,0, " ");;break;
default:a=0;P1=0xff;clear_lcd();break;
}
}
}
LM4287.h:
/* Main.c file generated by New Project wizard
*Coder: Ziegler Yin
- Created: 周日 5月 3 2020
- Processor: AT89C51RD2
- Compiler: Keil for 8051
*/
#ifndef _LM4287_H
#define _LM4287_H
#include
#include
#include “en_code.h” //字符字库
#include “cn_code.h” //中文字库
//******************************************************************************************
#define uchar unsigned char //1字节无符号整数,值域:0~255
#define uint unsigned int //2字节无符号整数,值域:0~65535
//#define ulong unsigned long //4字节无符号整数,值域:0~4294976295
#define fd 1200
#define ys 10000
//*****************************************************************************************
//功能:管脚定义
//*****************************************************************************************
#define DATA_PORT P0
#define HALT P2_0 //暂不清楚
#define FS1 P2_1 //字体模式选择
#define MD2 P2_2 //方式选择
#define RST P2_3 //复位
#define CD P2_4 //数据(L)/命令(H)选择
#define READ P2_5 //读,低电平有效
#define WRIT P2_6 //写,低电平有效
#define CE P2_7 //使能,低电平有效
sbit S1=P2^0;
void delay_lcd(uchar t);
void write_data(uchar dat);
void write_com(uchar com);
void lcd_init(void);
void clr_lcd(uchar x,uchar y,uint length);
void clear_lcd(void);
//*****************************************************************************************
//功能:指定位置向LCD写入指定字符
//*****************************************************************************************
void write_lcd(uchar x, uchar y, char *cha);
#endif
六,点击构建工程按钮,编译工程。(如下图7所示)
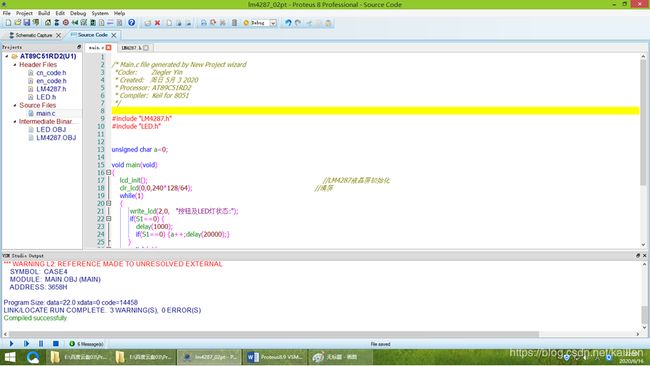
图7
七,点击窗口左下方仿真按钮,可见lcdLM4287屏上信息显示在屏。 (如下图8,9,10所示)
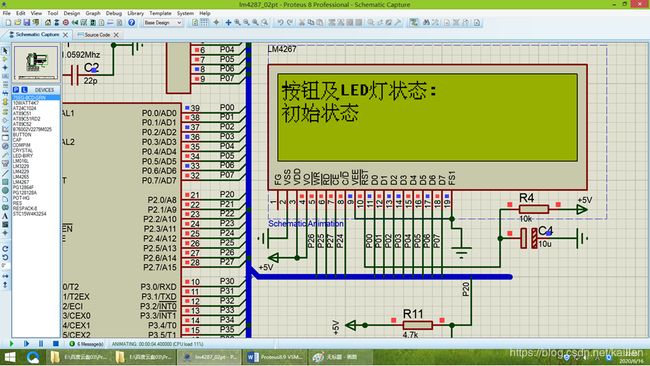
图8
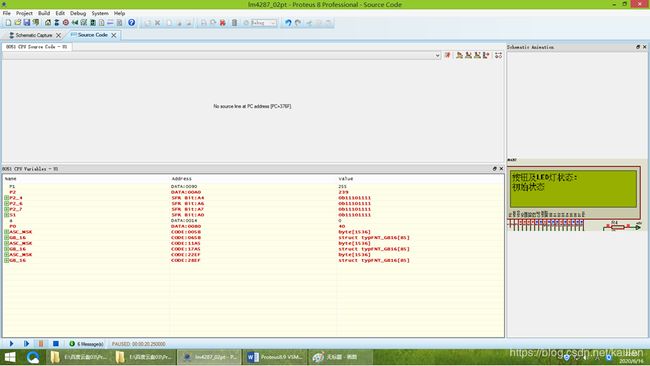
图9

图10
八,选择release,点击构建工程按钮,编译工程生成Hex文件。(如下图11所示)
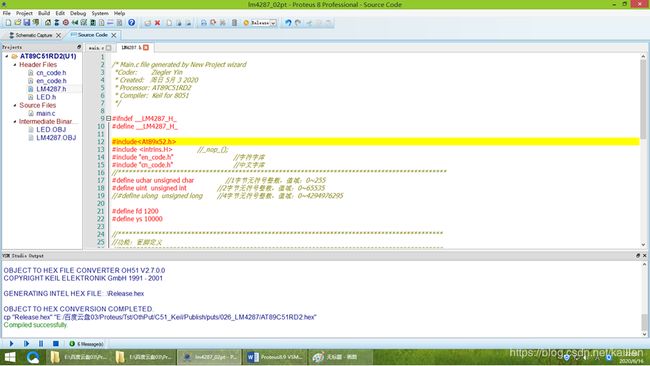
图11
九, 系列的001-003虚拟仿真与开发板对应已证明:虚拟仿真程序对于开发板有效,之后不再➕上下载到开发板的介绍。
附件下载:https://download.csdn.net/download/kaillen/12528230
Proteus8.9 SP2下载:https://download.csdn.net/download/kaillen/12459968
附件Proteus8.9 VSM Studio Keil编译器仿真AT89C51RD2系列026_lcdLM4287在已安装Proteus8.9的计算机文件夹中打开即可
需要进一步了解,请加入QQ群:976235464