使用Golang对图像进行透明度处理
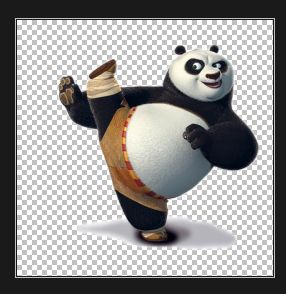
Befor(Opacity:None):
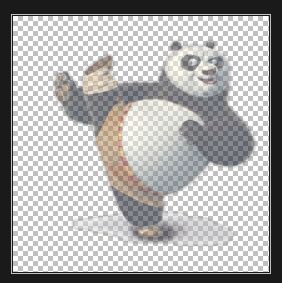
After(Opacity:50%):
直接上代码:
1、读取图像:
//至于为啥用RGBA64,因为任性

//输入图像文件路径,返回 *image.RGBA64 结果
func OpenFileIntoImage(fileName string)  (*image.RGBA64, error){
	f, err := os.Open(fileName)
	if err != nil {
		return nil, err
	}
	defer func() {
		_ = f.Close()
	}()
	//自作聪明检查文件类型
	split := strings.Split(fileName, ".")
	if len(split) <= 1 {
		return nil, fmt.Errorf("i don't think selected file is not a normal png or jpeg image: %s", fileName)
	}
	imageType := split[len(split)-1]
	var imgRes *image.RGBA64
	switch imageType {
	case "jpg", "jpeg":
		img, err := jpeg.Decode(f)
		if err != nil {
			return nil, err
		}
		imgRes = ImageTypeToRGBA64(&img)
	case "png":
		img, err := png.Decode(f)
		if err != nil {
			return nil, err
		}
		imgRes = ImageTypeToRGBA64(&img)
	default:
		return nil, fmt.Errorf("this image format is unknown or not supported yet: %v", imageType)
	}
	return imgRes, nil
}

//Image转换为image.RGBA64
func ImageTypeToRGBA64(m *image.Image) *image.RGBA64 {
	bounds := (*m).Bounds()
	dx := bounds.Dx()
	dy := bounds.Dy()
	newRgba := image.NewRGBA64(bounds)
	for i := 0; i < dx; i++ {
		for j := 0; j < dy; j++ {
			colorRgb := (*m).At(i, j)
			r, g, b, a := colorRgb.RGBA()
			nR := uint16(r)
			nG := uint16(g)
			nB := uint16(b)
			alpha := uint16(a)
			newRgba.SetRGBA64(i, j, color.RGBA64{R: nR, G: nG, B: nB, A: alpha})
		}
	}
	return newRgba
}2、改变透明度:
//将输入图像m的透明度变为原来的倍数。若原来为完成全不透明,则percentage = 0.5将变为半透明
func OpacityAdjust(m *image.RGBA64, percentage float64) *image.RGBA64 {
	bounds := m.Bounds()
	dx := bounds.Dx()
	dy := bounds.Dy()
	newRgba := image.NewRGBA64(bounds)
	for i := 0; i < dx; i++ {
		for j := 0; j < dy; j++ {
			colorRgb := m.At(i, j)
			r, g, b, a := colorRgb.RGBA()
			opacity := uint16(float64(a)*percentage)
			//颜色模型转换,至关重要!
			v := newRgba.ColorModel().Convert(color.NRGBA64{R: uint16(r), G: uint16(g), B: uint16(b), A: opacity})
			//Alpha = 0: Full transparent
			rr, gg, bb, aa := v.RGBA()
			newRgba.SetRGBA64(i, j, color.RGBA64{R: uint16(rr), G: uint16(gg), B: uint16(bb), A: uint16(aa)})
		}
	}
	return newRgba
}
3、补充:
//保存image.RGBA64为png文件
func SaveImage(fileName string, m *image.RGBA64) {
	f, err := os.Create(fileName)
	if err != nil {
		panic(err)
	}
	defer func() {
		_ = f.Close()
	}()

	err = png.Encode(f, m)
	if err != nil {
		panic(err)
	}
}
4、测试
imgPath := `./panda.png`
img, err := OpenFileIntoImage(imgPath)
if err != nil {
	panic(err)
}

SaveImage("./src.png", img)

img2 := OpacityAdjust(img, 0.5)

SaveImage(p+"opacity50Percent.png", img2)
5、小字部分
总结一下,最大的坑就是要知道“预乘透明度(Premultiplied Alpha)”这个概念。知道这个,相信大家不出一会儿就能完美实现这个我花了一晚上才搞定的功能。。。
因为赶时间,所以没有详细地分享探索官方库image.Color相关包的整个过程。后续有空了我会将自己在探究本文主题过程中的心得体会补充上来,与大家交流。