微信小程序webgl+Three.js初试水(一)
微信小程序webgl + Three.js初试水
最近公司找我提供一个demo,想要在微信小程序上实现一个大家在商场那些口红机会经常碰到的游戏—“转盘插刀”。
玩法很简单,屏幕中间有一个转盘一直在转,下方会出现一把刀或者其他柱状的物体,用户点击屏幕,刀就会直飞直到插到转盘,要是插的位置已经有其他刀或者物体了,就算作失败。
技术选型
看到这个需求的时候,脑子里第一想法是用canvas做,但是微信小程序canvas的效果感人,轻易不敢用,一个不小心手机就容易发烫。用小程序的自带的各种标签配合css3动画也能实现,但是想到这个玩法里会有碰撞之类的需要做检测(插上转盘、碰到别的刀或物体)可能直接用标签不太好实现。
微信小程序在2.7.0库下的canvas新增了WebGL的支持,实现了WebGL1.0协议定义的所有属性和方法(文档入口https://developers.weixin.qq.com/miniprogram/dev/api/canvas/RenderingContext.html)
在之前有接触过一段时间的three.js所以就想用webgl来实现,顺便看看小程序上webgl的实现效果如何。
小程序获取到webgl绘图上下文
首先创建一个小程序项目,并在index.wxml内使用canvas标签注意type属性要设置为webgl
根据官方的文档,type为webgl的canvas要用wx.createSelectorQuery().select().node()拿到的节点来获取
var query = wx.createSelectorQuery().select('#webgl').node();
            query.exec((res) => {
                let canvas = res[0].node;
            });
补充:微信文档中canvas的绘图上下文要通过canvas.getContext(‘webgl’)来获取。而这个上下文的获取,就交给了three来处理,我们只需要在three中修改绘图上下文的获取方式即可。
到这里,我们就拿到了canvas的绘图上下文,我们在代码里log一下看下有没有成功,注意开发者工具当前要是用Nightly版的才能在模拟器上拿到canvas绘图上下文
引入three.js
说到webgl,大部分前端第一时间就会想到three.js,原生的three.js由于小程序没有dom的接口,不能在小程序直接用,需要经过一些改装才能正常使用,好在已经有大神分享了改造过的three.js,原理大概就是将three里用到的document.createElementNS()或者其他的document方法进行改造,基本上在小程序都会有替代的方法,有兴趣的朋友可以自己尝试直接引用原生的three.js根据小程序报的错一个一个修改试试,我在这里就不在多做累赘了,引用的库可以在文末的github地址下载。
我们在index内直接require three.js
var THREE = require('../../utils/three')
保存,如果引入成功,我们可以看到three.js log的版本信息:
![]()
至此,前期的准备工作完成
补充:我们在拿到canvas的上下文之后要记得手动设置canvas的宽高:
            var query = wx.createSelectorQuery().select('#webgl').node();
            query.exec((res) => {
                let canvas = res[0].node;
                requestAnimationFrame = canvas.requestAnimationFrame;
                // 屏幕宽高*dpi
                // 在app.js里保存SystemInfo
                canvas.width = app.SystemInfo.windowWidth * app.SystemInfo.pixelRatio;
                canvas.height = (app.SystemInfo.windowHeight) * app.SystemInfo.pixelRatio;
                canvas.style = {};
                canvas.style.width = canvas.width;
                canvas.style.height = canvas.height;
                console.log('canvas', canvas);
                main = new Main(canvas);
            });
游戏模块构建
整个游戏,主要分三个组成部分:
- 游戏主舞台:控制游戏各部分内容加载,控制游戏逻辑
- 转盘类:生成游戏转盘、控制转盘转动
- 飞刀类:生成飞刀、控制飞刀飞行
游戏主舞台
游戏主舞台需要初始化three的场景、灯光等元素:
var requestAnimationFrame;
class GameMain {
	canvas = null
    constructor(canvas) {
    	this.canvas = canvas;
    	// 只有canvas的上下文中才有requestAnimationFrame方法
    	requestAnimationFrame = canvas.requestAnimationFrame;
        this.init(canvas);
        this.animate();
    }

	init(canvas) {

        // this.camera = new THREE.PerspectiveCamera()
        // 2d画面,直接用正交相机
        this.camera = new THREE.OrthographicCamera(canvas.width / -2, canvas.width / 2, canvas.height / 2, canvas.height / -2, 1, 500);
        // 设置相机位置
        this.camera.position.set(0, 0, 4);
        // 创建场景
        this.scene = new THREE.Scene();
        // 设置背景色
        this.scene.background = new THREE.Color(0xffffff);
        // 设置灯光
        this.light = new THREE.PointLight(0xff0000, 1, 0);
        this.light.position.set(200, 200, 200);
        // 将灯光添加到场景
        this.scene.add(this.light);

        // group

        // 用一个group来存放后面需要加载的内容,便于统一管理
        this.mainObj = new THREE.Group();
        this.scene.add(this.mainObj);


        this.renderer = new THREE.WebGLRenderer({ canvas: canvas, antalias: true });
        this.renderer.setSize(canvas.width, canvas.height);
    }
}
three的基本构成我不在这里详细讲,大家有什么疑问的都可以去翻翻文档,这里主要讲的是requestAnimationFrame方法,不同于html,微信小程序本身不提供requestAnimationFrame方法,requestAnimationFrame的实现放在了webgl canvas的上下文中,也就是说只有2.7.0版本以后的机型才能使用requestAnimationFrame。如果你想在使用普通的canvas时,也使用requestAnimationFrame来控制画面渲染刷新,可以使用setInterval或者setTimeout来实现,之后有空再来分享。
在构造器里主要调用了两个方法:init()用于构建基本场景舞台,animate()顾名思义是刷新画面。
	animate() {
		// 下一帧的时候继续执行
        requestAnimationFrame(() => {
            this.animate();
        });

		// 执行渲染
        this.render();
   	 }

   	 // 渲染
	render() {
        this.renderer.render(this.scene, this.camera);
    }
基本的场景舞台搭建完成。
转盘类
转盘类主要是实现界面上出现转盘、转盘转动等功能,这里我想转盘类可以直接被主舞台的mainObj.add,所以转盘类可以直接继承THREE.Group
class TurnTable extends THREE.Group {
	// canvas上下文
	canvas = null
	constructor(canvas) {
        super()

        this.canvas = canvas;
        this.drawTurnTable();
    }

	radius = 100
	drawTurnTable() {
        // 纹理
        let circleTexture = THREE.TextureLoader().load(this.canvas, '/UV_Grid_Sm.jpg');
        let material = new THREE.MeshBasicMaterial({ map: circleTexture });
        // 圆
        let geometry = new THREE.CircleGeometry(this.radius, 64);

        let turnTable = new THREE.Mesh(geometry, material);
        // 添加name属性
        turnTable.name = 'table';
        // 初始位置
        turnTable.position.set(0, 0, 0);
        // 添加进group
        this.add(turnTable);
        this.position.y = 200;
    }
}
这里就实现了在一个group里添加了一个带纹理的圆面,接下来,我们尝试下在MainGame里添加这个group
// game/index.js
const TurnTable = require('./TurnTable');

class GameMain {
	...
	init(canvas) {
		...
		// 转盘
		this.turnTable = new TurnTable(canvas);

		this.mainObj.add(this.turnTable);
		...
	}
	...
}
回到page的index,我们把刚刚写好的MainGame引入
// index.js
const Main = require('./game/index');
...
			query.exec((res) => {
                let canvas = res[0].node;
                canvas.width = app.SystemInfo.windowWidth * app.SystemInfo.pixelRatio;
                canvas.height = (app.SystemInfo.windowHeight - 100) * app.SystemInfo.pixelRatio;
                canvas.style = {};
                canvas.style.width = canvas.width;
                canvas.style.height = canvas.height;
                console.log('canvas', canvas);
                // 初始化场景
                main = new Main(canvas);
            });
...
保存编译:

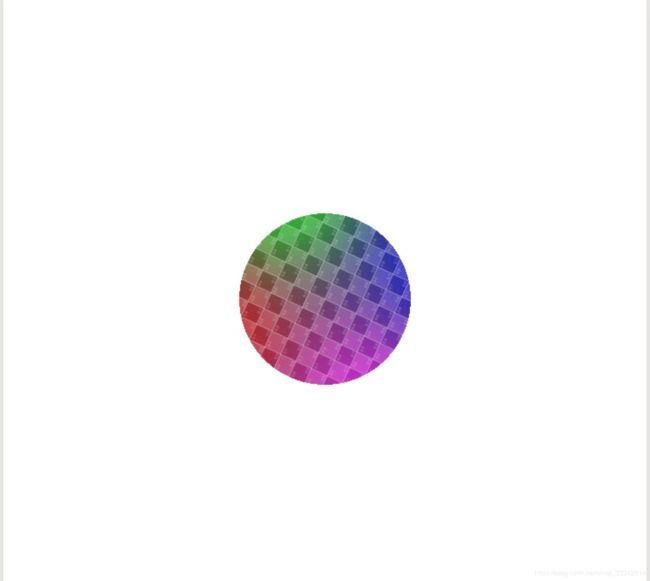
我们已经可以看到转盘在界面上渲染出来了。
既然是转盘,我们当然要让他转起来。
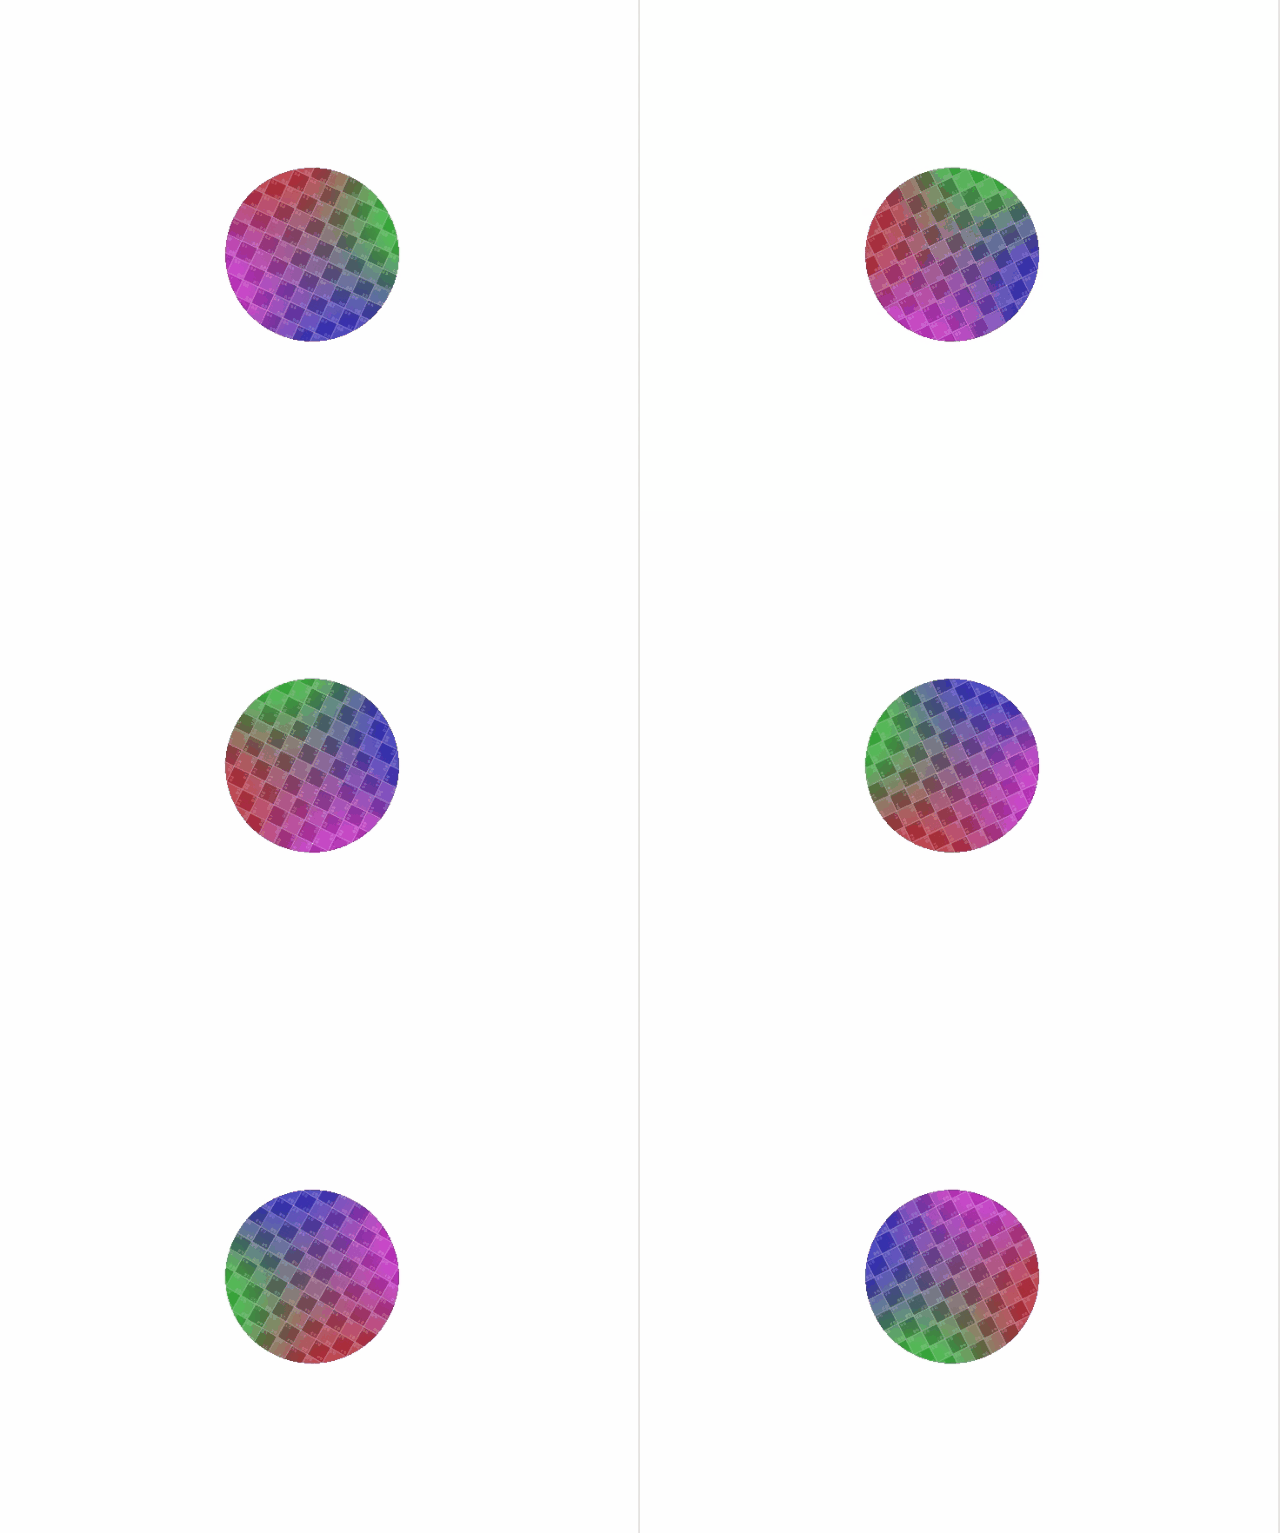
刚刚在上面说明了,转盘类是继承group的,也就是说它是有rotate方法的,我们现在需要转盘在z轴的方向上逆/顺时针旋转,那我们我们只需要在render里将创建的转盘实例执行rotateZ(deg)就可以了
/game/index
...
render() {
	if (this.turnTable) {
		// 每帧旋转0.05deg
		this.turnTable.rotateZ(0.05);
	}
}
...
第一部分先写到这里。
项目github地址:https://github.com/alanleung04/TrunTable.git

