ubuntn 16.04部署Hyperledger Explorer
参考文档:https://github.com/hyperledger/blockchain-explorer
1、环境要求
- nodejs 8.11.x(nodejs 9.x不支持)
- Postgresql 9.5以及更新版本
sudo apt update
sudo apt install postgresql postgresql-contrib
- Jq ubuntn安装
sudo apt-get install jq
2、Clone 仓库
# cd ~/go/src/github.com/hyperledger/
# git clone https://github.com/hyperledger/blockchain-explorer.git
# cd blockchain-explorer
3、数据库设置
cd blockchain-explorer/app
更改explorerconfig.json更新postgresql属性(默认即可,不需要更改)
"postgreSQL": {
	"host": "127.0.0.1",
	"port": "5432",
	"database": "fabricexplorer",
	"username": "hppoc",
	"passwd": "password"
}
执行创建数据库脚本
# cd blockchain-explorer/app/persistence/fabric/postgreSQL/db
# ./createdb.sh
如果提示permission denied,那么更改/root文件夹权限
chmod +x /root
4、启动Fabric Network
参考https://hyperledger-fabric.readthedocs.io/en/latest/build_network.html
5、配置Hyperledger Explorer
打开另一个终端
cd blockchain-explorer/app/platform/fabric
更改config.json更新网络配置
{
    "network-configs": {
        "first-network": {
            "name": "firstnetwork",
            "profile": "./connection-profile/first-network.json",
            "enableAuthentication": false
        }
    },
    "license": "Apache-2.0"
}
//“first-network”是连接配置文件的名称
//“name”是你要连接的fabric network名称
//“profile”是你的连接配置文件的路径
更改first-network.json中的连接属性
cd connection-profile/
vim first-network.json
- 更改"fabric-path"为你的fabric网络中的硬盘路径(绝对路径)
- 提供adminPrivateKey配置选项的绝对路径(原文是硬盘路径)更改后的配置文件如下(把注释去掉,这里只配置了一个节点,如果需要多个,那么添加相应的配置即可):
{
        "license": "Apache-2.0",
        "client": {
                "tlsEnable": true,
                "enableAuthentication": false,
                        "timeout": {
                                "peer": {
                                        "endorser": "300"
                        }
                }
        },
        "channels": {
                "mychannel": {
                        "peers": {
                                "peer0.org1.example.com": {}
                        },
                        "connection": {
                                "timeout": {
                                        "peer": {
                                                "endorser": "6000",
                                                "eventHub": "6000",
                                                "eventReg": "6000"
                                        }
                                }
                        }
                }
        },
        "organizations": {
                "Org1MSP": {
                        "mspid": "Org1MSP",
                        "fullpath": true,
                        "adminPrivateKey": {
                        //该参数除了更改路径外,还需要将_sk文件名改为你的相应路径下对应文件的真实文件名
                                "path": "/root/go/src/github.com/hyperledger/fabric-samples/first-network/crypto-config/peerOrganizations/org1.example.com/users/[email protected]/msp/keystore/8e23e246ec217c202df57e4525d9d9d30099067df634e666e2c6718548d33f71_sk"
                        },
                        //将"fabric-path"改为你的对应的绝对路径
                        "signedCert": {
                                "path": "/root/go/src/github.com/hyperledger/fabric-samples/first-network/crypto-config/peerOrganizations/org1.example.com/users/[email protected]/msp/signcerts/[email protected]"
                        }
                }
        },
        "peers": {
                "peer0.org1.example.com": {
                        "tlsCACerts": {
                         //将"fabric-path"改为你的对应的绝对路径
                                "path": "/root/go/src/github.com/hyperledger/fabric-samples/first-network/crypto-config/peerOrganizations/org1.example.com/peers/peer0.org1.example.com/tls/ca.crt"
                        },
                        "url": "grpcs://localhost:7051",
                        "eventUrl": "grpcs://localhost:7053",
                        "grpcOptions": {
                                "ssl-target-name-override": "peer0.org1.example.com"
                        }
                }
        }
}
6、构建hyperledger explorer
在另外一个终端:
# cd blockchain-explorer/
# ./main.sh install
//安装,执行测试,构建项目
执行上面的脚本后就会自动构建,安装,测试项目,中间可能会报错,可以尝试升级nodejs,执行到最后时会提示
> [email protected] build /root/go/src/github.com/hyperledger/blockchain-explorer/client
> react-scripts build

Creating an optimized production build...
Browserslist: caniuse-lite is outdated. Please run next command `npm update`//这里需要执行npm install命令,否则会报错。
npm update
Compiled successfully.

File sizes after gzip:

  416.03 KB  build/static/js/2.576e7ec6.chunk.js
  39.84 KB   build/static/css/2.4d976b2a.chunk.css
  29.55 KB   build/static/js/main.3fb5ccfd.chunk.js
  1006 B     build/static/css/main.9c13daa1.chunk.css
  762 B      build/static/js/runtime~main.a8a9905a.js

The project was built assuming it is hosted at the server root.
You can control this with the homepage field in your package.json.
For example, add this to build it for GitHub Pages:

  "homepage" : "http://myname.github.io/myapp",

The build folder is ready to be deployed.
You may serve it with a static server:

  npm install -g serve
  serve -s build

Find out more about deployment here:

  https://bit.ly/CRA-deploy
7、运行Hyperledger Explorer
# cd blockchain-explorer/
# ./start.sh
# ./stop.sh (it will stop the node server).
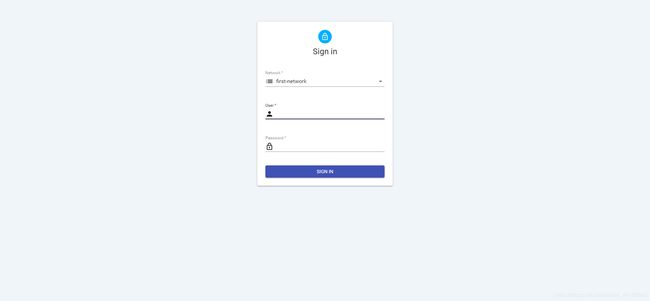
然后就可以在浏览器中打开http://YOUR_IP:8080进行访问(默认用户是"admin",密码是"adminpw",最新版本的已经不需要登录了,我是在服务器上测试的,如果是在本地,那么就访问http://localhost:8080,如果8080端口被占用,中止占用的进程后,再运行)。
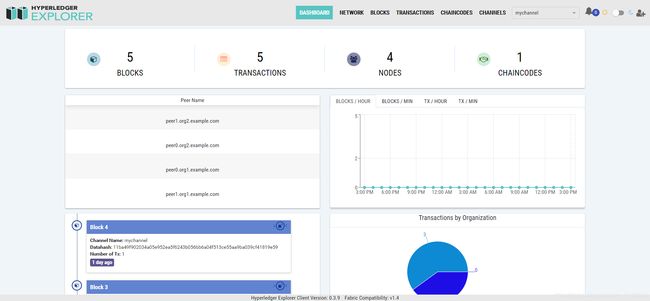
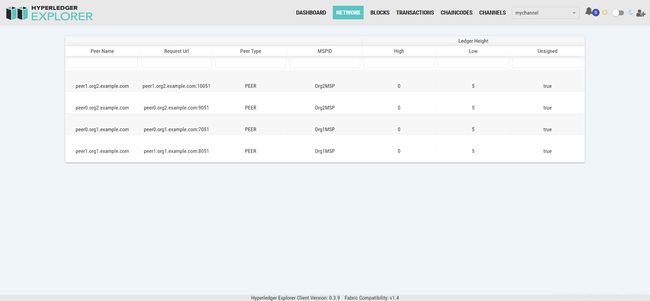
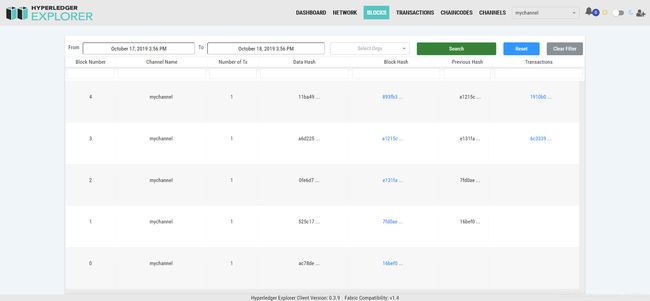
8、运行结果
问题与解决
Q: 查看日志
A: 日志文件为blockchain-explorer/logs/console目录下的console.log**
Q: ERROR: Cannot copy to clipboard: Couldn’t find the required xsel binary. On Debian/Ubuntu you can install it with: sudo apt install xsel
A: 缺少xsel二进制文件
sudo apt install xsel


