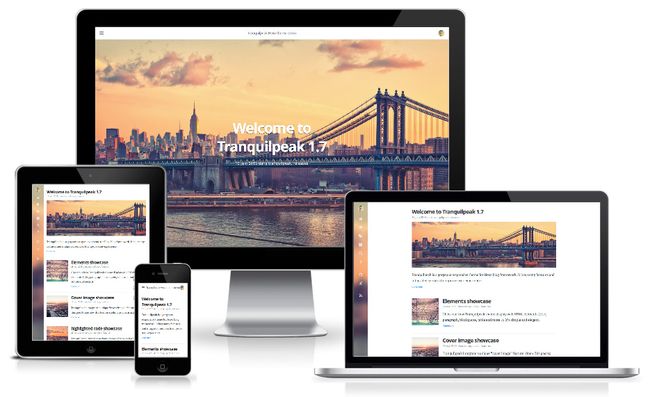
Tranilpeak主题美观,较多的自定义图片显示,适合图文并茂的博客。如何搭建Hexo博客请查看我另外一篇博客——在Github上搭建一个免费的Hexo博客系统。
主题安装
方式一:下载主题:hexo-theme-tranquilpeak-built-for-production-1.7.1,解压缩之后重命名为tanilpeak复制到你的博客themes目录下。
方式二:采用git的方式获取,这样可以随时pull最新的版本,当时不是直接git clone就行了,还需要自己build。参考Sven Flickinger的文章
cd
git submodule add https://github.com/LouisBarranqueiro/tranquilpeak-hexo-theme themes/tranquilpeak
cd themes/tranquilpeak

# install bower and grunt if not already installed
npm install -g bower grunt-cli
npm install
bower install
grunt build
Hexo的设置
hexo目录下的_config.yml修改如下设置:
theme: tranquilpeak
post_assert_folder: true
设置post_asset_folder可以使用封面,缩略图功能。
tranquilpeak设置
theme/tranquilpeak的详细配置文件_config.yml可以定制更加多的详细内容,下面进行讲解。
image_dir
默认的图片存储位置
siderbar
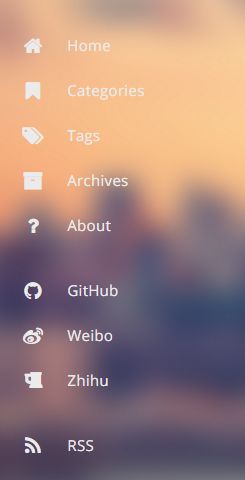
左侧的菜单项和作者链接设置在这里完成,菜单包括:home,categories,tags,archives,search,about,可以根据自己的需求增删菜单内容
sidebar:
    menu:
        home:
            title: global.home
            url: /
            icon: home
        categories:
            title: global.categories
            url: /all-categories
            icon: bookmark
        tags:
            title: global.tags
            url: /all-tags
            icon: tags
        archives:
            title: global.archives
            url: /all-archives
            icon: archive
        search:
            title: global.search
            url: /#search
            icon: search
            # `st-search-show-outputs` classes are used to open swiftype search window
            class: st-search-show-outputs
        about:
            title: global.about
            url: /#about
            icon: question
    author_links:
        github:
            title: global.github
            url: https://github.com/wenjunoy
            icon: github
- title: title只显示的题目,全局已经设定了,也可以设定自己想要的内容。
- url: url是指链接,可以是其他链接,也可以是本网站下的目录。
- icon: icon是指显示的图标。可以在Font Awesome找到你所需要的icon。
Author
author:
    email:
    location:
    picture:
    twitter:
    google_plus:
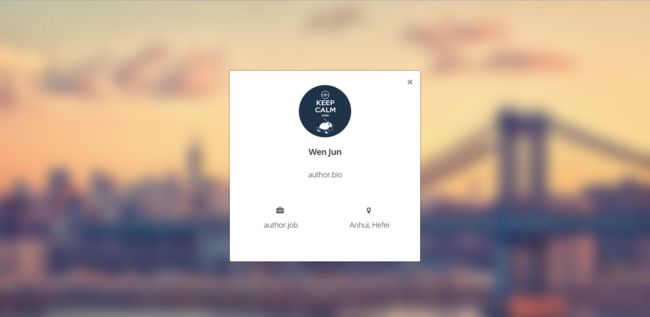
上述内容会显示在如下的作者信息中
Customization
sidebar_behavior: 1 #siderbar的样式,1-4的选择
clear_reading: true
thumbnail_image: true #是否显示缩略图
thumbnail_image_position: right #显示缩略图的位置,有right,left,bottom
auto_thumbnail_image: true #自动选择文章中第一幅图片为缩略图
cover_image: cover.jpg #背景图片
favicon: favicon.png #你的头像
image_gallery: true
archive_pagination: true #使用archives
category_pagination: true #使用分类
tag_pagination: true #使用标签
使用page页面
使用all-categories页面
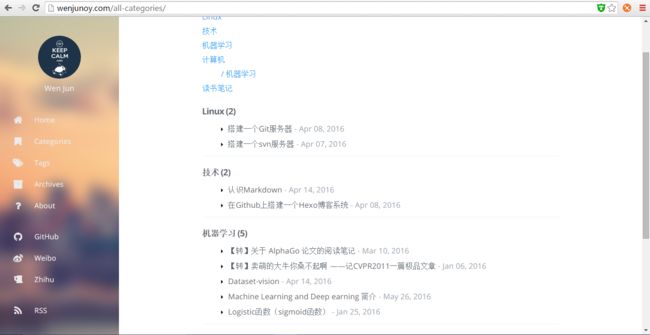
如果你对文章有分类的话,可以使用all-categories页面,更方便的查找你的文章.
hexo new page "all-categories",在source产生一个新的文件夹all-categories,文件夹内的文件index.md修改成如下:
---
title: "all-categories"
layout: "all-categories"
comments: false
---
在siderbar的categories的url就可以设置成/all-categories
使用all-tags页面
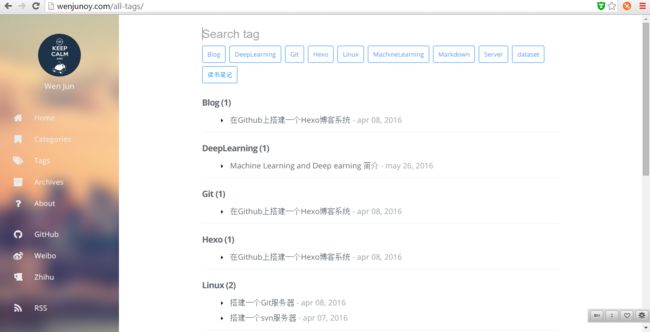
如果你对文章有标签,可以使用all-tags页面。
hexo new page "all-tags",在source产生一个新的文件夹all-tags,文件夹内的文件index.md修改成如下:
---
title: "all-tags"
layout: "all-tags"
comments: false
---
在siderbar中tags的url就可以设置成/all-tags
使用all-archives页面
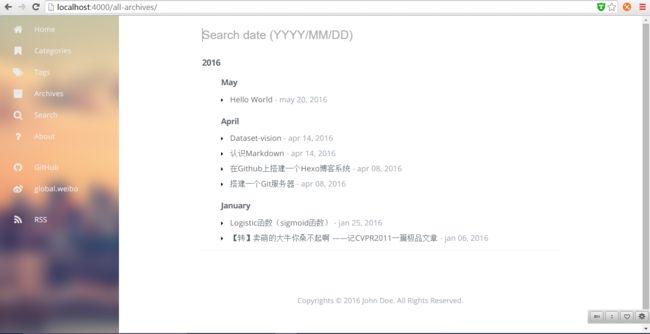
archives是对所有的文章按月份分类的,添加archives页面的方式如下:hexo new page "all-archives",在source产生一个新的文件夹all-archives,文件夹内的文件index.md修改成如下:
---
title: "all-archives"
layout: "all-archives"
comments: false
---
在siderbar中tags的url可以设置成/all-archives
个性化的文章内容
除了文章的基本内容之外,Tranquilpeak还添加了个性化的内容,例如:
title: 认识Markdown
date: 2016-04-14 09:47:13
tags:
    - Markdown
categories:
    - 技术
##tranquilpeak添加的属性
keywords:
- javascript
- hexo
clearReading: true
thumbnailImage: image-1.png
thumbnailImagePosition: right
autoThumbnailImage: yes
metaAlignment: center
coverImage: image-2.png
coverCaption: "A beautiful sunrise"
coverMeta: out
comments: false
thumbnailImage设置的是文章的缩略图,让文章更加有吸引力。thumbnailImagePosition是设置缩略图显示的位置,默认是right。autoThumbnailImage是设置是否默认的缩略图,选取文章中第一幅图作为缩略图。
coverImage是设置文章内顶部覆盖一张图片。官网给出的 例子,
coverCaption是图片的描述。
和可以设置文章在首页显示的内容,``可以设置文章的目录。
参考内容:
官方文档——User documentation
