《Qt5实战》之程序插件封装与使用(遍历插件)
1 概述
插件,英文名Plug-in,又名外挂。顾名思义就是一种遵循一定规范的应用程序接口编写出来的程序。对于使用插件的程序而言,只关心是不是插件,插件的接口是不是符合规范(双方统一)。
2 Qt插件
从qt帮助文档出发。找到“How to Create Qt Plugins”。根据文档叙述可知,针对插件开发Qt提供了两种API,一种是高阶API,用于Qt自身数据库驱动、图片格式等扩展。另一种是低阶API,用于应用程序的扩展。
- A high-level API for writing extensions to Qt itself: custom database drivers, image formats, text codecs, custom styles, etc.
- A low-level API for extending Qt applications.
这里主要针对应用程序的扩展,低阶API。应用程序需要找到并使用QPluginLoader加载封装好的插件,这里的插件需以共享库的形式封装(.so和DLL文件)。
3 插件封装
qt官方文档告诉我们,封装用于应用程序扩展的低阶API插件,包含以下步骤:
- Define a set of interfaces (classes with only pure virtual functions) used to talk to the plugins.
- Use the Q_DECLARE_INTERFACE() macro to tell Qt's meta-object system about the interface.
为便于操作,我们直接使用Qt Creator来创建,稍加修改即可。使用Qt5.9.7作为开发环境。
3.1 创建Qt插件模板

选择Qt Plugin
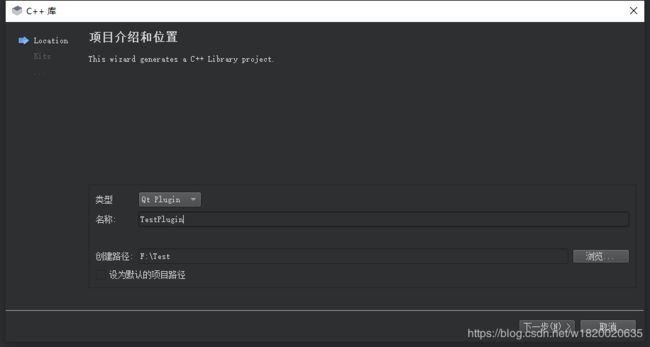
先随便选择一个基类,这里选择QGenericPlugin

3.2 插件接口定义
插件接口需封装为抽象类,即含有纯虚函数的类,只定义接口,由子类去实现。新建C++头文件

testpluginsbase.h源码如下,使用Q_DECLARE_INTERFACE()告诉Qt元系统该接口的定义。要求子类实现void test();
#ifndef TESTPLUGINSBASE_H
#define TESTPLUGINSBASE_H

class TestPluginsBase
{
public:
    virtual ~TestPluginsBase() {}

    virtual void test() = 0;
};

Q_DECLARE_INTERFACE(TestPluginsBase,"com.testpluginsbase/1.0")

#endif // TESTPLUGINSBASE_H
3.3 修改细节
testplugin.h改为
#ifndef TESTPLUGIN_H
#define TESTPLUGIN_H

#include
#include
#include "testpluginsbase.h"

class TestPlugin : public QObject, public TestPluginsBase
{
    Q_OBJECT
    Q_INTERFACES(TestPluginsBase)
#if QT_VERSION >= QT_VERSION_CHECK(5, 0, 0)
    Q_PLUGIN_METADATA(IID "com.testplugin/1.0" FILE "testplugin.json")
#endif
public:
    TestPlugin();

    void test();
};

#endif // TESTPLUGIN_H
切记以下四点,不然插件不符合规范,QPluginLoader是不认识的。
Writing a plugin involves these steps:
- Declare a plugin class that inherits from QObject and from the interfaces that the plugin wants to provide.
- Use the Q_INTERFACES() macro to tell Qt's meta-object system about the interfaces.
- Export the plugin using the Q_PLUGIN_METADATA() macro.
- Build the plugin using a suitable
.profile.
testplugin.cpp改为
#include "testplugin.h"
TestPlugin::TestPlugin()
{
}
void TestPlugin::test()
{
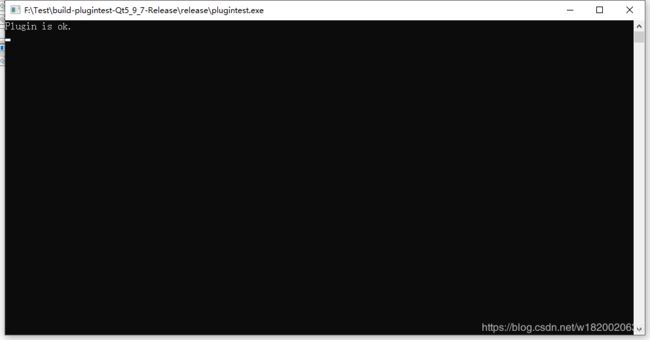
qDebug("Plugin is ok.");
}
//版本检查
#if QT_VERSION < QT_VERSION_CHECK(5, 0, 0)
Q_EXPORT_PLUGIN2(TestPluginsBase,TestPlugin)
#endif
.pro工程文件修改插件生成路径。默认是生成到qt内部路径的,这里改为当前路径下bin
DESTDIR = $$[QT_INSTALL_PLUGINS]/generic改为
DESTDIR = $$PWD/bin
4 插件使用
根据Qt官方文档说明,应用程序使用低阶API的插件有以下步骤:
- Use QPluginLoader in the application to load the plugins.
- Use qobject_cast() to test whether a plugin implements a given interface.
4.1 创建测试程序
为使用上文我们已经封装好的测试插件,这里写一个控制台程序测试并使用该插件。

为简化操作,程序运行目录新建plugins文件夹,将testplugin生成的插件拷贝到测试程序运行目录plugins下,测试程序将从该目录遍历加载插件。包含testpluginsbase.h。
4.2 测试程序源码
#include
#include
#include
#include "testpluginsbase.h"

int main(int argc, char *argv[])
{
    QCoreApplication a(argc, argv);

    QDir dir;

    //加载插件
    dir.setPath("plugins");
    if(!dir.exists())
    {
        qWarning("cannot find path %s",qPrintable(dir.path()));

        return -1;
    }
    else
    {
        foreach(QString filename, dir.entryList(QDir::Files)) //遍历path路径下所有文件
        {
            QPluginLoader *loader = new QPluginLoader(dir.absoluteFilePath(filename));
            if (!loader->load()) //过滤掉不是插件的文件
            {
                qWarning("%s is not a plugin",qPrintable(dir.absoluteFilePath(filename)));

                continue;
            }

            QObject *obj = loader->instance();
            TestPluginsBase *plugin = qobject_cast(obj);
            plugin->test();
        }
    }

    return a.exec();
}
4.3 测试结果