GitLab的安装配置--小白启蒙篇(一步步截图)
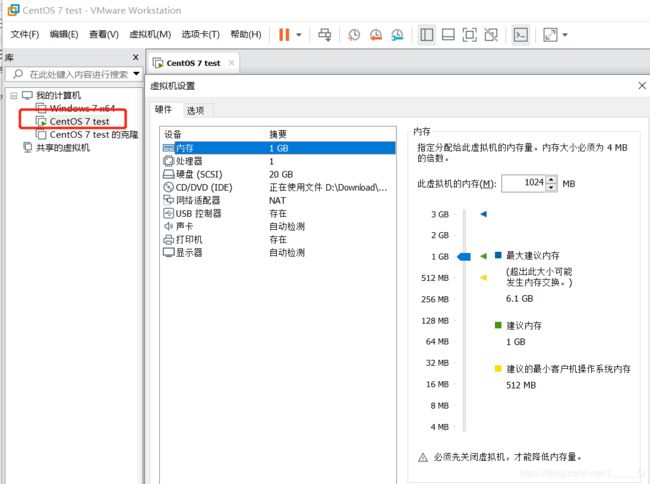
一、安装VirtualBox或者VMware并下载安装CentOS7操作系统
- (这里不做过多配置讲解,后期可能会写一篇Linux操作系统的详细配置文章)
二、
关闭SELinux并重启系统
vi /etc/sysconfig/selinux
修改:SELINUX=disabled
确认防火墙设置是否成功
getenforce Disabled
三、安装GitLab的相关依赖包
【手动安装会遇到很多问题不信可以试试】
yum -y install curl policycoreutils openssh-server openssh-clients postfix
Linux执行yum安装软件包提示Error Downloading Packages的解决方法
- 清理本地yum缓存:
yum clean all
- 查看软件包列表
yum list
再次执行 yum 命令,就可以了!
四、配置GitLab仓库
curl -sS https://packages.gitlab.com/install/repositories/gitlab/gitlab-ce/script.rpm.sh | sudo bash
五、启动postfix邮件服务(用于gitlab发送通知到管理者)
systemctl start postfix
systemctl enable postfix
六、安装GitLab社区版本的yum一键安装包
【失败的话跟网络有关系的】
yum install -y gitlab-ce
不加证书可直接跳转第十二条!!!
不加证书可直接跳转第十二条!!!
不加证书可直接跳转第十二条!!!
七、使用Open ssl命令创建GitLab本地证书并配置其config加载该证书
1. 先手动创建一个SSL目录:
mkdir -p /etc/gitlab/ssl
2. 创建本地ssl密钥
openssl genrsa -out “/etc/gitlab/ssl/gitlab.example.com.key” 2048
3.使用【2】生成的私有密钥创建SSL证书
openssl req -new -key “/etc/gitlab/ssl/gitlab.example.com.key” -out “/etc/gitlab/ssl/gitlab.example.com.csr”
输入:cn
Country Name (2 letter code) [XX]:
输入:bj
State or Province Name (full name) []:
输入:bj
Locality Name (eg, city) [Default City]:
输入:空格
Organization Name (eg, company) [Default Company Ltd]:
输入:空格
Organizational Unit Name (eg, section) []:
输入:gitlab.example.com
Common Name (eg, your name or your server’s hostname) []:gitlab.example.com
输入:[email protected]
Email Address []:[email protected]
。。。
输入:123456
A challenge password []:123456
输入:直接回车
An optional company name []:
完成安装!!!
八、根据私有密钥和ssl证书创建签署证书
openssl x509 -req -days 365 -in “/etc/gitlab/ssl/gitlab.example.com.csr” -signkey “/etc/gitlab/ssl/gitlab.example.com.key” -out “/etc/gitlab/ssl/gitlab.example.com.crt”
九、数用openssl输出pem证书
openssl dhparam -out /etc/gitlab/ssl/dhparams.pem 2048
十、证书至此全部创建完毕
十一、chmod更改文件夹为600权限
cd /etc/gitlab/ssl
chmod 600 *
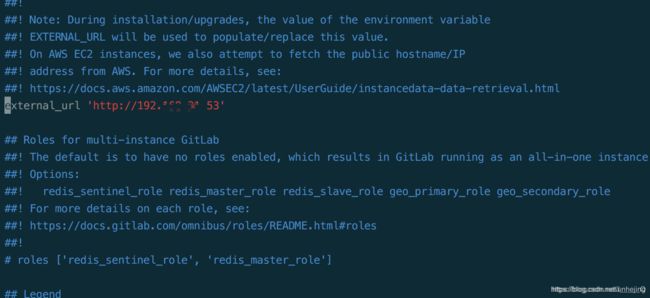
十二、编辑GitLab的配置文件
vi /etc/gitlab/gitlab.rb
external_url :改为 Linux 的 ip 地址【ifconfig就不用教了叭】
EXC→:wq! 保存并退出
十三、加载配置并重启gitlab
gitlab-ctl reconfigure
此项操作要等很久,耐心点,会长时间卡在某一步别 ctrl+C 终止
十四、重启GitLab
gitlab-ctl restart
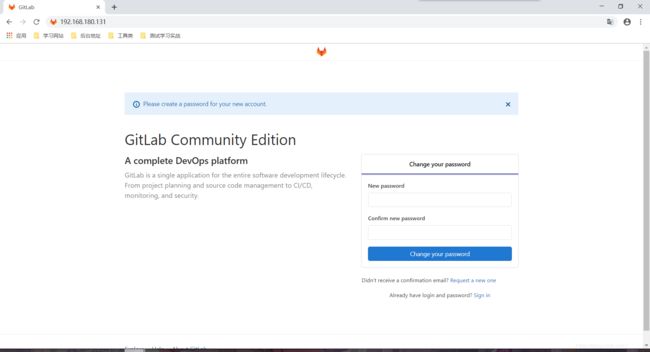
十五、浏览器访问
浏览器输入【第十二】修改的 ip 地址访问页面
- 第一个页面先重置你的密码:输入/二次输入
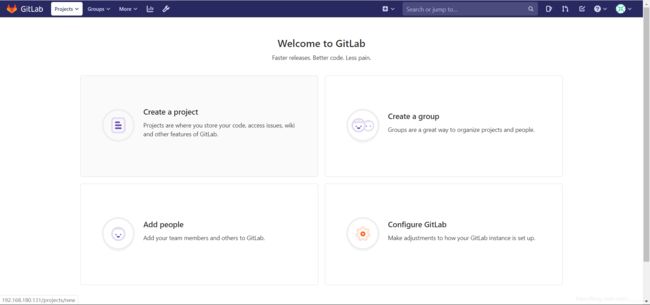
- 使用用户名密码登录:root/你前一步设置的密码
!!!登陆成功!!!
十六、出现了 505 怎么办?
- 打开防火墙
systemctl start firewalld
- 打开http服务
firewall-cmd --permanent --add-service=http
- 重新加载:
firewall-cmd --reload
如果不想麻烦,也可以关闭firewall并禁用开机自启:
systemctl stop firewalld
systemctl disable firewalld
安装参考:centos7安装gitlab-ce社区版全过程,详细到爆炸