图像处理——tensorflow 数据增强
1-1 读取图像函数
tf.gfile.FastGFile("D:\\1.jpg", 'rb').read()1-2 解码函数
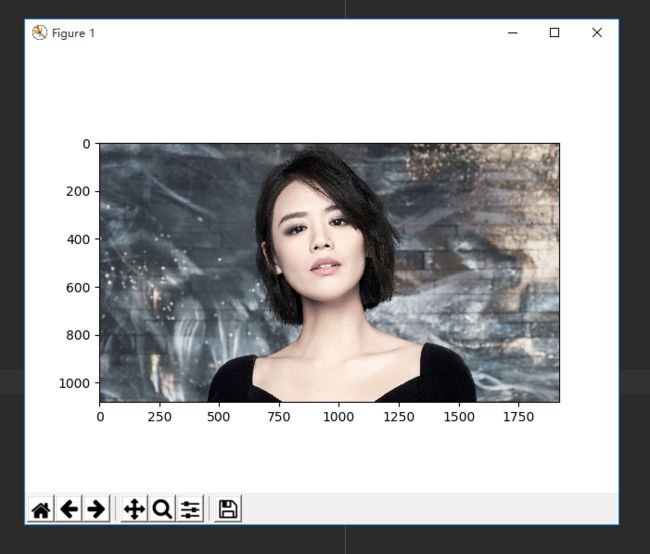
tf.image.decode_jpeg(img)tf.image.decode_jepg 和 tf.image.decode_png函数分别用于解码 jpg 格式和 png 格式的图像。之后,可以显示图像。
如果没有解码,读取的图像是一个字符串,无法显示。
1-3
import tensorflow as tf
import matplotlib.pyplot as plt

# 读取图片
img = tf.gfile.FastGFile("D:\\1.jpg", 'rb').read()

# 建立会话
with tf.Session() as sess:
    # 解码图像
    img = tf.image.decode_jpeg(img)
    # print(img.eval())

    # 显示图像
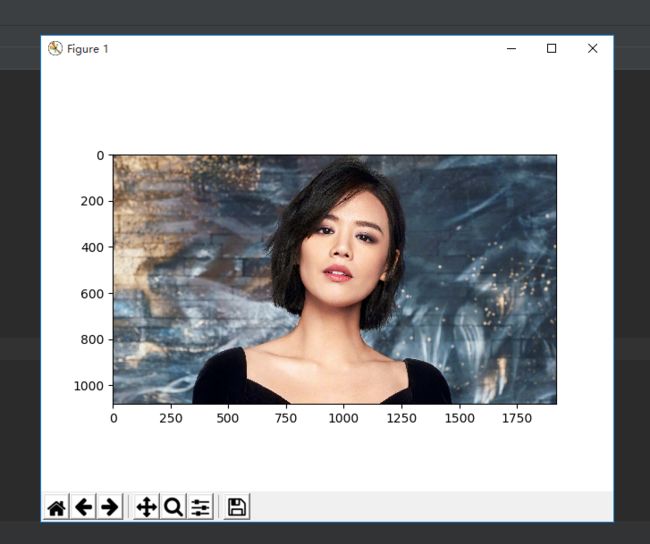
    plt.imshow(img.eval())
    plt.show()
2-1 编码图像与解码图像
import tensorflow as tf
import matplotlib.pyplot as plt

# 读取图片
img = tf.gfile.FastGFile("D:\\1.jpg", 'rb').read()
# print(img)

# 建立会话
with tf.Session() as sess:
    # 解码图像
    img = tf.image.decode_jpeg(img)
    # 编码图像
    img_encode = tf.image.encode_jpeg(img)
    with tf.gfile.GFile("D:\\2.jpg", 'wb') as file:
        file.write(img_encode.eval())
3-1 调整图片大小
import tensorflow as tf
import matplotlib.pyplot as plt

# 读取图片
img = tf.gfile.FastGFile("D:\\1.jpg", 'rb').read()
# print(img)

# 建立会话
with tf.Session() as sess:
    img = tf.image.decode_jpeg(img)
    # 调整图片大小
    img = tf.image.convert_image_dtype(img, dtype=tf.float32)
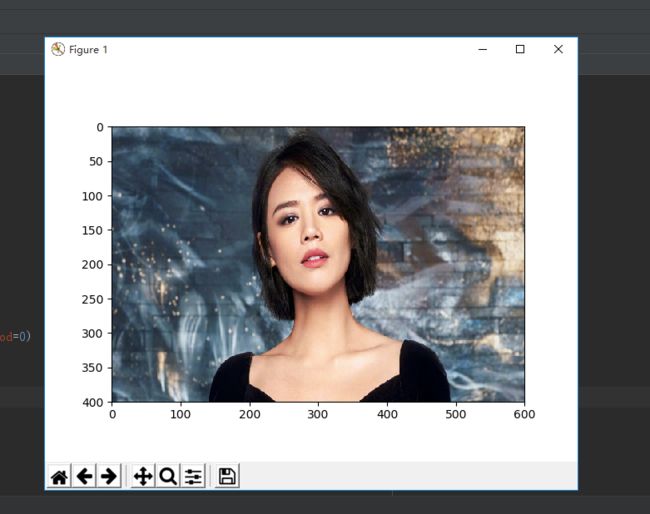
    img = tf.image.resize_images(img, [400, 600], method=0)
    plt.imshow(img.eval())
    plt.show()
4-1 裁剪
import tensorflow as tf
import matplotlib.pyplot as plt

# 读取图片
img = tf.gfile.FastGFile("D:\\1.jpg", 'rb').read()
# print(img)

# 建立会话
with tf.Session() as sess:
    img = tf.image.decode_jpeg(img)
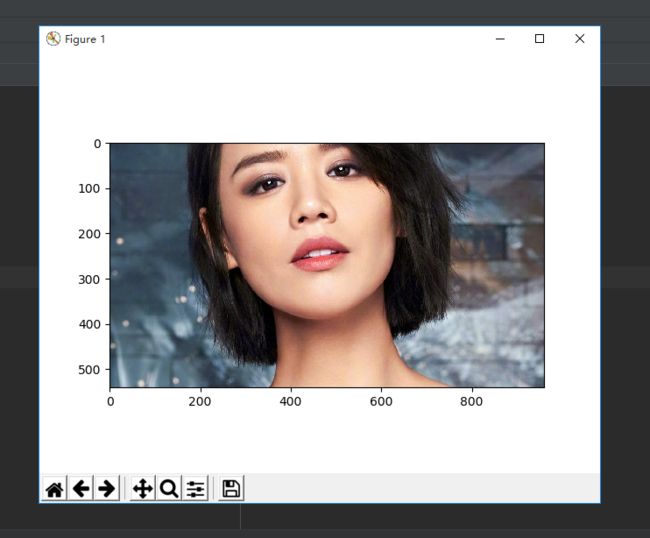
    img_cut = tf.image.resize_image_with_crop_or_pad(img, 200, 200)
    img_pad = tf.image.resize_image_with_crop_or_pad(img, 1500, 1200)
    plt.imshow(img_cut.eval())
    plt.show()
4-2 自动填充
5-1 按照比例调整图像大小
import tensorflow as tf
import matplotlib.pyplot as plt

# 读取图片
img = tf.gfile.FastGFile("D:\\1.jpg", 'rb').read()
# print(img)

# 建立会话
with tf.Session() as sess:
    img = tf.image.decode_jpeg(img)

    img = tf.image.central_crop(img, 0.5)
    plt.imshow(img.eval())
    plt.show()
6-1 翻转
import tensorflow as tf
import matplotlib.pyplot as plt

# 读取图片
img = tf.gfile.FastGFile("D:\\1.jpg", 'rb').read()
# print(img)

# 建立会话
with tf.Session() as sess:
    img = tf.image.decode_jpeg(img)

    # 上下
    img_0 = tf.image.flip_up_down(img)
    # 左右
    img_1 = tf.image.flip_left_right(img)
    # 对角线
    img_2 = tf.image.transpose_image(img)
    plt.imshow(img_0.eval())
    plt.show()
7-1 随机翻转图像
import tensorflow as tf
import matplotlib.pyplot as plt

# 读取图片
img = tf.gfile.FastGFile("D:\\1.jpg", 'rb').read()
# print(img)

# 建立会话
with tf.Session() as sess:
    img = tf.image.decode_jpeg(img)
    img_0 = tf.image.random_flip_up_down(img)
    img_1 = tf.image.random_flip_left_right(img)
    plt.imshow(img_0.eval())
    plt.show()
8-1 图像亮度调整
调整后,为保证像素值在0-1或者0-255的范围内,需要截断操作。
# 读取图片
img = tf.gfile.FastGFile("D:\\1.jpg", 'rb').read()

# 建立会话
with tf.Session() as sess:
    img = tf.image.decode_jpeg(img)
    img_0 = tf.image.convert_image_dtype(img, dtype=tf.float32)
    img_reduce_brightness = tf.image.adjust_brightness(img_0, -0.5)
    img_add_brightness = tf.image.adjust_brightness(img_0, 0.5)
    img_reduce_brightness = tf.clip_by_value(img_reduce_brightness, 0.0, 1.0)
    plt.imshow(img_reduce_brightness .eval())
    plt.show()
img_add_brightness = tf.clip_by_value(img_add_brightness, 0.0, 255.0)9-1 图像对比度按倍数减少或者增加
import tensorflow as tf
import matplotlib.pyplot as plt

# 读取图片
img = tf.gfile.FastGFile("D:\\1.jpg", 'rb').read()

# 建立会话
with tf.Session() as sess:
    img = tf.image.decode_jpeg(img)
    img_0 = tf.image.convert_image_dtype(img, dtype=tf.float32)
    img_reduce = tf.image.adjust_contrast(img_0, 0.5)
    img_add = tf.image.adjust_contrast(img_0, 5)
    plt.imshow(img_reduce.eval())
    plt.show()
增加对比度
10-1 调整图像饱和度
import tensorflow as tf
import matplotlib.pyplot as plt

img = tf.gfile.FastGFile("D:\\1.jpg", 'rb').read()
with tf.Session() as sess:
    img = tf.image.decode_jpeg(img)
    img_0 = tf.image.convert_image_dtype(img, dtype=tf.float32)
    img_reduce = tf.image.adjust_saturation(img_0, -0.5)
    img_add = tf.image.adjust_saturation(img_0, 0.5)
    img_reduce = tf.clip_by_value(img_reduce, 0.0, 1.0)
    plt.imshow(img_reduce.eval())
    plt.show()
11-1 图像标准化
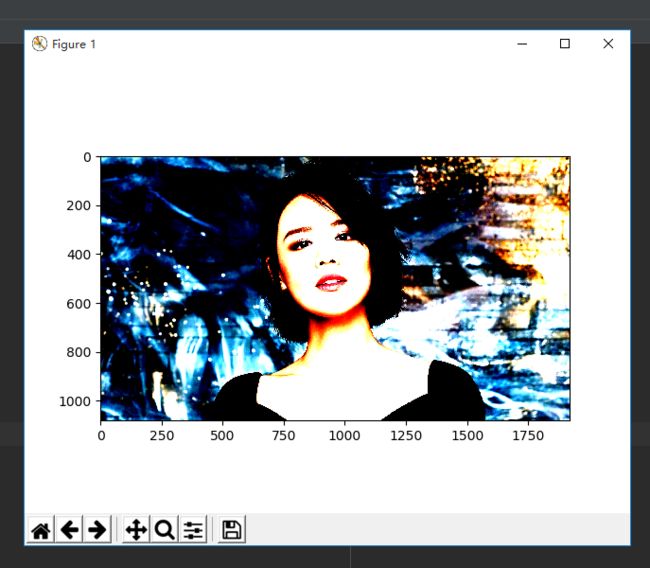
将图像的像素调整为均值为0,方差为1。
import tensorflow as tf
import matplotlib.pyplot as plt

img = tf.gfile.FastGFile("D:\\1.jpg", 'rb').read()

with tf.Session() as sess:
    img = tf.image.decode_jpeg(img)
    img_0 = tf.image.convert_image_dtype(img, dtype=tf.float32)
    img_norm = tf.image.per_image_standardization(img_0)
    plt.imshow(img_norm.eval())
    plt.show()
12-1 调整图像色相
import tensorflow as tf
import matplotlib.pyplot as plt

img = tf.gfile.FastGFile("D:\\1.jpg", 'rb').read()

with tf.Session() as sess:
    img = tf.image.decode_jpeg(img)
    img_0 = tf.image.convert_image_dtype(img, dtype=tf.float32)
    img_reduce_hue = tf.image.adjust_hue(img_0, 0.1)
    img_add_hue = tf.image.adjust_hue(img_0, -0.1)
    img_reduce_hue = tf.clip_by_value(img_reduce_hue, 0.0, 1.0)
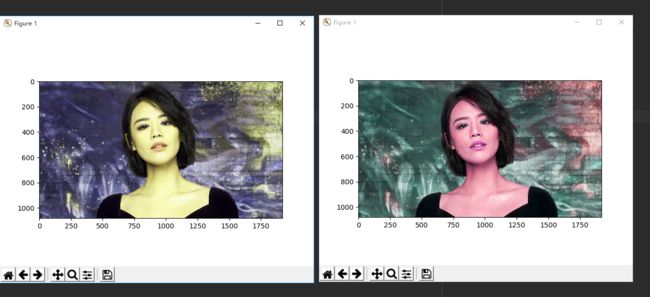
    plt.imshow(img_reduce_hue.eval())
    plt.show()

