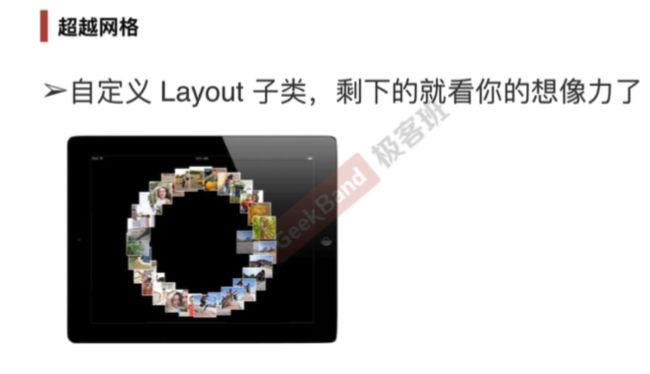
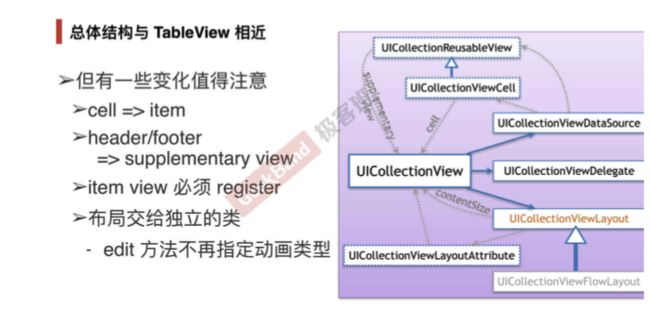
UICollectionView 和 UICollectionViewController 类是iOS6 新引进的API,用于展示集合视图,布局更加灵活,可实现多列布局,用法类似于UITableView 和
![Uploading Snip20160323_2_768886.png . . .]
使用UICollerctionView必须实现UICollectionViewDataSource,
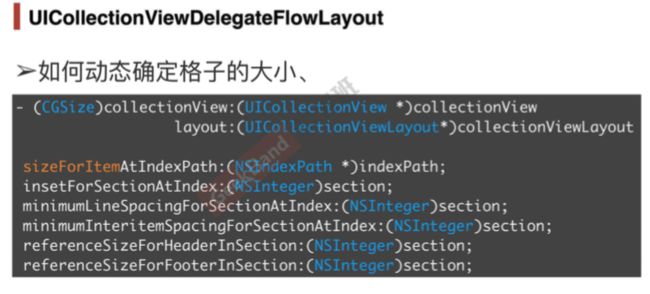
UICollectionViewDelegate,UICollectionViewDelegateFlowLayout这三个协议。
附上原理图.再加入实例说明一下.
以上方法.需要计入 UICollectionViewDelegateFlowLAyout 这协议
代码
#pragma mark -- UICollectionViewDataSource
//定义展示的UICollectionViewCell的个数
-(NSInteger)collectionView:(UICollectionView *)collectionView   numberOfItemsInSection:(NSInteger)section
 {
return 30;
 }
//定义展示的Section的个数
 -(NSInteger)numberOfSectionsInCollectionView:(UICollectionView *)collectionView
 {
return 1;
 }
//每个UICollectionView展示的内容
 -(UICollectionViewCell *)collectionView:(UICollectionView *)collectionView cellForItemAtIndexPath:(NSIndexPath *)indexPath
 {
static NSString * CellIdentifier = @"GradientCell";
UICollectionViewCell * cell = [collectionView dequeueReusableCellWithReuseIdentifier:CellIdentifier forIndexPath:indexPath];

cell.backgroundColor = [UIColor colorWithRed:((10 * indexPath.row) / 255.0) green:((20 * indexPath.row)/255.0) blue:((30 * indexPath.row)/255.0) alpha:1.0f];
return cell;
 }
.
#pragma mark --UICollectionViewDelegateFlowLayout
//定义每个UICollectionView 的大小
- (CGSize)collectionView:(UICollectionView )collectionView layout:(UICollectionViewLayout)collectionViewLayout sizeForItemAtIndexPath:(NSIndexPath *)indexPath
{
return CGSizeMake(96, 100);
}
//定义每个UICollectionView 的 margin
 -(UIEdgeInsets)collectionView:(UICollectionView *)collectionView layout:(UICollectionViewLayout *)collectionViewLayout insetForSectionAtIndex:(NSInteger)section
 {
return UIEdgeInsetsMake(5, 5, 5, 5);
 }
.
#pragma mark --UICollectionViewDelegate
//UICollectionView被选中时调用的方法
 -(void)collectionView:(UICollectionView *)collectionView didSelectItemAtIndexPath:(NSIndexPath *)indexPath
 {
UICollectionViewCell * cell = (UICollectionViewCell *)[collectionView cellForItemAtIndexPath:indexPath];
cell.backgroundColor = [UIColor whiteColor];
 }
 //返回这个UICollectionView是否可以被选择
 -(BOOL)collectionView:(UICollectionView *)collectionView shouldSelectItemAtIndexPath:(NSIndexPath *)indexPath
 {
return YES;
 }
插入简单实例(本人是新人,使用的storyboard加代码)
1创建新文件
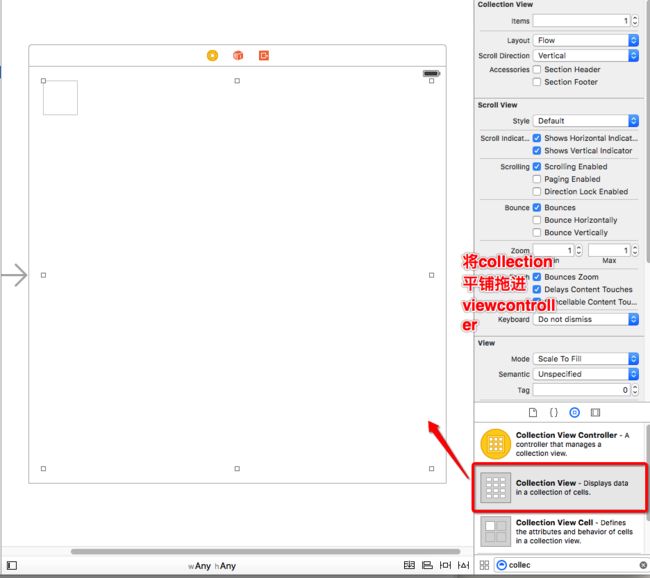
2打开storyboard加入collection view
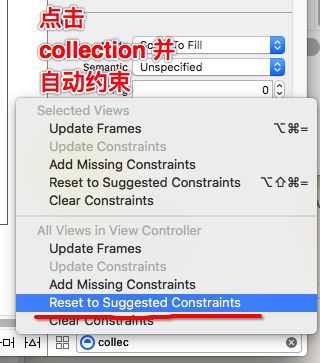
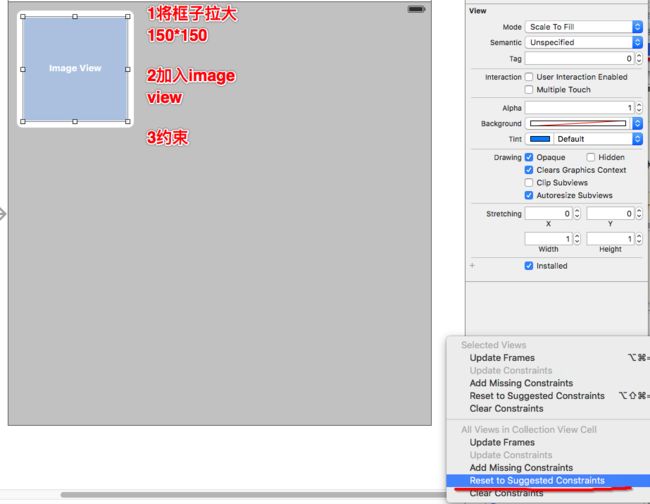
3约束
4在viewcontroller.h加入协议
@interface ViewController : UIViewController
5加入图片
下载图片
6加入imageview
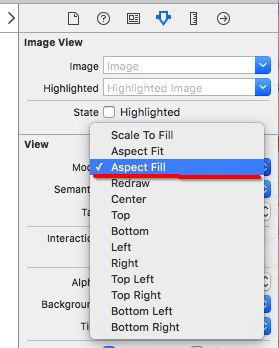
同时修改图片属性, 显示为按比例填满 多余剪裁掉
7实现
在ViewController.m里面的@implementation ViewController下添加
 //现在我们只有一个组别
 -(NSInteger)numberOfSectionsInCollectionView:(UICollectionView *)collectionView{
return 1;
 }
 //组别个数我们有13张图片
 -(NSInteger)collectionView:(UICollectionView *)collectionView numberOfItemsInSection:(NSInteger)section{
return 13;
 }
 -(UICollectionViewCell *)collectionView:(UICollectionView *)collectionView cellForItemAtIndexPath:(NSIndexPath *)indexPath{
UICollectionViewCell *cell = [collectionView dequeueReusableCellWithReuseIdentifier:@"ImageCell" forIndexPath:indexPath];
return  cell;
}
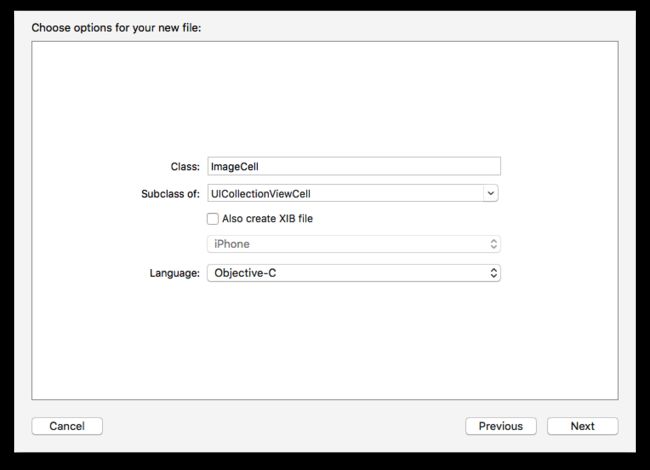
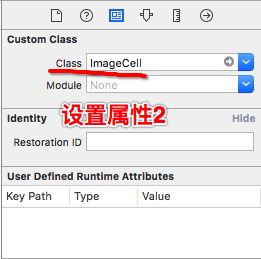
同时新建 ImageCell
并点解cell 设置属性
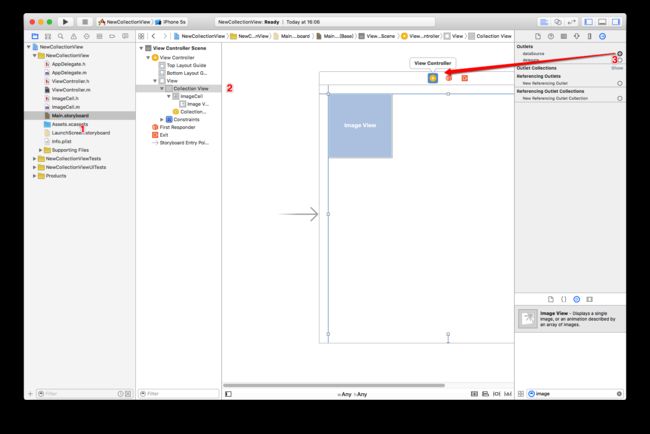
8imageview拖向
并在 viewControll.m 加入头文件 imagecell.h
9imagview的实现
在ViewController.m里面的@implementation ViewController下修改
 -(UICollectionViewCell *)collectionView:(UICollectionView *)collectionView cellForItemAtIndexPath:(NSIndexPath *)indexPath{
ImageCell *cell = [collectionView dequeueReusableCellWithReuseIdentifier:@"ImageCell" forIndexPath:indexPath];
cell.imageView.image = [self imageOfCityWithId:indexPath.item];
return  cell;
}
并加入
 #pragma mark --- Data Handing ---
 -(UIImage *)imageOfCityWithId:(NSInteger)cityId{
return [UIImage imageNamed:[NSString stringWithFormat:@"city%d",(int)cityId]];
 }
做到这里大家是不是以为可以run起来了?
不是的我们还有一布没有做
运行后
10实现微处理
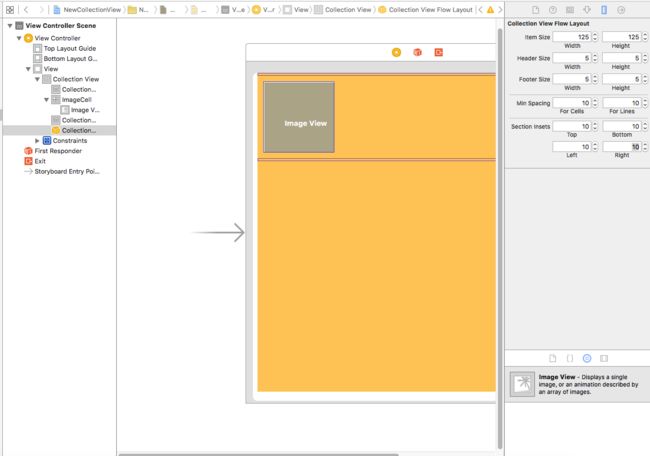
修改背景色加位置
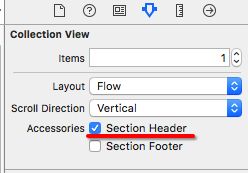
现在处理sectionHeader
运行一下
同时命名
发现文字没有体现出来 ?????
原来header需要引导出来
在 viewcontroller.m里
@implementation ViewController下 添加
 -(UICollectionReusableView *)collectionView:(UICollectionView *)collectionView viewForSupplementaryElementOfKind:(NSString *)kind atIndexPath:(NSIndexPath *)indexPath{
return [collectionView dequeueReusableSupplementaryViewOfKind:kind withReuseIdentifier:@"cityHeader" forIndexPath:indexPath];
}
好运行一下
好,成功显示!!!

