linux搭建WebSphere
WebSphere 8.0 安装指南
一、安装介质的目录介绍 2
二、准备工作 2
三、安装步骤 3
(一)安装IBM Installation Manager 3
(二)安装WebSphere Application Server Network Deployment V8.0 6
四、创建Dmgr和Node 11
(一)创建Dmgr 11
(二)创建Nodeagent 18
(三) 启动及联合 23
一、安装介质的目录介绍
安装介质可放在任意目录:
WebSphereApplicationServerV8.0:基础安装介质;
IBM Installation Manager V1.4.3是安装工具要先安装;
IBM WebSphere Application Server Network Deployment V8.0 for Multiplatform, Multilingual是was的安装介质,其中的zip包全部解压在一个目录中;
IBM WebSphere Application Server V8.0 Supplements for Multiplatform, Multilingual是plugin及IHS的补丁,其中的zip包全部解压在一个目录中;
8.0.0.5-for-Multiplatforms-WASx32x64:补丁介质,里面的nd是was的补丁,sp是plugin及IHS的补丁;
另外如果应用前端使用F5负载均衡,plugin及IHS可以不安装。
二、准备工作
1、将IBM Installation Manager V1.4.3目录中的IBM Installation Manager V1.4.3 for Linux x86 Multilingual(CZM8XML).zip文件使用unzip命令解压到当前目录;
2、将IBM WebSphere Application Server Network Deployment V8.0 for Multiplatform, Multilingual目录中的四个zip包使用unzip命令全部解压到当前目录;
解压后目录内容如下:
Copyright.txt CZM9MML.zip disk2 lafiles Remote_Installation_Tool_for_IBM_i
CZM9KML.zip CZVG4ML.zip disk3 readme repository.config
CZM9LML.zip disk1 disk4 readme.txt
3、将8.0.0.5-for-Multiplatforms-WASx32x64/nd目录中的两个zip包用unzip命令解压到当前目录,解压后目录内容如下:
8.0.0-WS-WAS-FP0000005-part1.zip
8.0.0-WS-WAS-FP0000005-part2.zip
atoc
files
native
Offerings
plugins
repository.config
repository.xml
update_com.ibm.websphere.BASETRIAL.v80_8.0.5.20121022_1902_from_8.0.0.20110503_0200.xml
update_com.ibm.websphere.BASE.v80_8.0.5.20121022_1902_from_8.0.0.20110503_0200.xml
update_com.ibm.websphere.DEVELOPERSILAN.v80_8.0.5.20121022_1902_from_8.0.0.20110503_0200.xml
update_com.ibm.websphere.DEVELOPERS.v80_8.0.5.20121022_1902_from_8.0.0.20110503_0200.xml
update_com.ibm.websphere.EXPRESSTRIAL.v80_8.0.5.20121022_1902_from_8.0.0.20110503_0200.xml
update_com.ibm.websphere.EXPRESS.v80_8.0.5.20121022_1902_from_8.0.0.20110503_0200.xml
update_com.ibm.websphere.NDDMZTRIAL.v80_8.0.5.20121022_1902_from_8.0.1.20110829_1838.xml
update_com.ibm.websphere.NDDMZ.v80_8.0.5.20121022_1902_from_8.0.0.20110503_0200.xml
update_com.ibm.websphere.NDTRIAL.v80_8.0.5.20121022_1902_from_8.0.0.20110503_0200.xml
update_com.ibm.websphere.ND.v80_8.0.5.20121022_1902_from_8.0.0.20110503_0200.xml
三、安装步骤
注:使用root用户进行安装:
(一)安装IBM Installation Manager
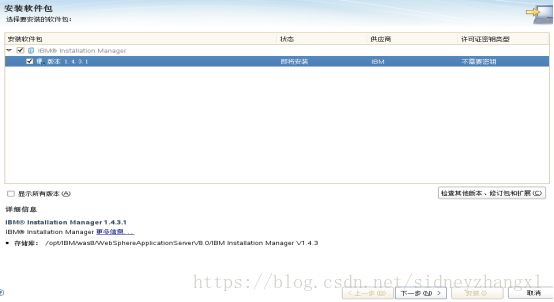
1、进入IBM Installation Manager V1.4.3目录,执行./install进行安装,点击下一步:
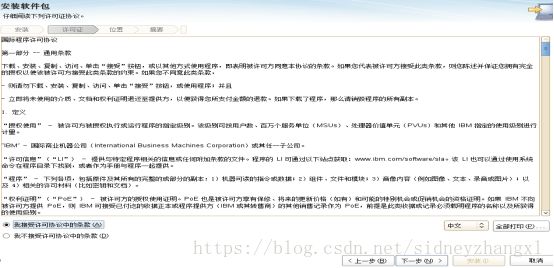
2、接受许可,点击下一步:
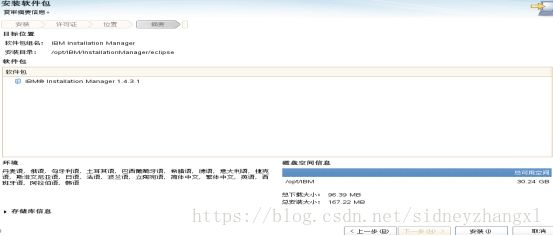
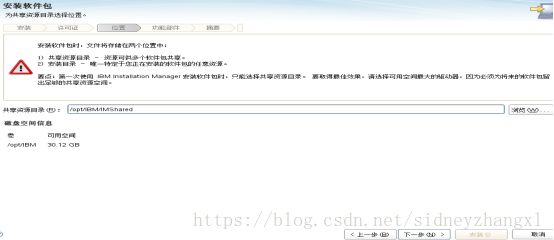
3、选择安装路径,默认即可,点击下一步:
4、点击安装:
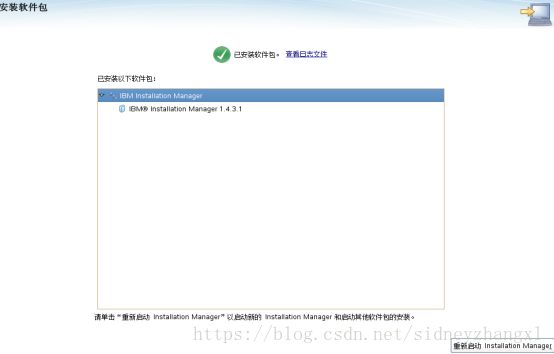
5、安装完成后点击重新启动:
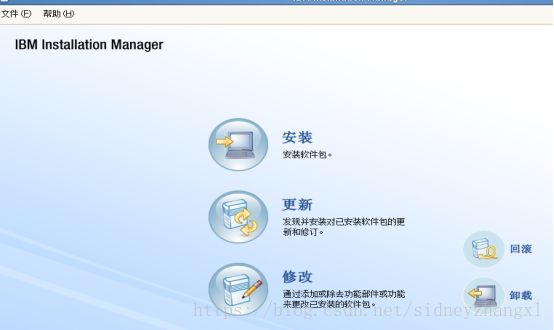
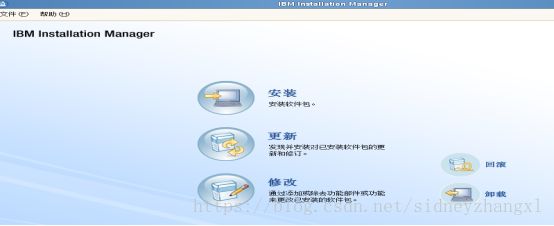
6、IBM Installation Manager界面:
(二)安装WebSphere Application Server Network Deployment V8.0
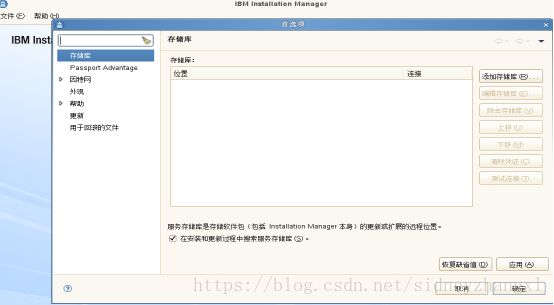
1、添加存储库,点击上图中的“文件”,点击“首选项”:
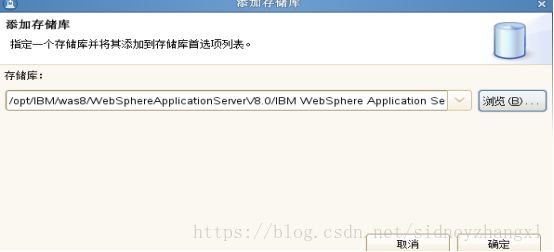
2、点击添加存储库,选择IBM WebSphere Application Server Network Deployment V8.0 for Multiplatform目录中的repository.config,点击确定:
3、点击确定:
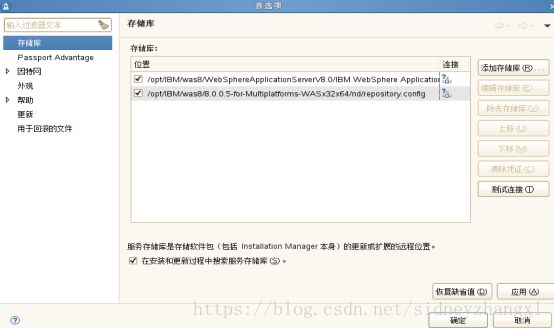
4、重复上面三个步骤,将8.0.0.5-for-Multiplatforms-WASx32x64/nd目录中的repository.config添加到存储库,如下图,点击确定完成存储库的添加;
5、在下面界面点击安装:
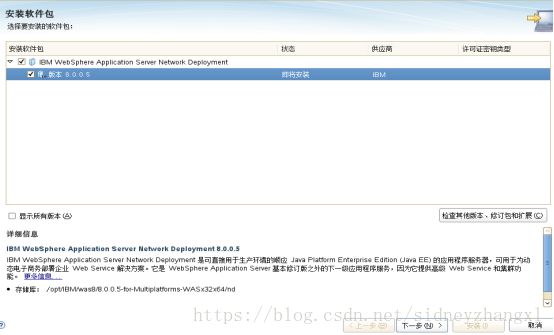
6、选择版本8.0.0.5,点击下一步:
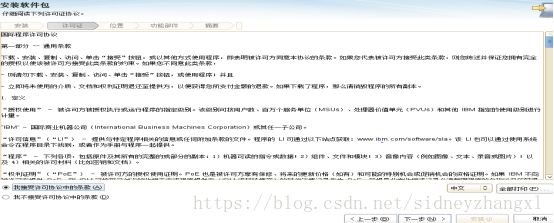
7、选择接受许可后点击下一步继续:
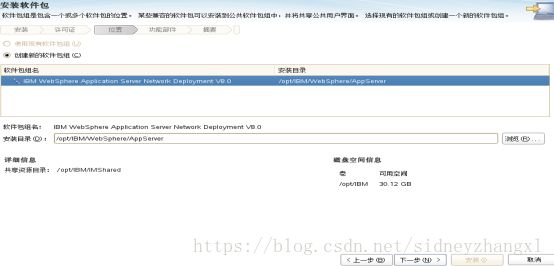
8、点击下一步继续:
10、点击下一步继续:
11、点击下一步继续:
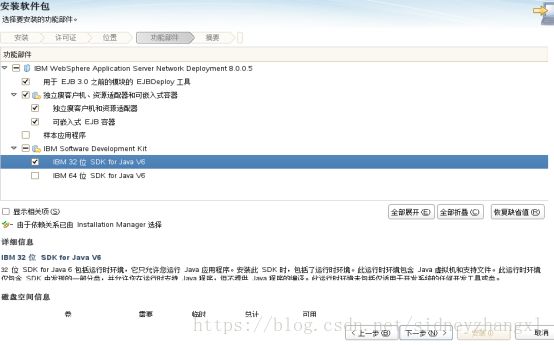
12、注意:这里选择“IBM 32位 SDK for Java V6”,之后点击下一步:
13、点击安装:
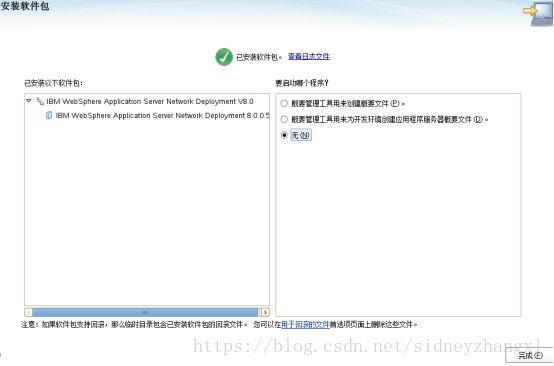
14、安装完成后,选择“无”,点击完成:
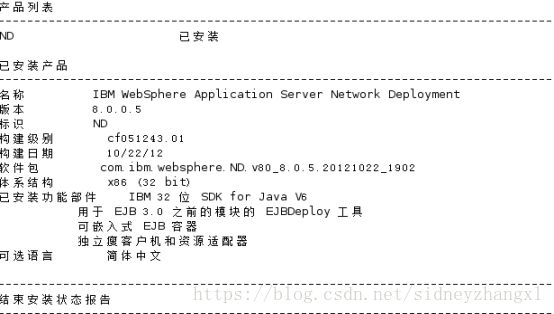
15、检查安装的版本是否正确,执行/opt/IBM/WebSphere/AppServer/bin/versionInfo.sh:
四、创建Dmgr和Node
1、建立wasgrp组及wasadmin用户用来管理was,主目录为/opt/IBM/WebSphere/;
2、将Dmgr及Nodeagent的名称添加到/etc/hosts中的相应IP地址之后;
3、均使用wasadmin用户执行
(一)创建Dmgr
1、执行/opt/IBM/WebSphere/AppServer/bin/ProfileManagement/pmt.sh,点击创建:
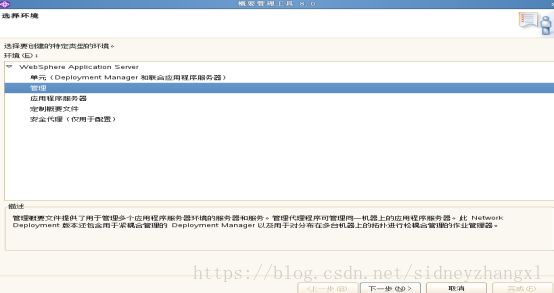
2、选择“管理”,点击下一步继续:
3、选择Deployment Manager,点击下一步:
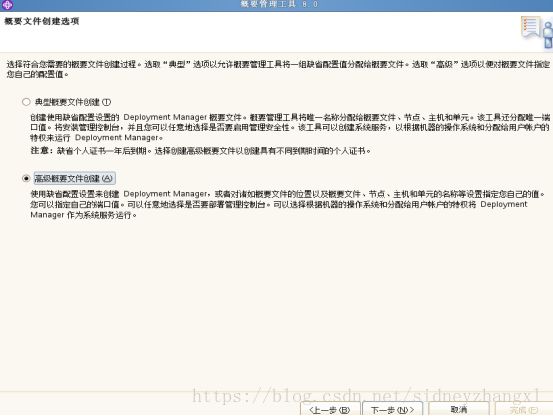
4、选择“高级概要文件创建”,点击下一步:
5、按照默认,点击下一步继续:
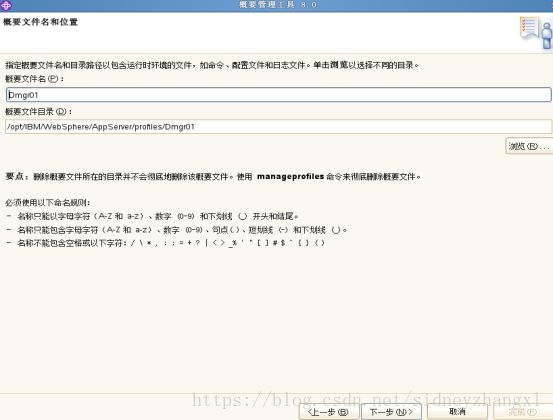
6、设置Dmgr名称及目录,名称与目录名相同:
7、点击下一步继续:
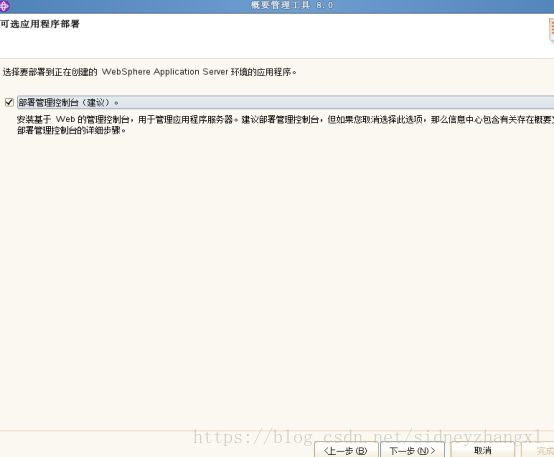
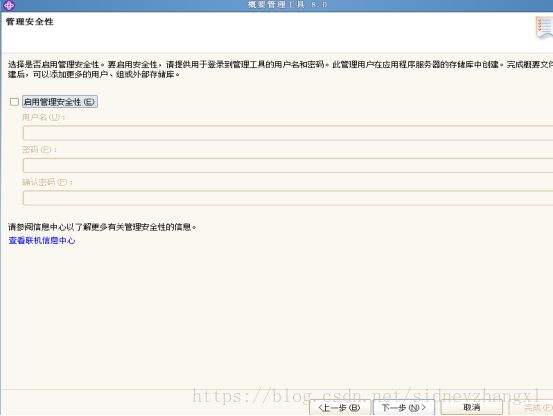
8、“启动管理安全性”自行确定是否选择,如果设定在登录控制台时需要输入该用户密码,点击下一步继续:
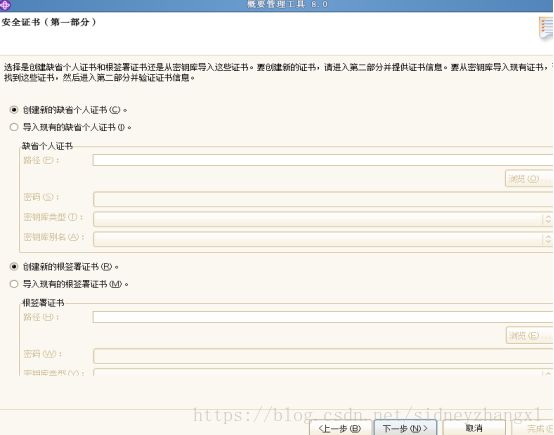
9、按照默认,点击下一步继续:
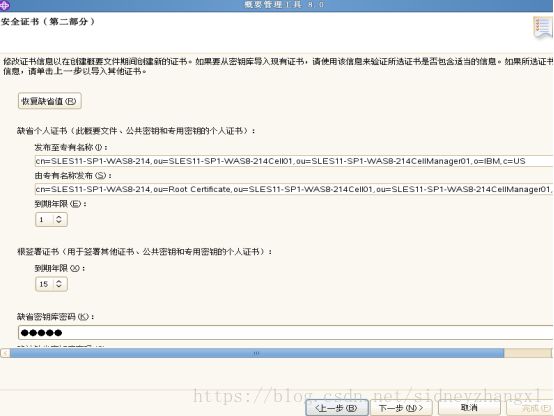
10、按照默认,点击下一步继续:
11、按照默认,点击下一步继续:
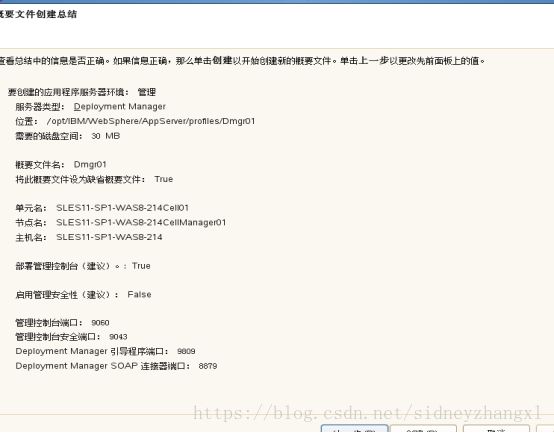
12、点击创建:
13、取消“启动控制台”选项,点击完成:
(二)创建Nodeagent
1、执行/opt/IBM/WebSphere/AppServer/bin/ProfileManagement/pmt.sh,点击创建:
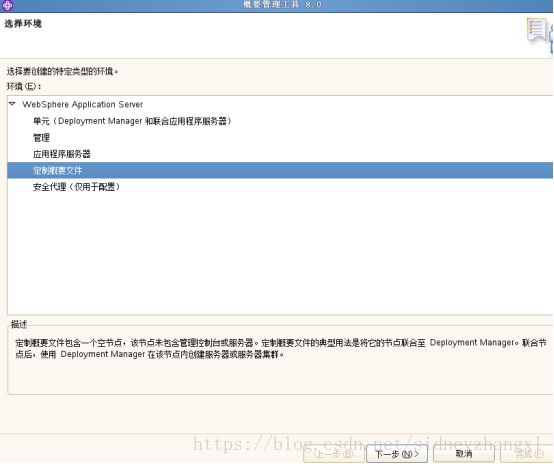
2、选择“定制概要文件”,点击下一步:
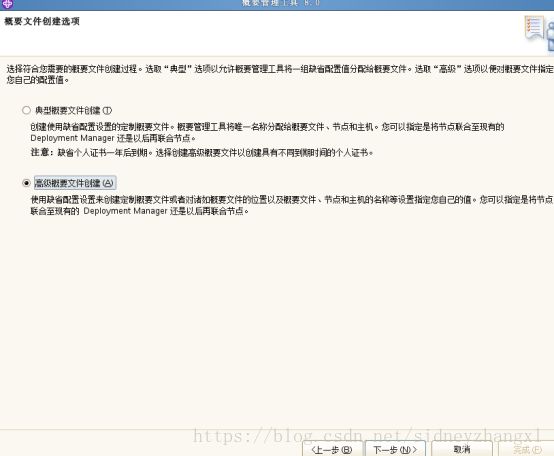
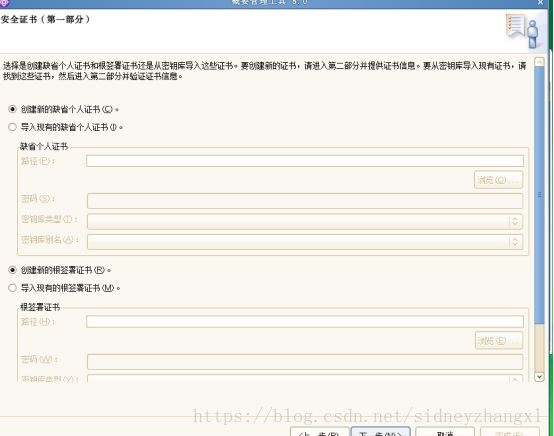
3、选择“高级概要文件创建”,点击下一步:
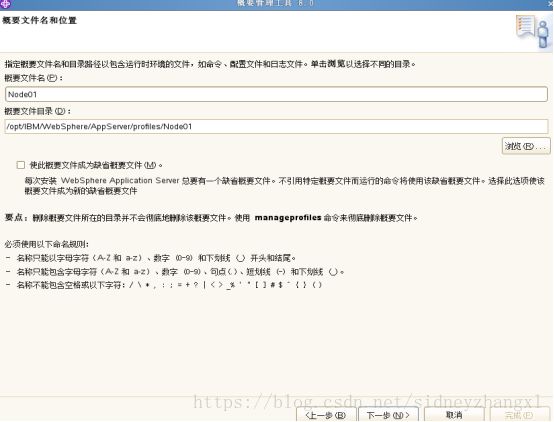
4、设置Nodeagent的名称及目录,名称及目录使用相同的名字,点击下一步:
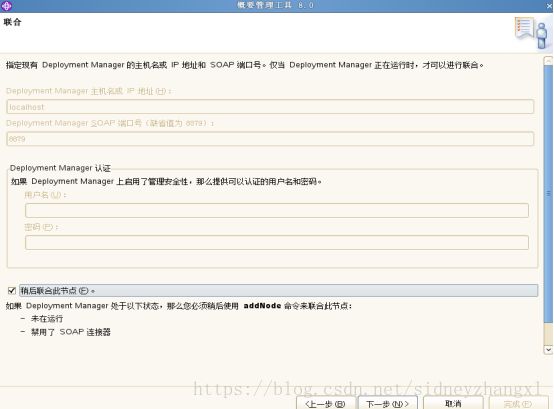
5、点击下一步继续:6、选择“稍后联合此节点”,点击下一步继续:
6、选择“稍后联合此节点”,点击下一步继续:
7 、按照默认,点击下一步继续:8、按照默认,点击下一步继续:
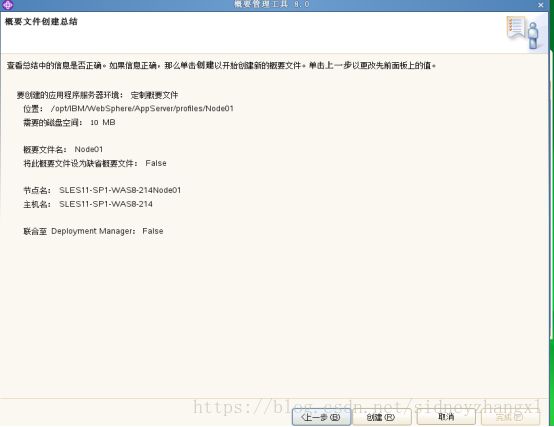
9、点击创建:
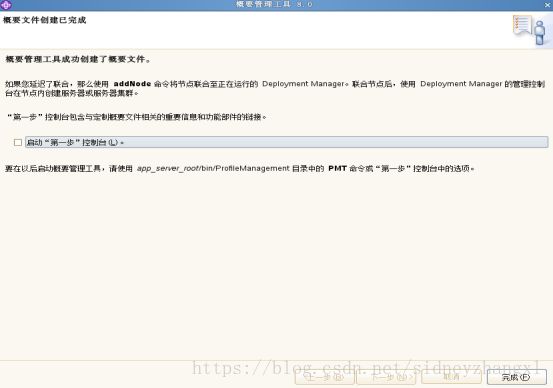
10、取消“启动第一步控制台”,点击完成:
(三)启动及联合
下面内容以Dmgr名为Dmgr01、Nodeagent名为Node01为例,执行时以实际情况为准:
1、执行:/opt/IBM/WebSphere/AppServer/profiles/Dmgr01/bin/startManager.sh启动Dmgre,输出内容如下:
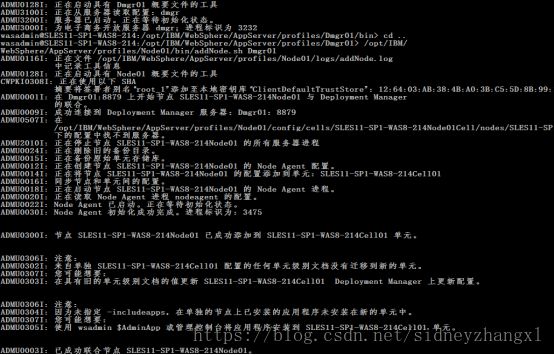
2、/opt/IBM/WebSphere/AppServer/profiles/Node01/bin/addNode.sh Dmgr01进行联合,输出内容如下:
3、通过IE输入:http://DmgrIP:9043/ibm/console进入控制台:
