hyperledger fabric 2.0(三)生成二进制文件的方式启动first-network测试案例
1、确保已关闭其他网络
# cd /opt/gopath/src/github.com/hyperledger/fabric/scripts/fabric-samples/first-network
# ./byfn.sh down
2、生成证书文件和通道文件:
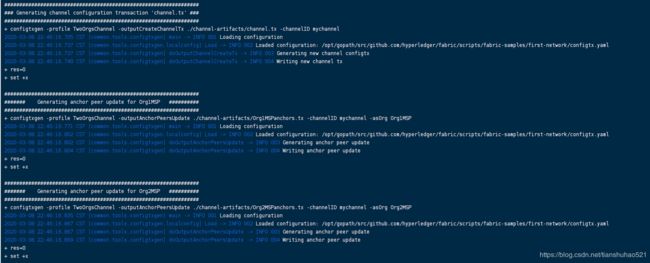
# ./byfn.sh generate
如图,创建成功:
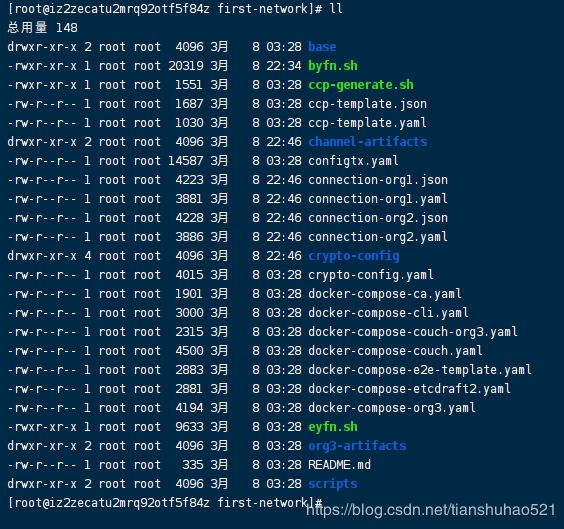
查看文件:# ll
其中channel-artifacts文件夹中会生成创世区块和通道文件。
crypto-config文件夹中会生成证书文件。
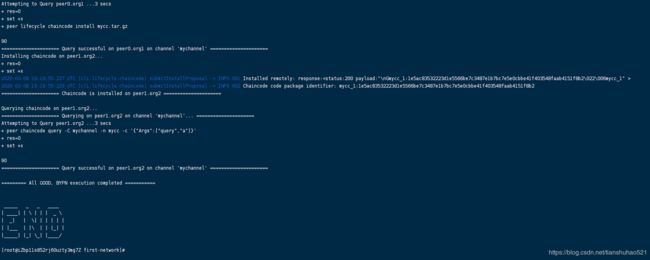
3、运行网络:# ./byfn.sh up -l java
4、进入cli客户端:# docker exec -it cli bash
进入后,#ls
然后,# ls channel-artifacts/
由于cli的channel-artifacts已经与宿主机的~/first-network/channel-artifacts建立映射,因此上面新建的channel文件也存在cli的目录下:
查看已创建的channel:# peer channel list
可以看到已存在一个名为mychannel的通道。
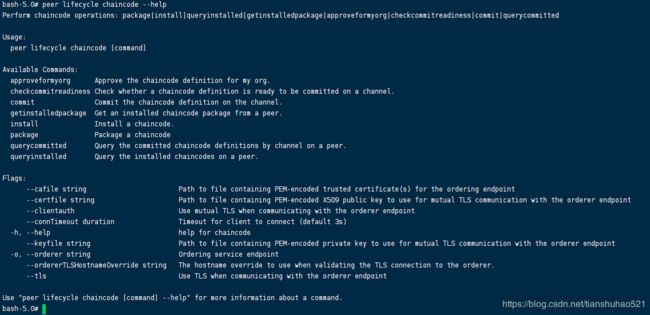
查看chaincode帮助:# peer lifecycle chaincode --help
Usage:
peer lifecycle chaincode [command]
Available Commands:
approveformyorg Approve the chaincode definition for my org. 同意智能合约定义
checkcommitreadiness Check whether a chaincode definition is ready to be committed on a channel.检查合约是否已存在
commit Commit the chaincode definition on the channel.提交合约
getinstalledpackage Get an installed chaincode package from a peer.获取已安装的chaincode
install Install a chaincode.部署链码
package Package a chaincode.打包链码
querycommitted Query the committed chaincode definitions by channel on a peer.查询peer节点上已提交的链码定义
queryinstalled Query the installed chaincodes on a peer.查询peer节点上已部署的链码
查询节点上已部署的链码:peer lifecycle chaincode queryinstalled
可以看到已安装一个叫mycc_1的链码。
查看合约在mychannel通道的合约定义:
# peer lifecycle chaincode querycommitted -C mychannel
可以看到合约的具体信息:
| 参数 | 中文描述 | 值 |
|---|---|---|
| Name | 合约名称 | mycc |
| Version | 合约版本 | 1 |
| Sequence | 合约序列号(升级1次,加1) | 1 |
| Endorsement Plugin | 背书插件 | escc |
| Validation Plugin | 校验插件 | vscc |
调用链码查询用户A的资产:
# peer chaincode query -C mychannel -n mycc -c '{"Args":["query","a"]}'
关闭网络:# ./byfn.sh down
---------------------------------------------------------------------------------------------------------------------------------------------------
分析# ./byfn.sh up 命令主要执行了哪些操作?
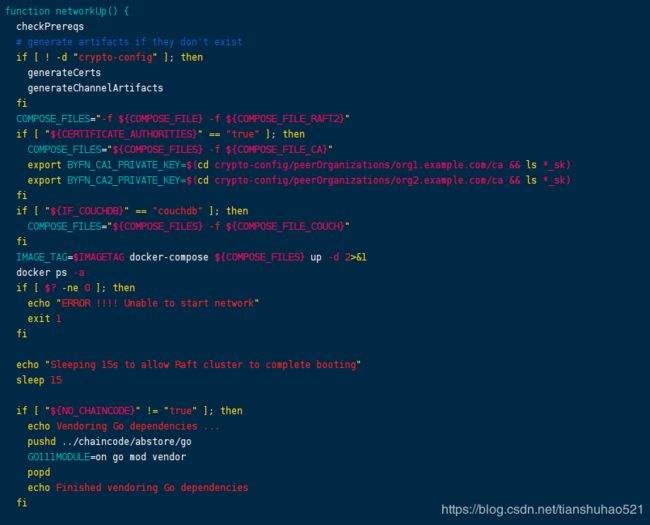
查看byfn.sh脚本up命令执行networkUp方法。然后查看networkUp方法:
# Generate the needed certificates, the genesis block and start the network.
function networkUp() {
checkPrereqs
# generate artifacts if they don't exist
if [ ! -d "crypto-config" ]; then
generateCerts
generateChannelArtifacts
fi
COMPOSE_FILES="-f ${COMPOSE_FILE} -f ${COMPOSE_FILE_RAFT2}"
if [ "${CERTIFICATE_AUTHORITIES}" == "true" ]; then
COMPOSE_FILES="${COMPOSE_FILES} -f ${COMPOSE_FILE_CA}"
export BYFN_CA1_PRIVATE_KEY=$(cd crypto-config/peerOrganizations/org1.example.com/ca && ls *_sk)
export BYFN_CA2_PRIVATE_KEY=$(cd crypto-config/peerOrganizations/org2.example.com/ca && ls *_sk)
fi
if [ "${IF_COUCHDB}" == "couchdb" ]; then
COMPOSE_FILES="${COMPOSE_FILES} -f ${COMPOSE_FILE_COUCH}"
fi
IMAGE_TAG=$IMAGETAG docker-compose ${COMPOSE_FILES} up -d 2>&1
docker ps -a
if [ $? -ne 0 ]; then
echo "ERROR !!!! Unable to start network"
exit 1
fi
echo "Sleeping 15s to allow Raft cluster to complete booting"
sleep 15
if [ "${NO_CHAINCODE}" != "true" ]; then
echo Vendoring Go dependencies ...
pushd ../chaincode/abstore/go
GO111MODULE=on go mod vendor
popd
echo Finished vendoring Go dependencies
fi
# now run the end to end script
docker exec cli scripts/script.sh $CHANNEL_NAME $CLI_DELAY $CC_SRC_LANGUAGE $CLI_TIMEOUT $VERBOSE $NO_CHAINCODE
if [ $? -ne 0 ]; then
echo "ERROR !!!! Test failed"
exit 1
fi
}
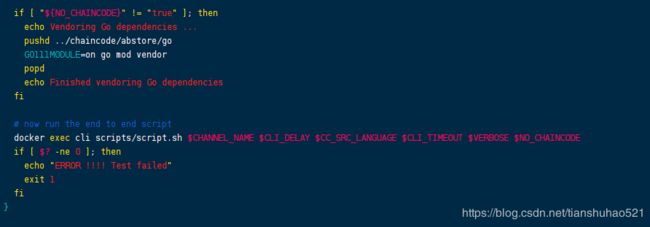
分析networkUp方法,重点关注标红的地方:
1. 检查二进制文件是否可用以及对应版本docker镜像是否存在。
2. 假如当前sh所在父目录不存在crypto-config目录就执行生成区块、通道以及证书脚本
3. 使用docker-compose命令启动fabric网络。
4. 加载go合约依赖包
5. 使用cli客户端执行脚本操作
其中,默认条件下启动的yaml文件如下:
docker-compose-cli.yaml
docker-compose-etcdraft2.yaml
暂时关闭网络,分步执行文件看看都进行了什么操作:
# ./byfn.sh down
1、执行docker-compose-cli.yaml 文件:
# docker-compose -f docker-compose-cli.yaml up -d 2>&1
可以看到执行docker-compose-cli.yaml文件生成了1个orderer节点4个peer节点和一个cli客户端。
然后查看生成的网络组件:# docker ps -a
2、其中只有cli节点是启动状态,接下来分别启动orderer节点和peer节点:
启动orderer节点:
# docker logs -f orderer.example.com --tail=300
启动peer节点
# docker logs -f peer0.org1.example.com --tail=300
3、执行docker-compose-etcdraft2.yaml文件:
# docker-compose -f docker-compose-etcdraft2.yaml up -d 2>&1
如图可以看到创建了4个orderer节点。
