python3 学习记录
day1
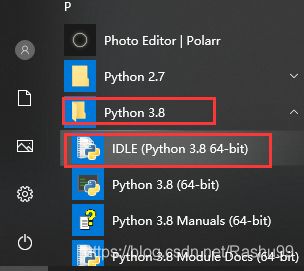
new file

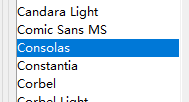
调字体 configure IDLE
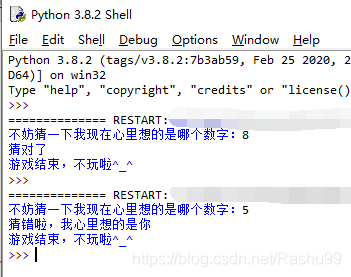
run module
看python内置函数

变量 variable
支持中文变量
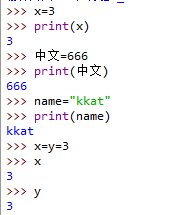

字符串 string
单引号 双引号 转义字符 \

Alt + P 返回上一条语句
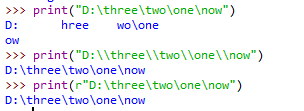
\ 放在末尾表示这句还没完
\n\ 能换行
“”” “”" 三个双引号也能换行
s='12345'
print(s[-1])    # 5
print(s[1])      # 2
print(s[0:4:2])   # 13
print(s[0:4:1])    # 1234
print(s[1:4:1])    # 234
print(s[0:5:2])    #135
print(s[0:])       #12345
print(s[:3])     #123
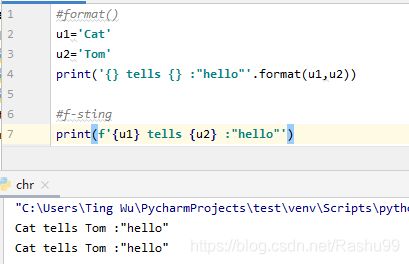
#format()
u1='Cat'
u2='Tom'
print('{} tells {} :"hello"'.format(u1,u2))

#f-sting
print(f'{u1} tells {u2} :"hello"')
#数组/列表[]
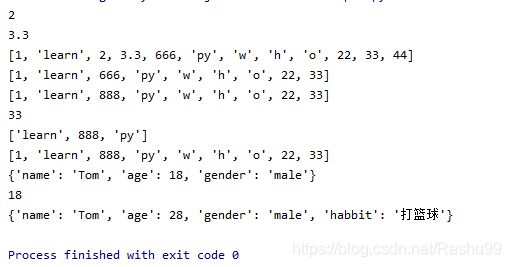
list=[1,2,3.3]
print(list[1])
print(list[-1])
list.append(666)  #添加末尾
list.append('py')
list.insert(1,'learn')  #插入指定位置
list.extend('who')  #拆分
list.extend([22,33,44])
print(list)
list.pop()  #删掉末尾
list.pop(3) #删掉第4个
list.remove(2) #删掉第3个
print(list)
list[2]=888  #修改666为888
print(list)

#元组() 不能被修改的列表
print(list[-1])
print(list[1:4])  #打印第2个到第5个
print(list)

#字典{}
#键值对 键-->值
user = {
    'name':'Tom',
    'age':18,
    'gender':'male'
}
print(user)
print(user['age'])
user['age']=28
user['habbit']='打篮球'  #可以添加
print(user)
#求和
n=1
s=0
while n<=100:
    s+=n
    n+=1
print(s)
#函数
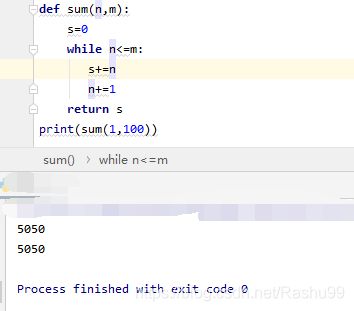
def sum(n,m):
    s=0
    while n<=m:
       s+=n
       n+=1
    return s
print(sum(1,100))        # n != m
#read
f=open('loveyou.txt')
s=f.read()
print(s)
f.close()

#write
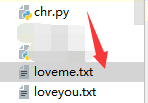
f=open('loveme.txt',mode='w',encoding='utf-8')
f.write('我稀罕你')
f.close()
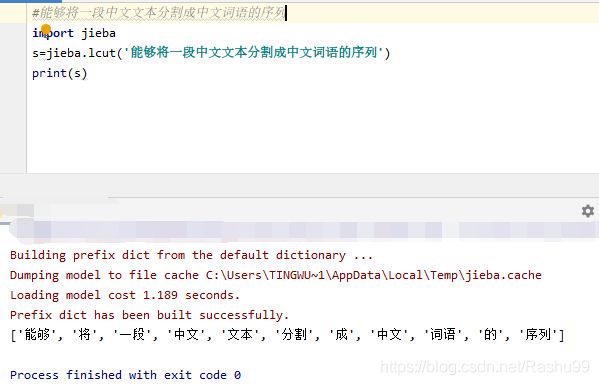
#能够将一段中文文本分割成中文词语的序列
import jieba
s=jieba.lcut('能够将一段中文文本分割成中文词语的序列')
print(s)
Day 2
python 库下载
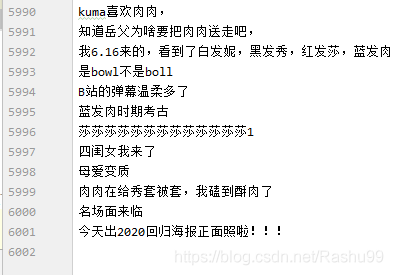
爬取弹幕
爬b站blackpink 团综 blackpink house 第一集弹幕
#能够将一段中文文本分割成中文词语的序列
import requests
import json
import chardet
import re

from pprint import pprint
#根据bvid 请求得到cid
def get_cid():
    url='https://api.bilibili.com/x/player/pagelist?bvid=BV1yW411B7ai&jsonp=jsonp'
    res=requests.get(url).text
    json_dict=json.loads(res)
    #pprint(json_dict)
    return json_dict["data"][0]["cid"]
#根据cid请求弹幕,解析弹幕得到最终的数据
def get_data(cid):
    final_url="https://api.bilibili.com/x/v1/dm/list.so?oid="+str(cid)
    final_res=requests.get(final_url)
    final_res.encoding=chardet.detect(final_res.content)['encoding']
    final_res=final_res.text
    pattern=re.compile('(.*?)')
    data=pattern.findall(final_res)
    #pprint(final_res)
    return  data
#保存弹幕列表
def save_to_file(data):
    with open("dan_mu.txt",mode="w",encoding="utf-8") as f :
        for i in data:
            f.write(i)
            f.write("\n")
cid=get_cid()
data=get_data(cid)
save_to_file(data)
词云图
注意 python命名不能是wordcloud.py !!!不然
from wordcloud import WordCloud 会报错
import pandas as pd
import jieba
from wordcloud import WordCloud
from imageio import imread
import matplotlib.pyplot as plt


#读取弹幕文件,lcut()分词
with open("dan_mu.txt",encoding="utf-8") as f:
    txt=f.read()
cut_list=jieba.lcut(txt)
new_str=' '.join(cut_list)  #拼成一个字符串
back_picture=imread(r"D:\jenlisa.jpg")

wc=WordCloud(font_path='msyh.ttc',
background_color="white",
				max_words=6000,
				mask=back_picture,
				max_font_size=200,
				random_state=40)        #.generate(new_str)
wc.generate_from_text(new_str)

plt.imshow(wc)
plt.axis("off")
plt.show()
wc.to_file("bp.png")
#可选
from wordcloud import WordCloud, STOPWORDS, ImageColorGenerator

stopwords=STOPWORDS,# 设置停用词
img_colors = ImageColorGenerator(back_picture)
cut_list=jieba.lcut(s)
new_str=' '.join(cut_list)
wc=WordCloud(font_path='msyh.ttc').generate(new_str)
wc.to_file('blackpink.png')
generate(text)      Generate wordcloud from text.
generate_from_text(text)    Generate wordcloud from text.
generate_from_frequencies      Create a word_cloud from words and frequencies.
fit_words      Create a word_cloud from words and frequencies.
class wordcloud.WordCloud(font_path=None, width=400, height=200, margin=2,
ranks_only=None, prefer_horizontal=0.9,mask=None, scale=1, color_func=None,
max_words=200, min_font_size=4, stopwords=None, random_state=None,background_color='black',
max_font_size=None, font_step=1, mode='RGB', relative_scaling=0.5, regexp=None,
collocations=True,colormap=None, normalize_plurals=True)
- font_path:string 如msyh.ttc 微软雅黑 系统自带 或者自己下载 .ttf
- prefer_horizontal:float 默认0.9 水平排版频率
- mask 默认为空 使用二维遮罩绘制词云 如果非空 则为遮罩形状 即背景图片 纯白的部分不会被绘制
- scale:float 默认1 按比例放大画布
- font_step 默认1 字体步长大于1 会加快运算
- stopwords 屏蔽词 为空则使用内置的STOPWORDS
- mode 默认RGB 如果是RGBA 且背景颜色不空则为透明 ???
- relative_scaling 默认5 词频和字体大小的关联性
- color_func 生成新颜色的函数,如果为空,则使用 self.color_func
- regexp 使用正则表达式分隔输入的文本
- collocations 是否包括两个词的搭配
- colormap default=”viridis” 给每个单词随机分配颜色 若指定color_func 则忽略该方法
- process_text(text) 将长文本分词并去除屏蔽词
- olor([random_state, color_func, colormap]) 对现有输出重新着色 重新上色会比重新生成整个词云快很多。
to_array() 转化为numpy array
to_file(filename) 输出到文件
