基于Ubuntu的php+MySQL+apache2服务器搭建
1. 安装虚拟机
在macbook下载软件parallels,然后在parallels中选择Ubuntu进行下载安装,进入Ubuntu系统即可。另:在Ubuntu中运行以下代码后重启虚拟机可以解决复制粘贴共享问题:
sudo apt-get autoremove open-vm-tools
sudo apt-get install open-vm-tools-desktop
2. 安装apache,php和mysql
安装apache
部分Ubuntu系统自带apache服务,但本方法安装的Ubuntu系统暂无apache服务,需要自行安装。输入以下代码进行安装:
sudo apt-get install apache2
若出现failed to fetch错误,可以输入:
sudo apt-get update
若仍无法解决,尝试修改 /etc/resolv.conf中的nameserver 8.8.8.8
ps:若vi打开文件后i不能进入插入模式,卸载vi后重新安装即可,如下代码:
sudo apt-get remove vim-common
sudo apt-get install vim
重启网络:
sudo /etc/init.d/networking restart
至此,成功安装apache,启动服务:
sudo /etc/init.d/apache2 start
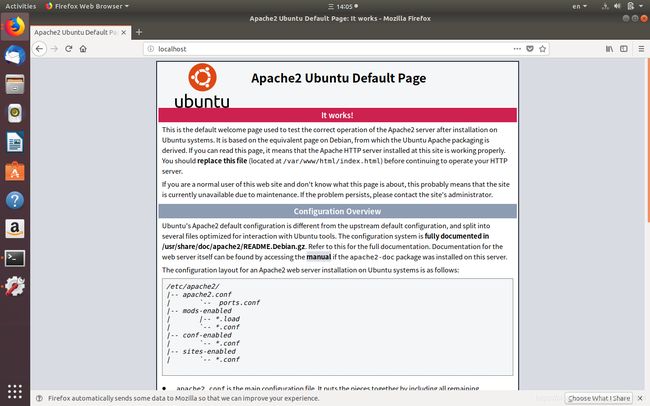
在浏览器中输入localhost,得到apache“it works”页面说明apache成功安装。

安装MySQL:
sudo apt-get install mysql-server mysql-client
安装成功后,系统会自动随机生成用户及密码,存在 /etc/mysql/debian.cnf中,打开该文件利用其用户名及密码可以登陆mysql。然后运行以下sql语句,修改root密码:
use mysql;
update user set authentication_string=PASSWORD("你要改的密码") where User='root';
update user set plugin="mysql_native_password"
flush privileges;
exit;
安装PHP
sudo apt-get install php
3.配置apache
apache的默认路径:
默认文档根目录是在 ubuntu 上的 /var/www 目录
配置文件是 / etc/apache2/apache2.conf
然后修改服务器的默认主页(主要改两个地方,修改完记得重启apache2服务才能生效)
(1)打开配置文件 / etc/apache2/apache2.conf,修改你想要的目录
Options Indexes FollowSymLinks
AllowOverride None
Require all granted
< /Directory >
我首先在/var/www下新建目录:
sudo mkdir /var/www/webdata
然后再将上述配置改为该路径
(2)打开/etc/apache2/sites-enabled/000-default.conf文件
找到DocumentRoot 位置,一般是/var/www/html/修改为:你自己想要存放的位置。同样我改为/var/www/webdata
至此,修改服务器默认主页完成。
在/var/www/webdata下新建文件:
sudo vi index.php
在文件中输入:
phpinfo();
?>
重启apache服务:
sudo /etc/init.d/apache2 restart
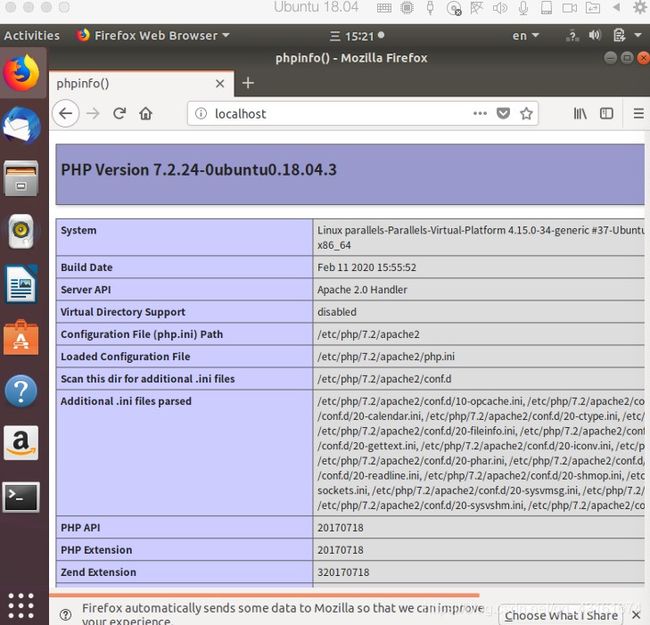
再在浏览器中输入:localhost,得到以下页面:

说明配置完成!
接下来验证与MySQL的连接:
在/var/www/webdata下新建文件:
sudo vi mysqlcoon_test.php
// we connect to example.com and port 3306
$link = mysqli_connect('localhost:3306', 'root', '密码');
if (!$link) {
    die('Could not connect: ' . mysql_error());
}
echo 'Connected successfully';
mysql_close($link);

?>
在浏览器地址栏输入:localhost/mysqlcoon_test.php并无期望内容,此时查看apache日志,路径在:/var/log/apache2/error.log
报错信息为:PHP Fatal error: Uncaught Error: Call to undefined function mysqli_connect()
解决办法:将php.ini中与mysql相关的extension前的注释;删除,并修改值extension_dir=’/usr/lib/php/20170718’(配置文件目录:/etc/php/xxx 扩展文件目录:/usr/lib/php/xxx 执行文件: /usr/bin)
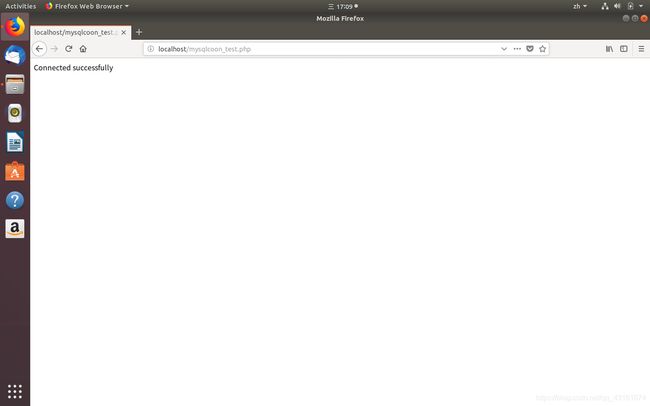
得到以下界面,说明连接成功!

4.搭建简单登陆界面
首先在数据库中创建数据库及表:
CREATE DATABASE test;
USE test;
CREATE TABLE userpassword(user varchar(128),password varchar(128));
创建一个新用户,并授予test数据库的权限:
create user 'chen'@localhost identified by '密码';
grant all privileges  on test.* to "chen";
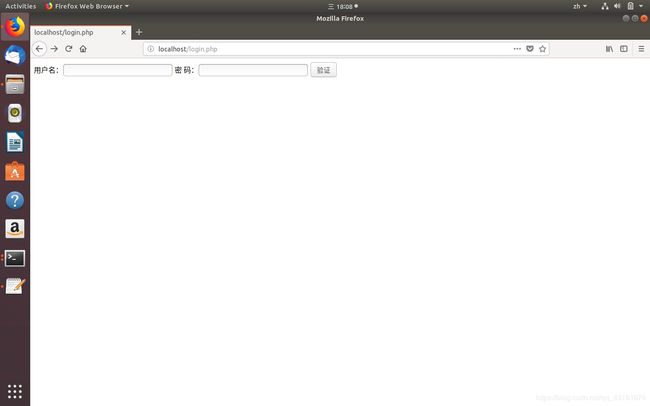
/var/www/webdata下新建文件:
sudo vi login.php
sudo vi verify.php
分别写入以下内容:
<!DOCTYPE html>
<html>
<head>

</head>
<body>
<form action="verify.php" method="POST">
    <div>
        用户名:<input type="text" name="username" />
        密  码:<input type="password" name="password" />
        <input type="submit" value="验证">
    </div>
</form>
</body>
</html>
<html>
<head>
<title>登录验证</title>
<meta http-equiv="content-type" content="text/html;charset=utf-8">
</head>
<body>

$conn=@mysqli_connect("localhost",'chen','密码') or die("数据库连接失败!");;
mysqli_select_db($conn,"test") or die("您要选择的数据库不存在");
$name=$_POST['username'];
$pwd=$_POST['password'];
$sql="select * from userpassword where user='$name' and password='$pwd' ";
$query=mysqli_query($conn,$sql);
$arr=mysqli_fetch_array($query);
if(is_array($arr)){
echo 'welcome';
}else{
echo '您的用户名或密码输入有误';
}
?>
</body>
</html>
